Boo! Happy Halloween to you all!
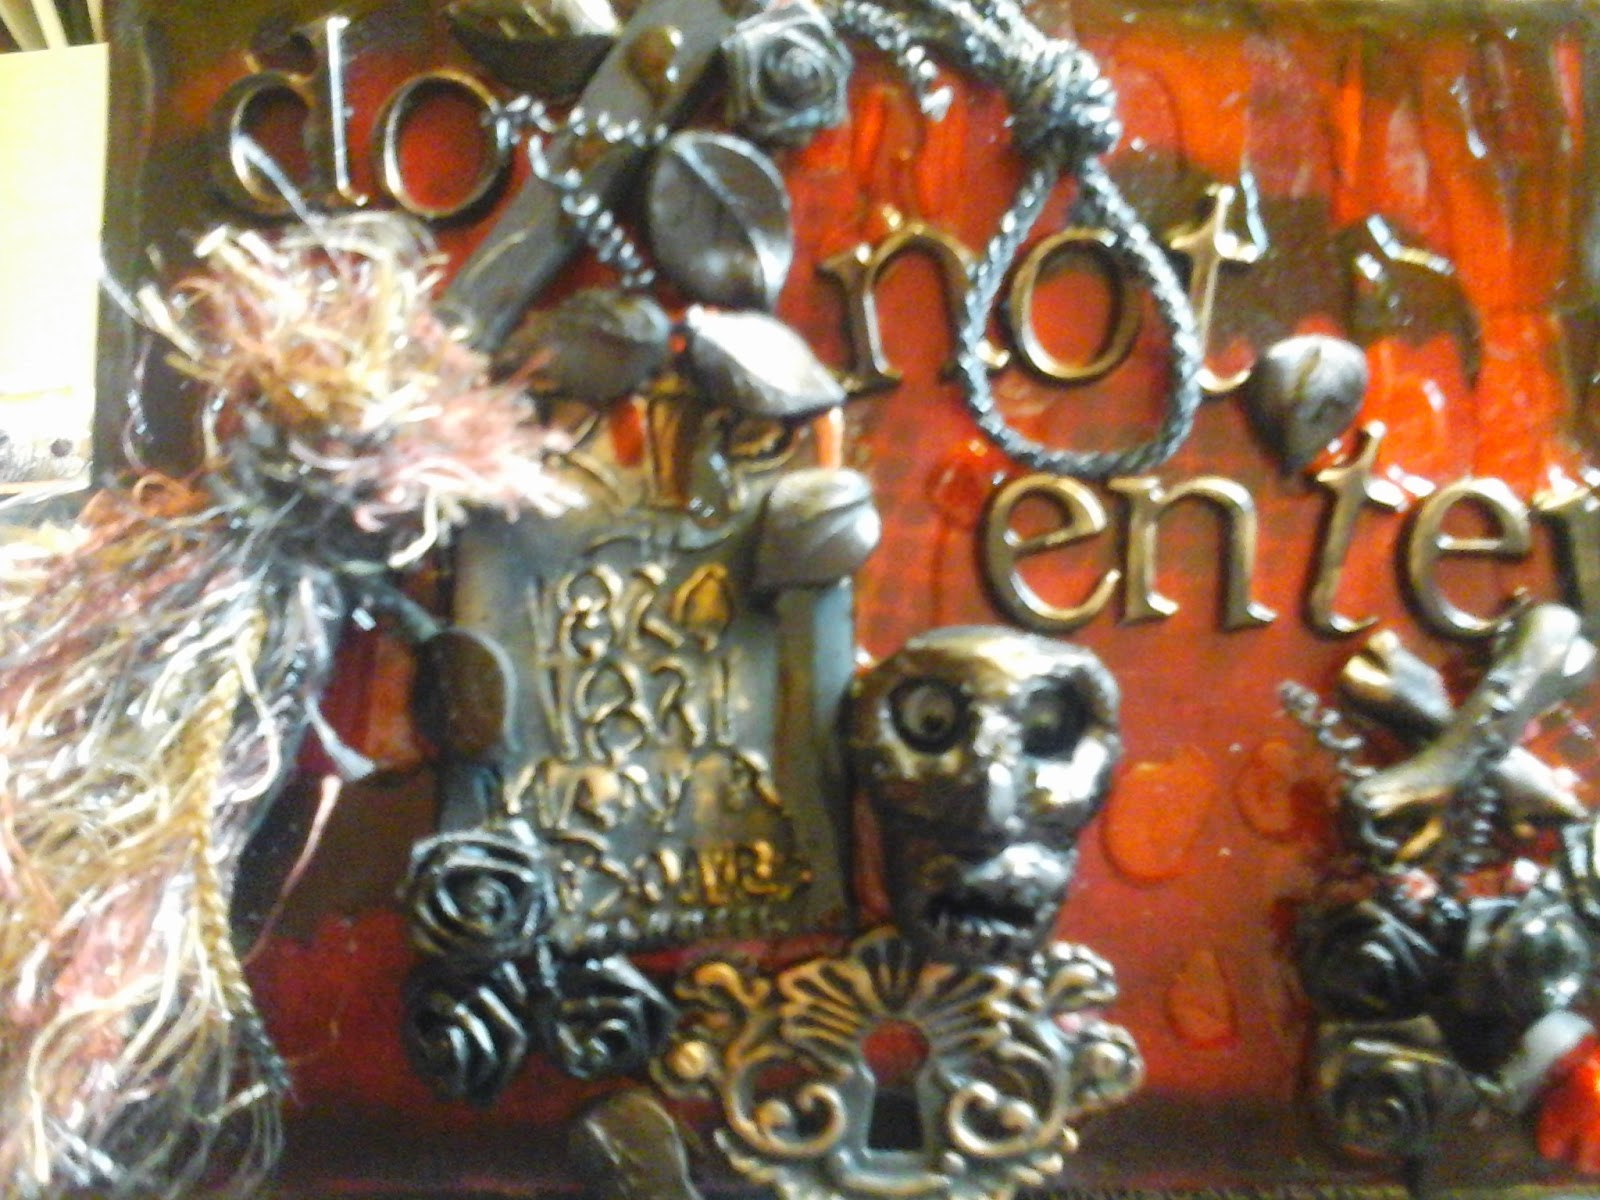
Peggy here to show you my Box Card! I absolutely love how the parts jiggle.
Supplies used today:
- EBrush with Adapters
- Black cardstock
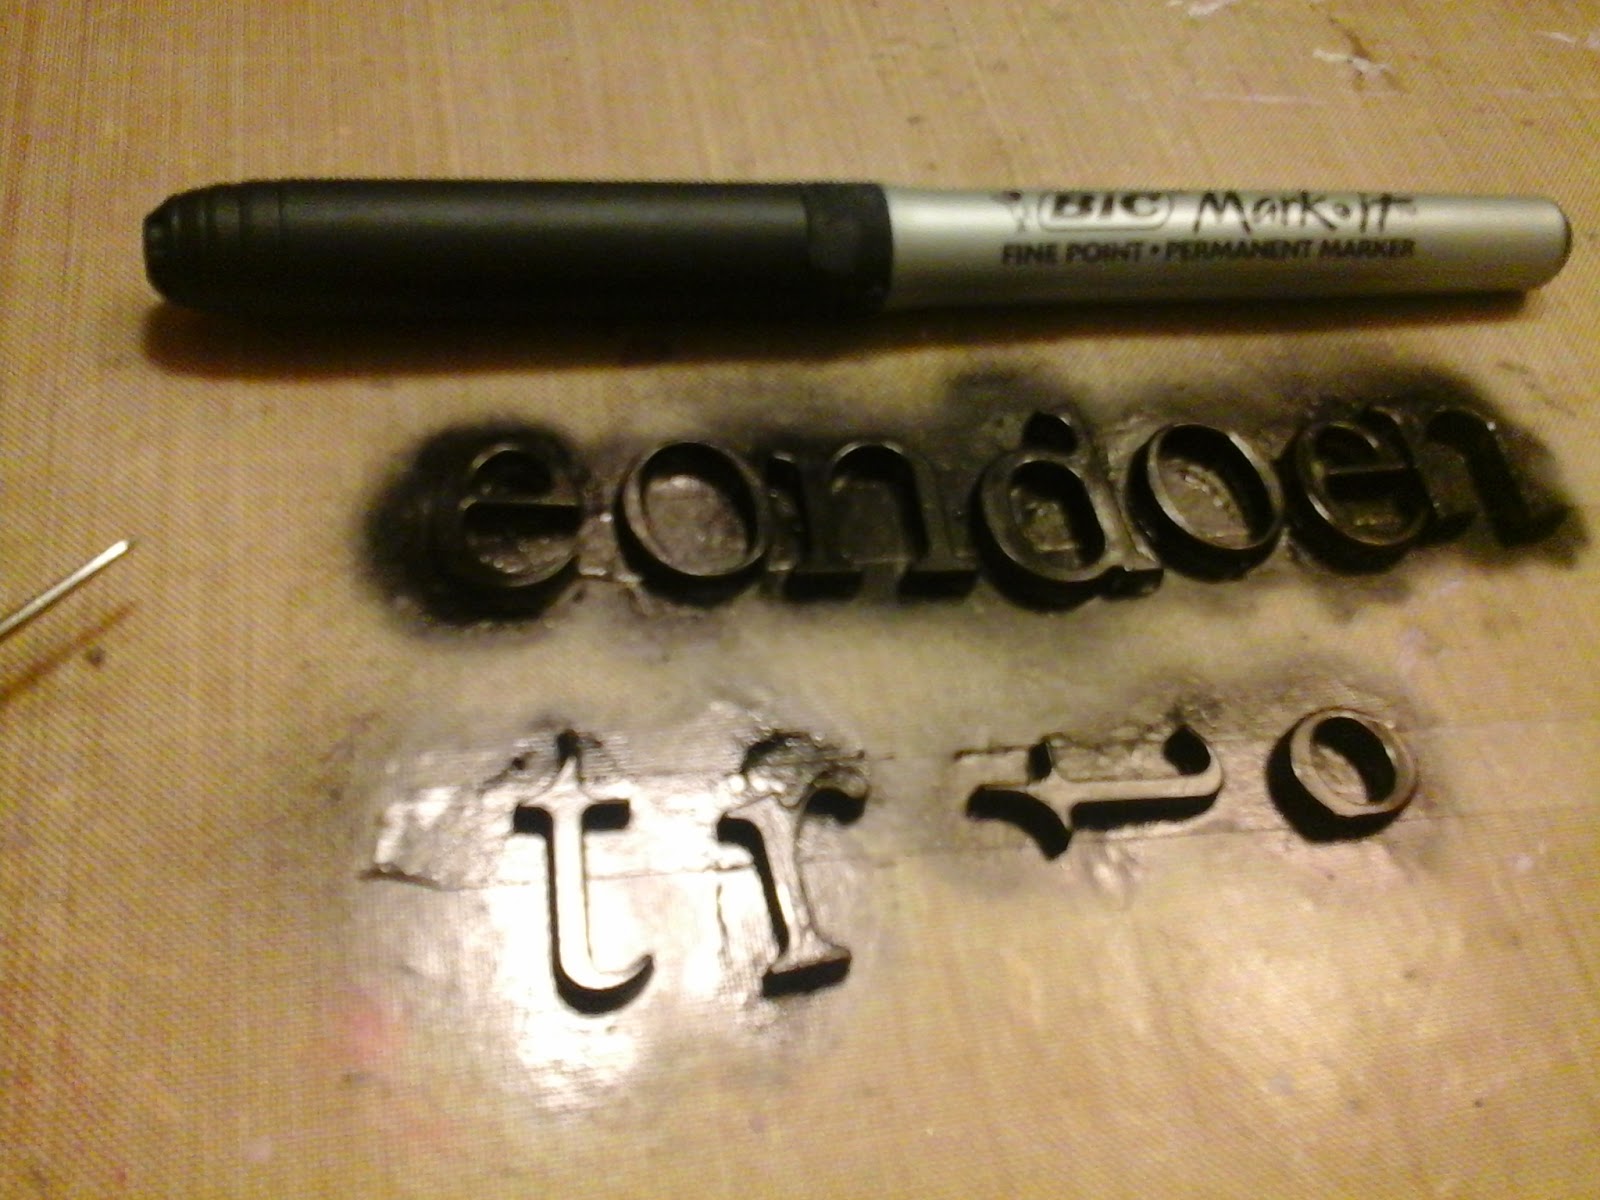
- Wooden Letters
- Patterned Paper
- Acetate Packaging
- Ribbon
- Sharpie Markers black ,gold metalic and red
- Medical gauze
- stencil
I chose a card style to pop! I searched youtube and found plenty of videos on how to make this card! I started with an 8 1/2 x 11 cardstock I followed the directions to achieve a box with no bottom so it can be folded. Inside are hinges or tabs to suspend everything in the middle. This style of fancy folding card is called a box card.

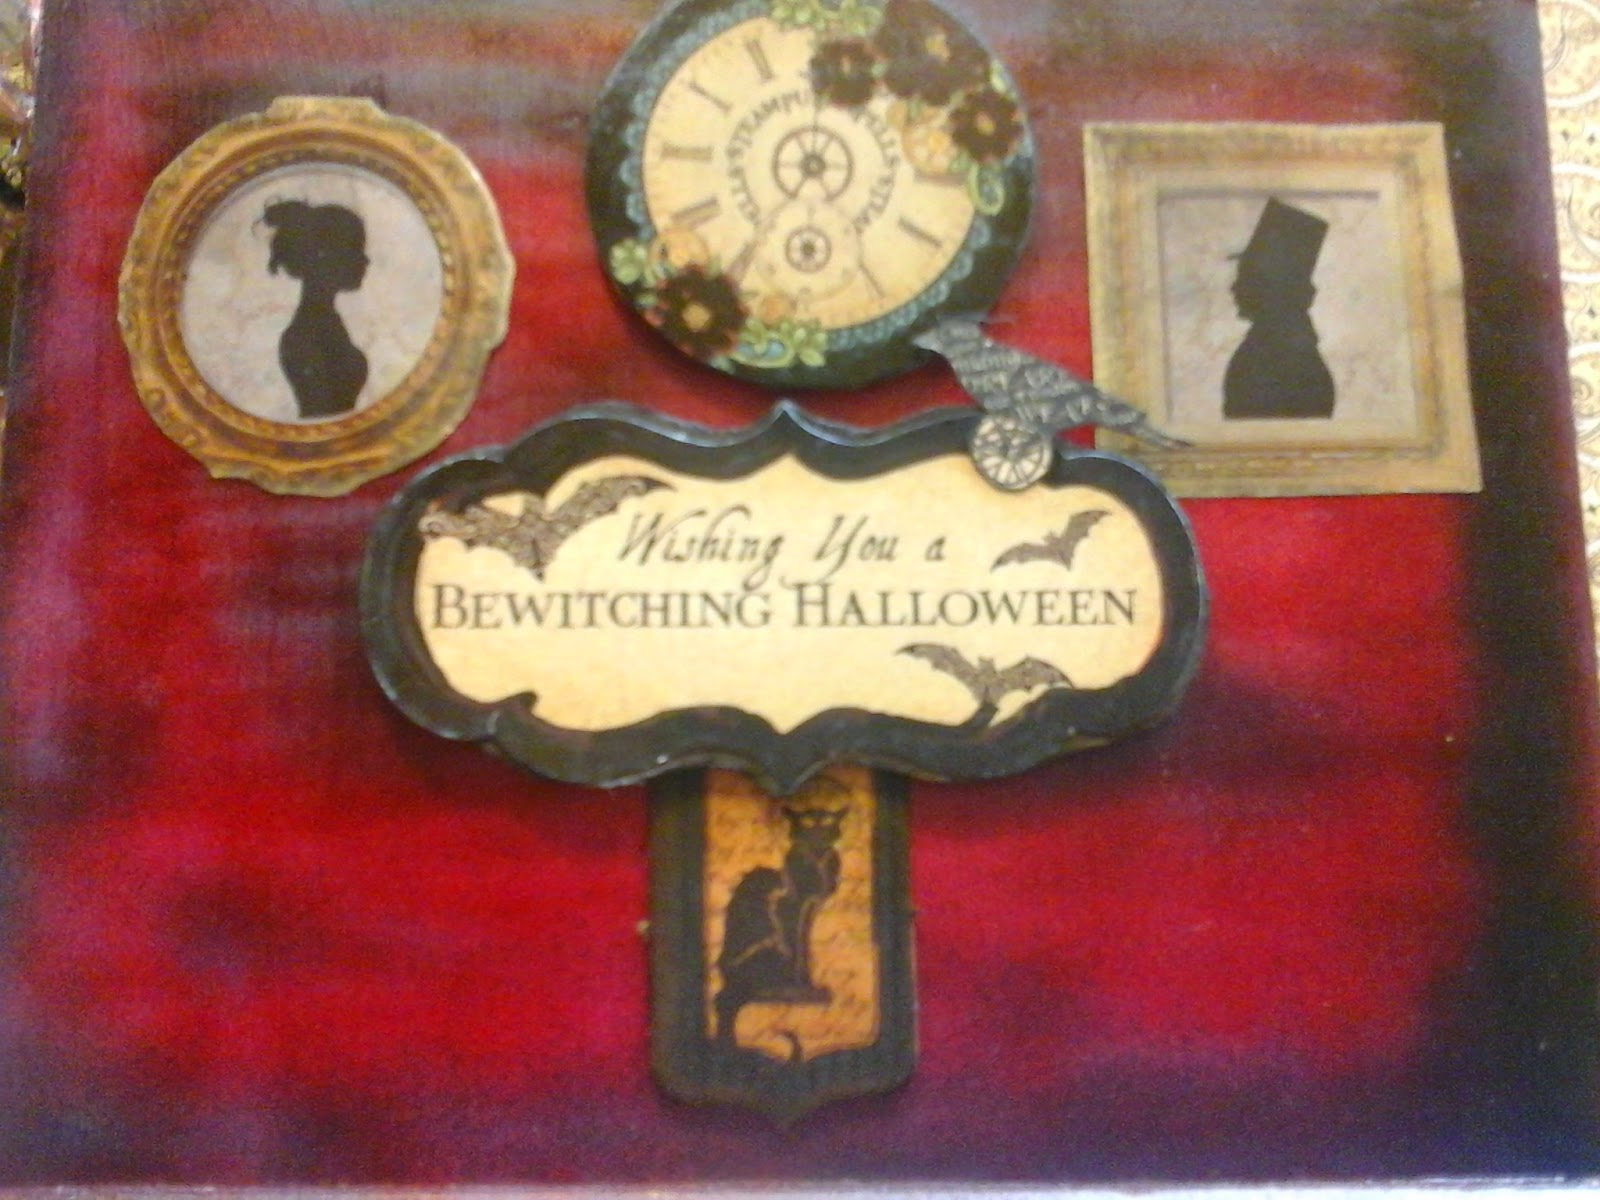
I used G45 papers and DCWV to embellish the box.
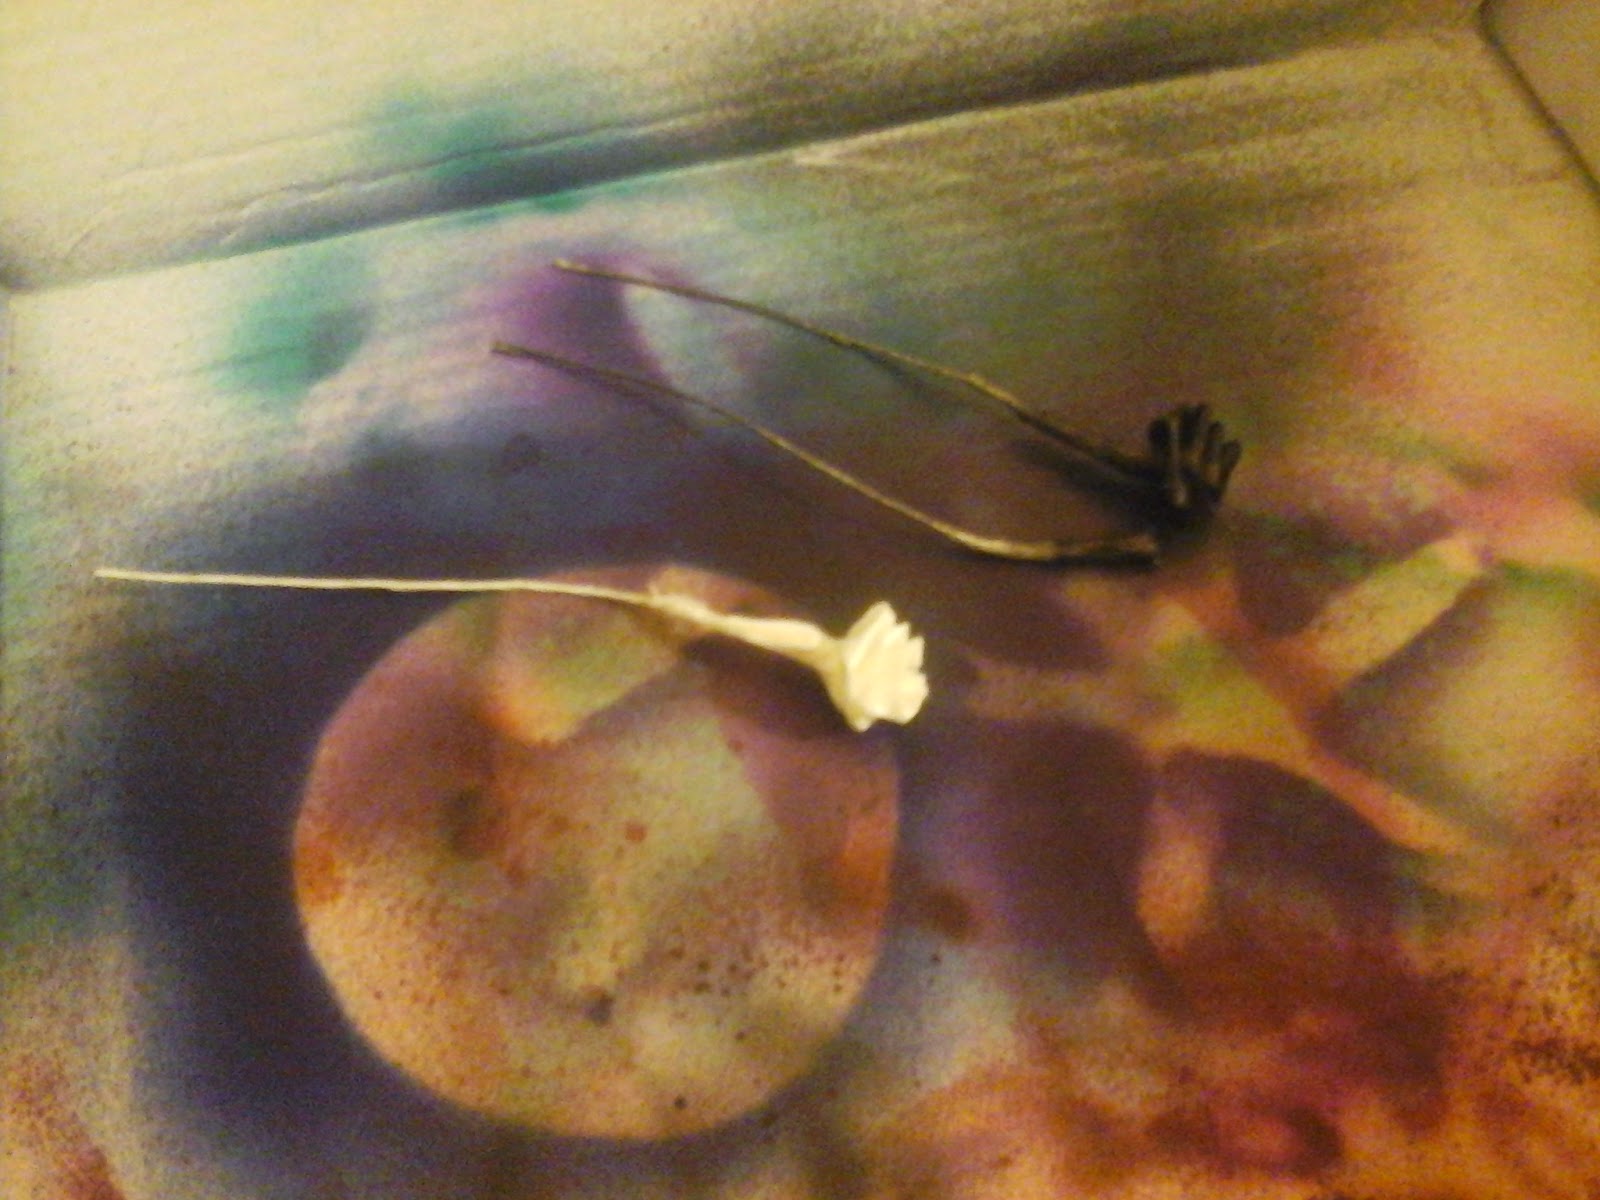
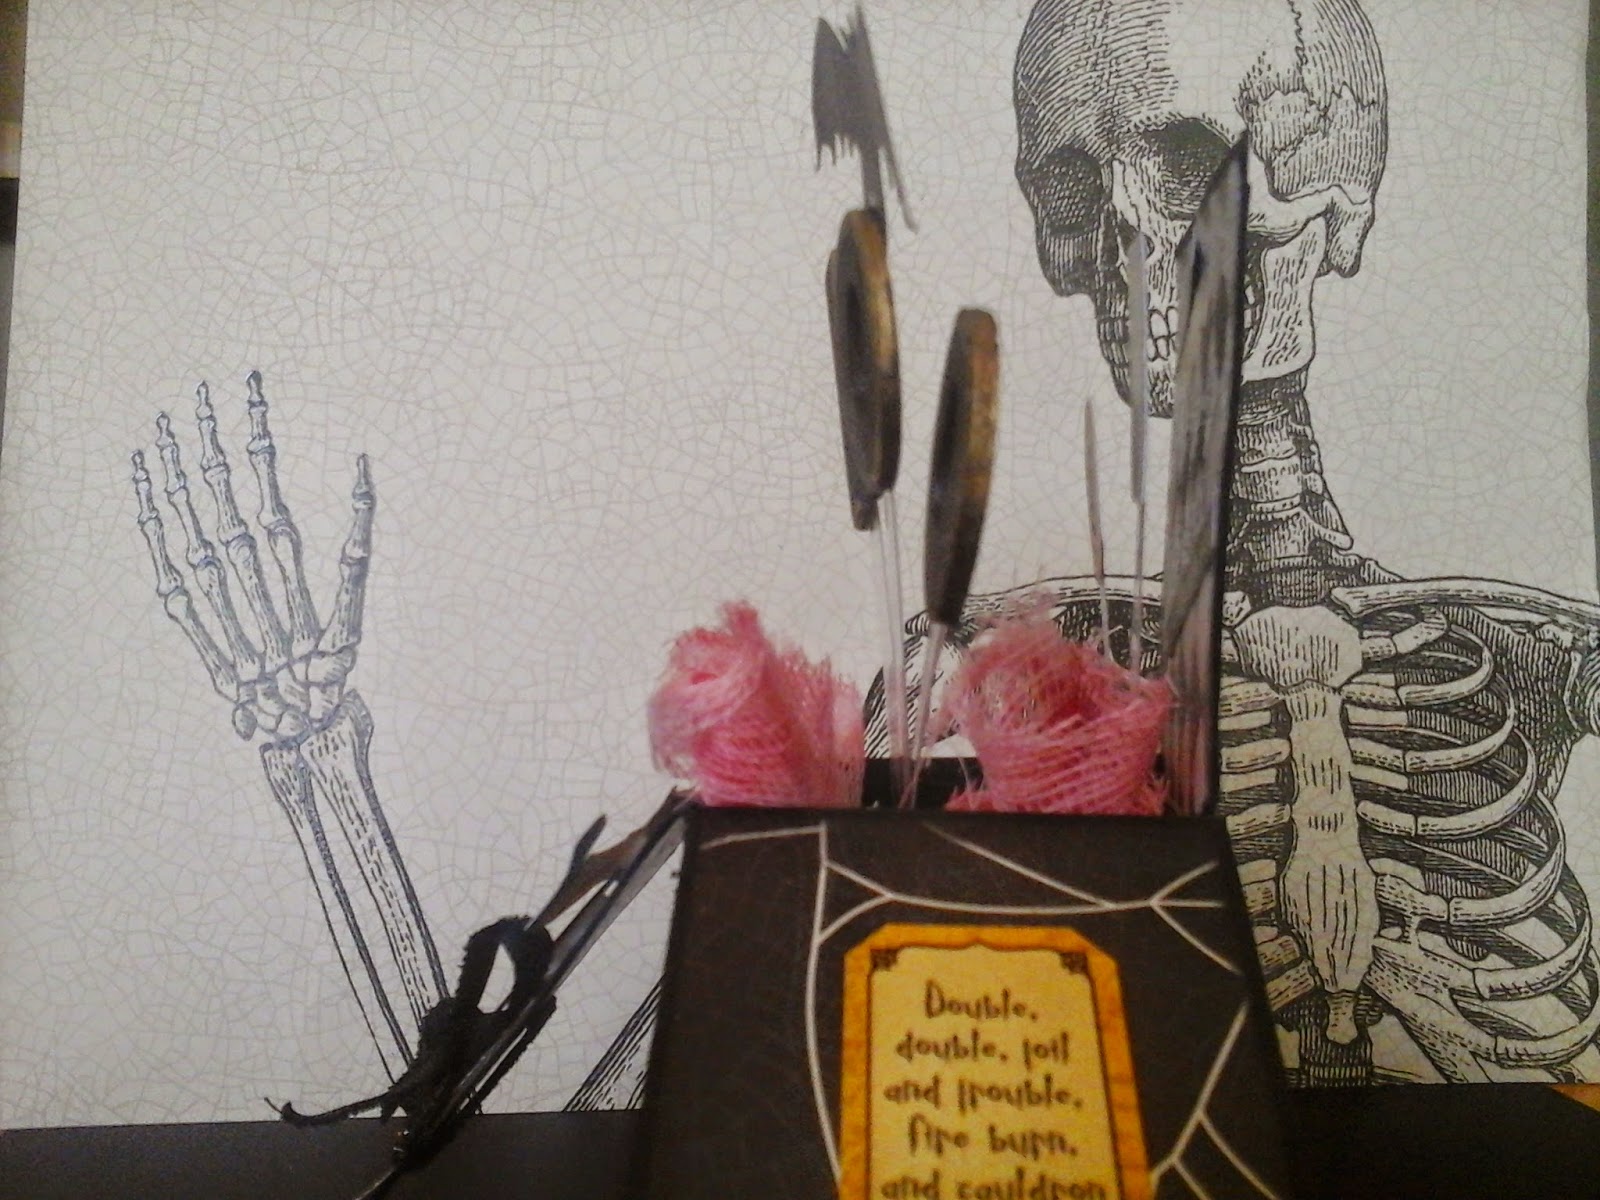
I used my fabulous new Ebrush system to create this bat below using a hand cut stencil from plastic. Next I sprayed red on the gauze to simulate blood.

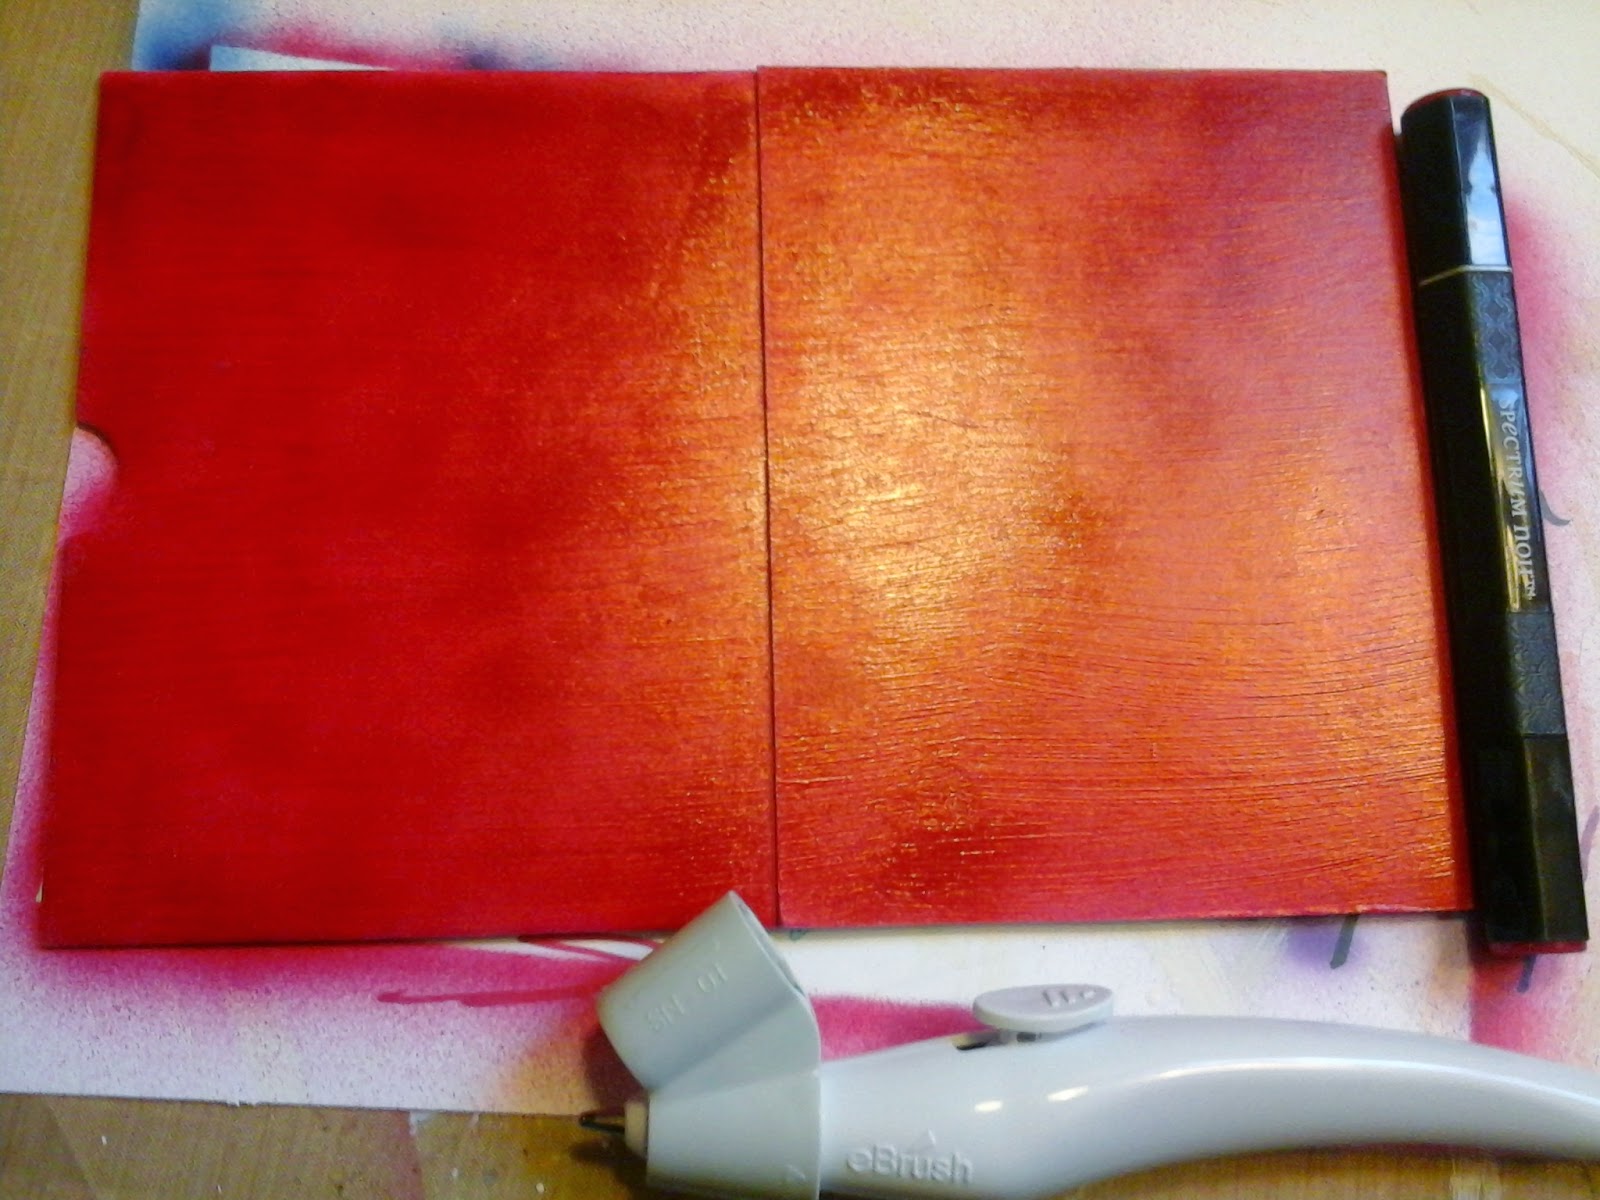
Here is my box folded below

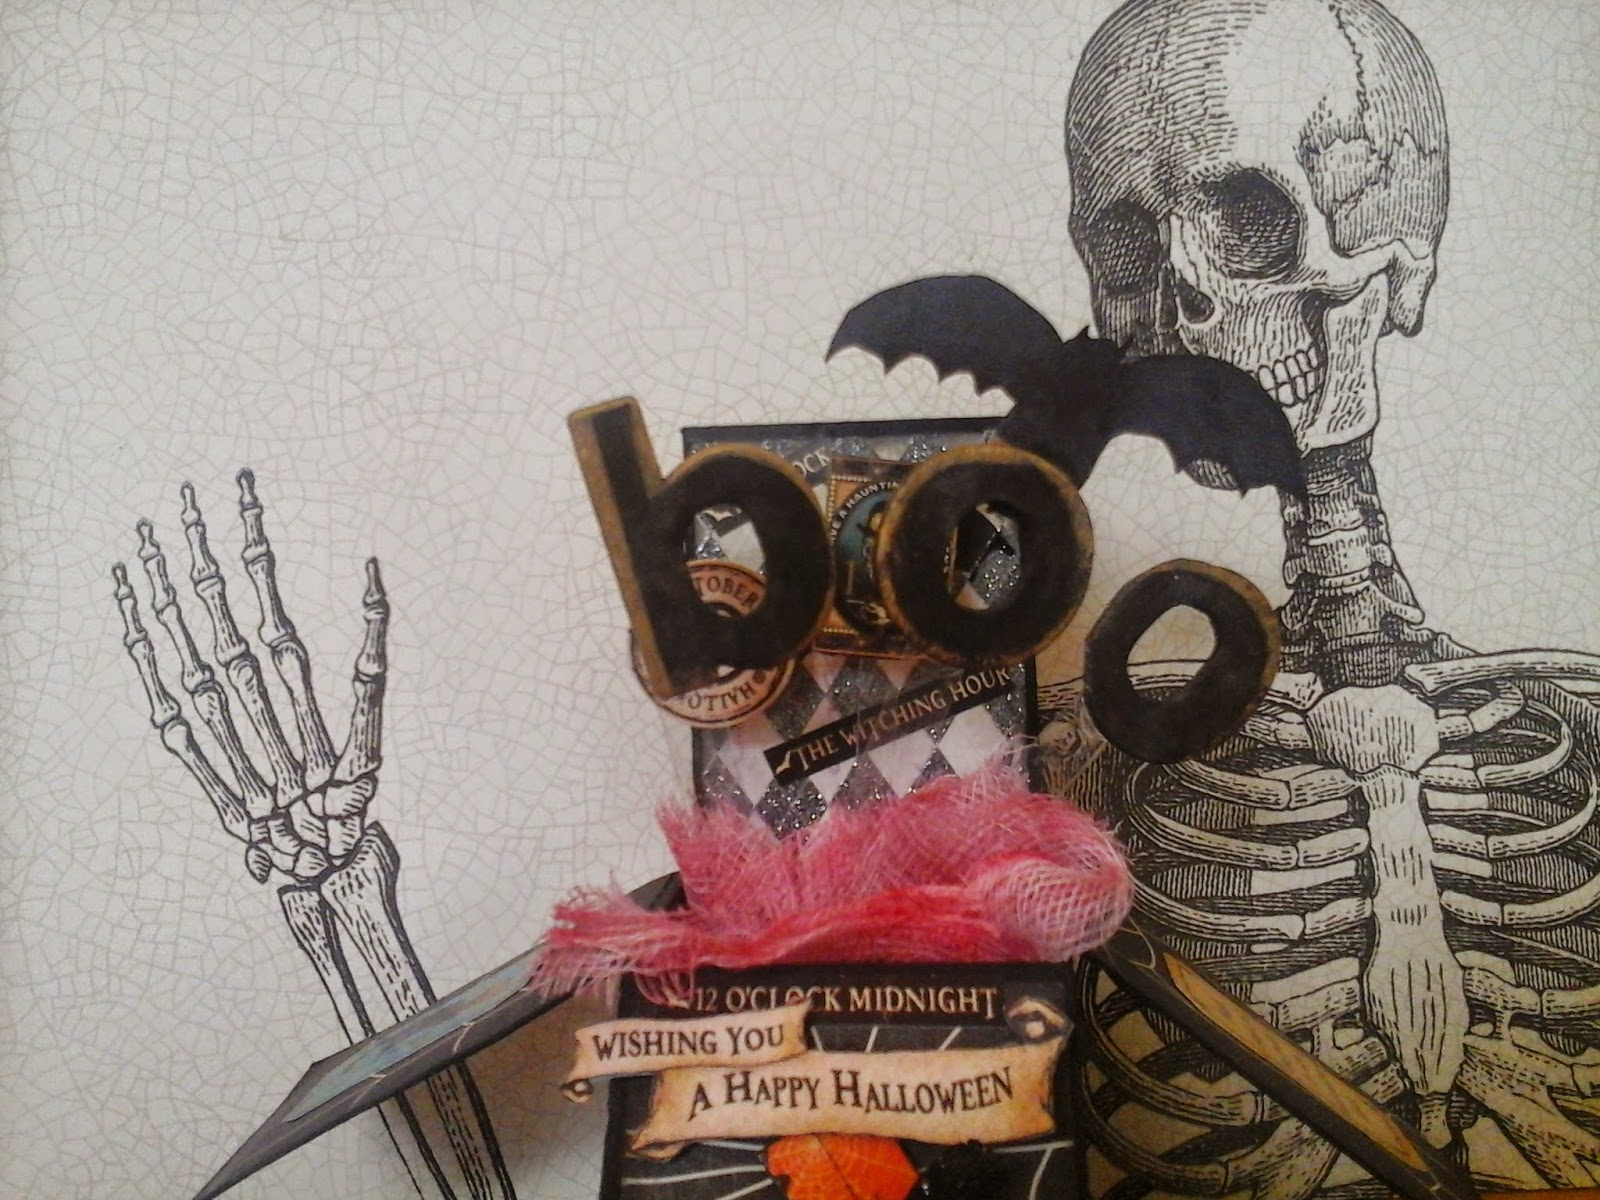
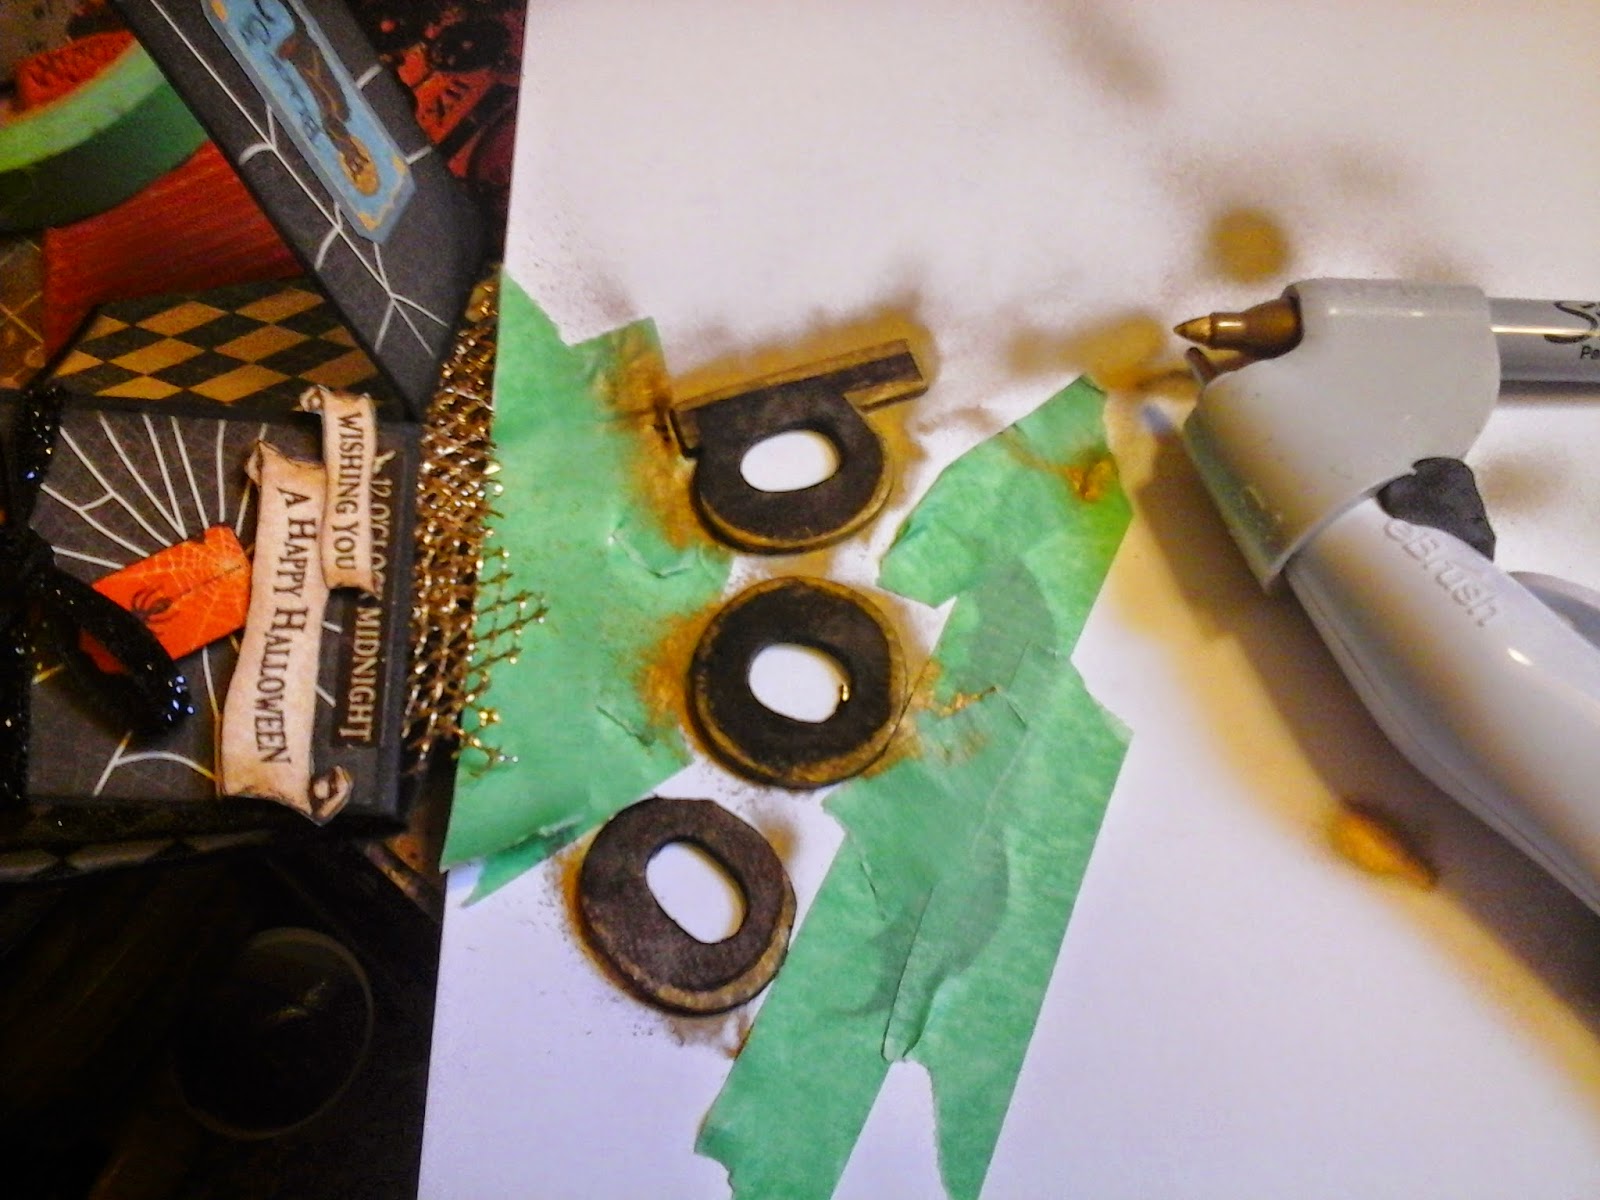
Each element is suspended on acetate strips glued to the inside tabs. I used the Letters BOO Ebrushed in black sharpies and edged in gold sharpie. My new must have tool has proven to be a goto item!
Another hand cut element the second bat sitting on the Boo! I cut this from packaging and sprayed it using...you guessed it..My Ebrush.
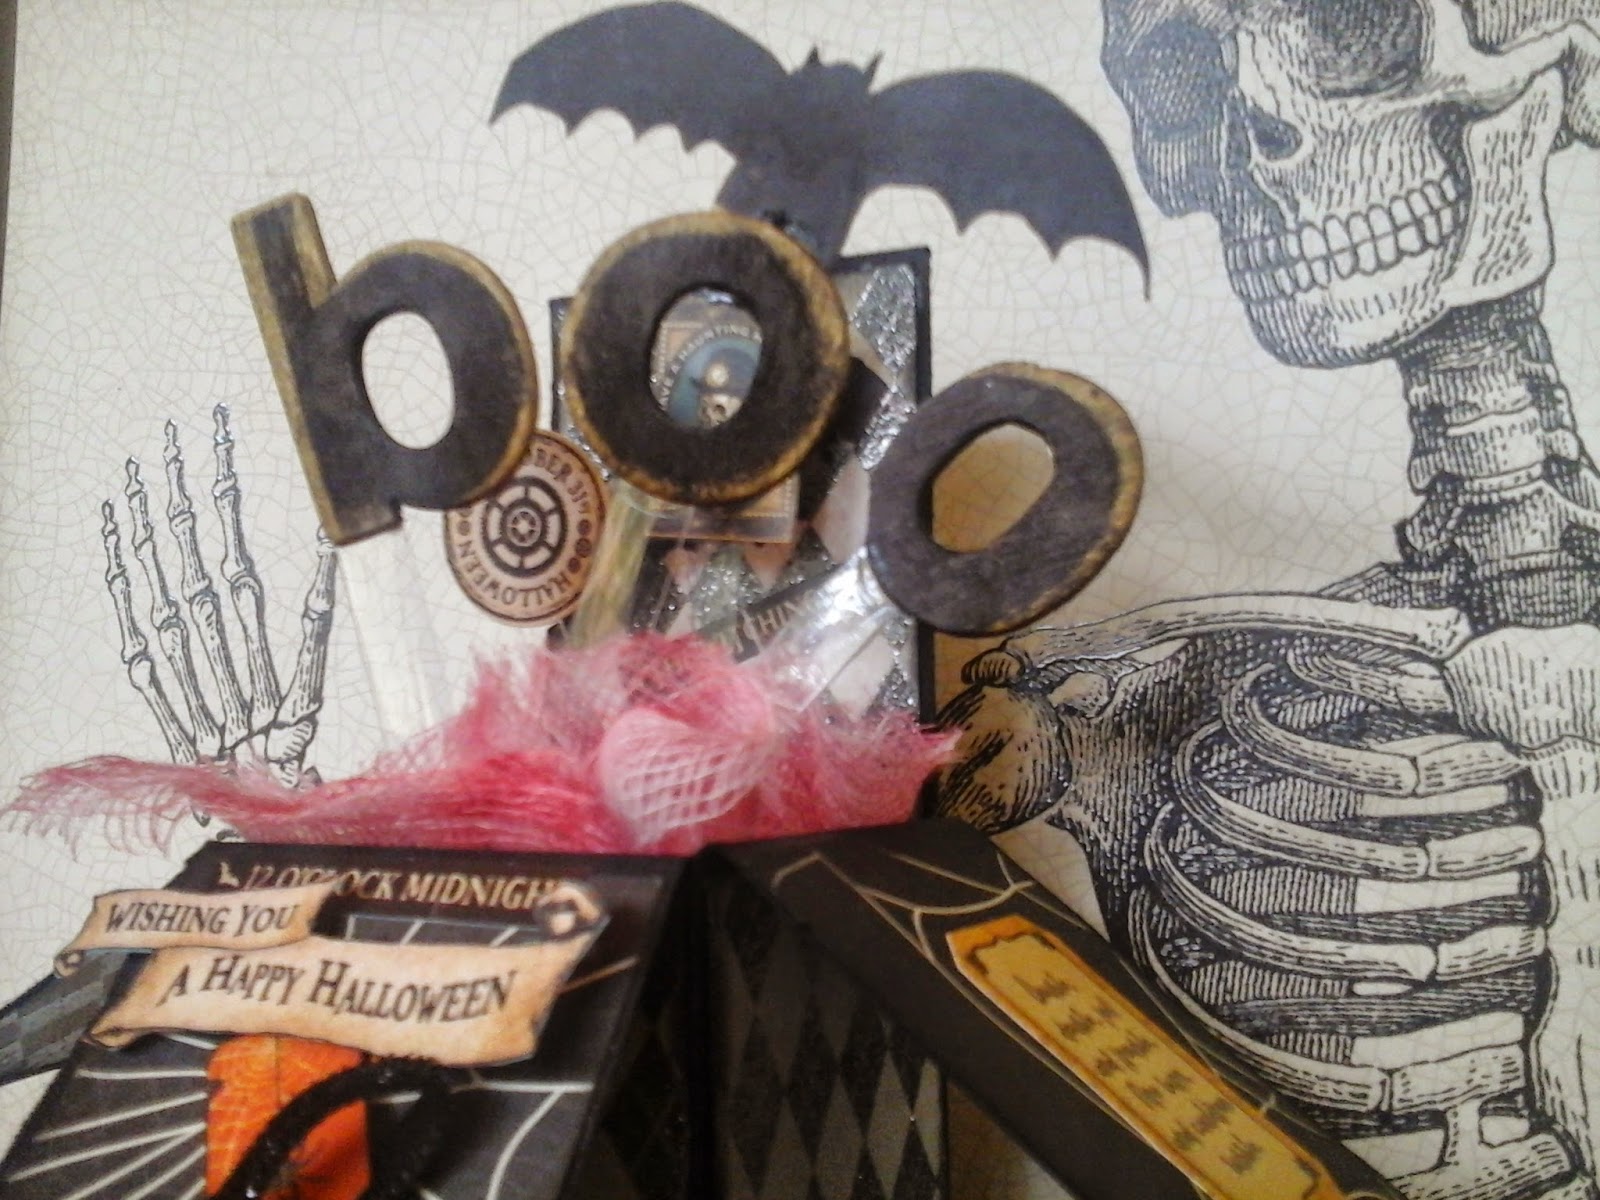
So easy and versitile.
Thank you for joining me today, I hope I have inspired you to try it out for yourself! The New Ebrush from Craftwell.


.jpg)
.jpg)

.jpg)