21.12.16

DIY Chandelier Makeover

Dixie Belle Paint Company and eBrush by Craftwell USA
Hello! today I would like to show you my garage sale makeover. I found this brass chandelier that desperately needed a makeover.
Today's supplies include: 
White Gesso 
Sanding paper
Patterned paper over old cones

I cleaned my brass piece with a damp cloth and let dry.  I used my eBrush with siphon today by mixing Dixie Belle Paint (Sea Glass) with water. More paint than water ratio. I sprayed in layers my goal was not to cover the entire surface. I wanted to see a bit of the brass. I also used gesso in spots for a shabby look. 
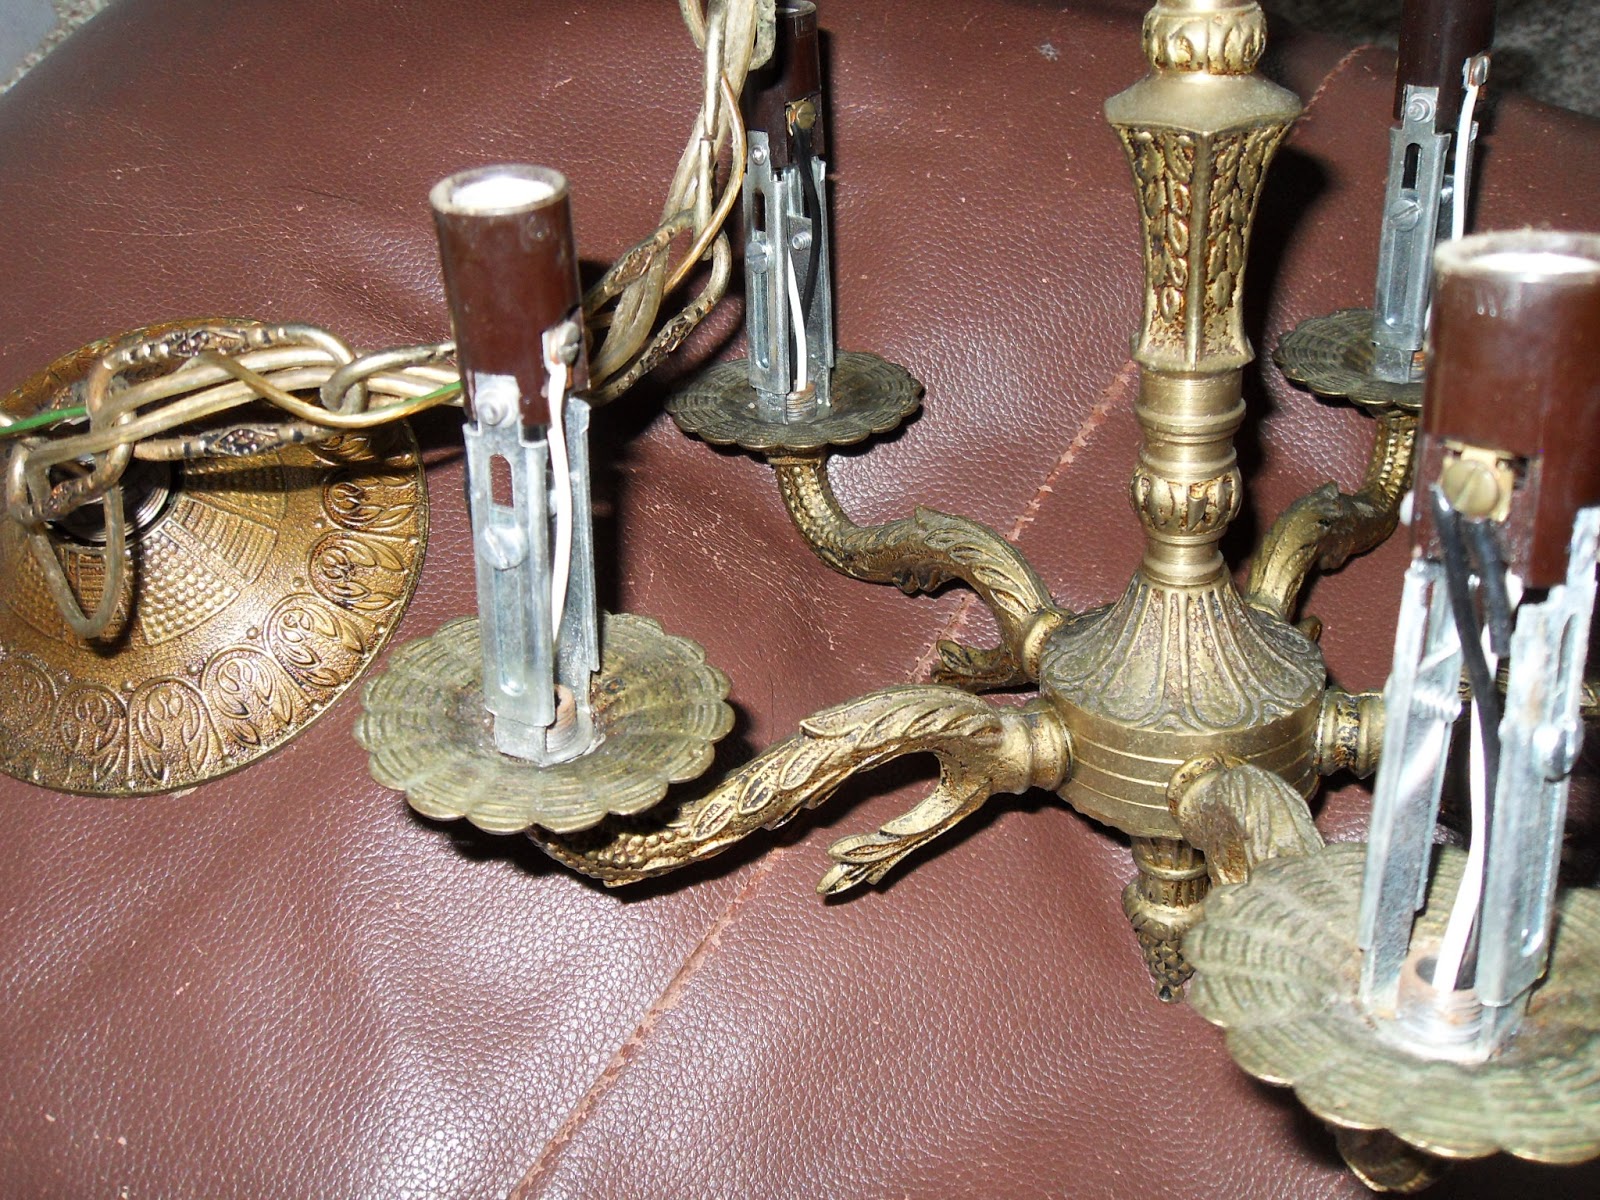
Then I took my sand paper to spots to expose more brass bits. 
Next I took some patterned paper and wrapped it around the tube/cylinders that house the electrical for the light bulbs. 

I love the result!

This project was a little tricky to photograph but in real life this little chandelier is so cute!
Thank you to our sponsor this month Dixie Bell Paints for providing us with some fabulous paint check them out!
As well you can find our eBrush by Craftwell USA Here..
I hope you have enjoyed my tutorial and to everyone I wish a Merry Christmas!

Warmly

Peggy Oliver
Blog: http://mystampingobsession.blogspot.com

18.12.16

DIY Cafe Paris Wall Decor with DecoArt Stencils

Hello! Today I would like to show you how I made this wooden sign from a scrap of wood. 
Supplies used today are: 
Paint Brush
Pictured here are all my supplies. I found a piece of wood from a sign shop dumpster. Its three ply. Pretty nice wood but the grain is going the wrong way for my sign. 

I used Gesso from the Media line at DecoArt and covered my entire piece of wood. 

 Next I mixed some black with white liquid acrylic pain to make grey and created some lines to represent three separate pieces of wood. As if it were nailed together I even created nail holes with paint.  Next I mixed the cadmium red with white to create pink. I lightly brushed both the pink and grey colors over my entire piece to resemble a worn out or distressed look. 
 Then it was time to stencil and I chose to use some DecoArt Media Crackle Paste and some Cadmium Red mixed together.  This gave me a really cool pink crackle.
 Next I decided to add a white wash using white acrylic watered down and I covered my entire piece.


 Lastly I touched up my stencil lettering with some red cadmium and silver metalic paints from the DecoArt Media Line.  I just used my fingers to lightly touch the raised lettering. 


And that's it! Fabulous DIY wooden decor!
I hope you have enjoyed this tutorial  and I encourage you to visit 
DecoArt Blog and Website for their complete line of Media and Stencils. 


15.12.16

Home decor with DecoArt

 Hello Peggy Oliver here to show you how I transformed my dollar store boxes with my DecoArt products into a vintage storage solution. I started with a set of boxes they came three across. I glued these set of three to each other using E6000 glue.
Next I used Americana Gel Stains from DecoArt.  I applied my gel stain with a brush and wiped it off with a cloth. I did this in sections.  Below is the stain directly applied to the pine box.


Below you can see the result after wiping it off. 


This is the back of the two boxes now one and all stained.  It really looks darker in real life to resemble oak. Fantastic stain I love my results.
Here finished I applied handles to the backs of each drawer so I could slide them in and out easily and gave it that vintage feel.  This final photo shows the more true to life color

I hope you have enjoyed today's tutorial and a huge thank you to DecoArt for the Gel Stains. You can find them here: Americana Gel Stains Oak


14.12.16

Christmas Globe card


Hello and Good Day! Today I am showing my siphoned eBrush Snow globe Card using Dixie Belle Mineral Chalk Paint. 

I used my eBrush with siphon today by mixing Dixie Belle Paint (Sea Glass) with water. More paint than water ratio. I pinned my "tobe" globe onto a board standing up against the wall.  I sprayed in layers allowing not only my paper to recover but prevent streaks from dripping down the paper. I am using 120 lb white cardstock.
I used some gesso to create white snow by dotting my globe with the tip of my metal pokey thing.. lol  Then it was  time for a little reflection mark on the top I used a PITT white pen to make two little marks to imply a reflection or highlight.  I assembled my card using double sided tape and here are my results. 

Thank you to our sponsor today Dixie Belle you can find their fine paints here: http://dixiebellepaint.com/

Get your eBrush by Craftwell USA and accessories here: Craftwell USA

Happy Holidays and thank you for joining us!

10.12.16

Challenge 74 XXX Xmas

Hello today I wanted to show you my snarky Christmas card that sorta fits the theme.. 
I totally did not go XXX rated with this one but I thought I would share it all the same.. 
It made me laugh out loud.. 

Still makes me laugh out loud.. hahaha
Anyway If you would like to join the Sisters in some snarky fun join us by making your own XXX rated card you can post it to our blog: http://snarkystampers.blogspot.ca/
Join the Challenge! Join the Fun!

2.12.16

Mixed Media Supplies

Good Morning!  I would like to officially introduce my online store. I will be offering my newly designed stamps and stencils for mixed media.

Come on in and take a look around my shop!!