
Hello Peggy here to show you my stencil fun over the weekend.
Today's supplies include:
Markers
Adapter
Tags/Paper
Embellishments
Stamps
Stencils
Ink

I chose to whiten my tag and painted it white but this is your preference. I started with my tag. I used one stencil for this tag and I wanted a shabby pink look so pink it was. I airbrushed my tag with my stencil using my eBrush. So simple and quick! Then it was time to embellish. My eBrush made this process so easy my seven year old can easily handle this machine. I love my final result.

Next I chose a few different stencils and mix and matched as I airbrushed and turned my stencils to create this fabulous background paper to emulate those Northern Lights we get in Canada. I had the perfect stamp of trees in the foreground. This example uses four colors of markers and each time I used my eBrush to change colors I also changed the direction of the stencil.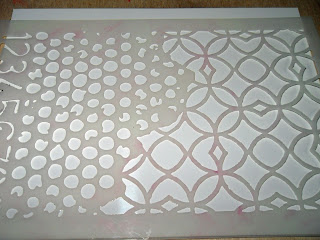
Here is my result..
Here is my result..

I hope you enjoyed my stencil play! I recently cleaned my space and WOW I have a ton of stuff I had forgotten about. This let to play of course.. I hope you enjoyed this read and I encourage you to try out the eBrush. This tool is just too fun!!
Warmly,
Peggy Oliver
No comments:
Post a Comment