31.7.11

Post Board Project for Stamps

A cutting mat, a metal ruler, a cutting knife, a bone folder and a pen. I used the pen for my five inch increments for my shelves to go with dots to mark the spot. I used the bone folder to draw my lines before cutting.
2 poster boards, one for the back of the shelving unit and the other to cut up for shelves and sides/top.
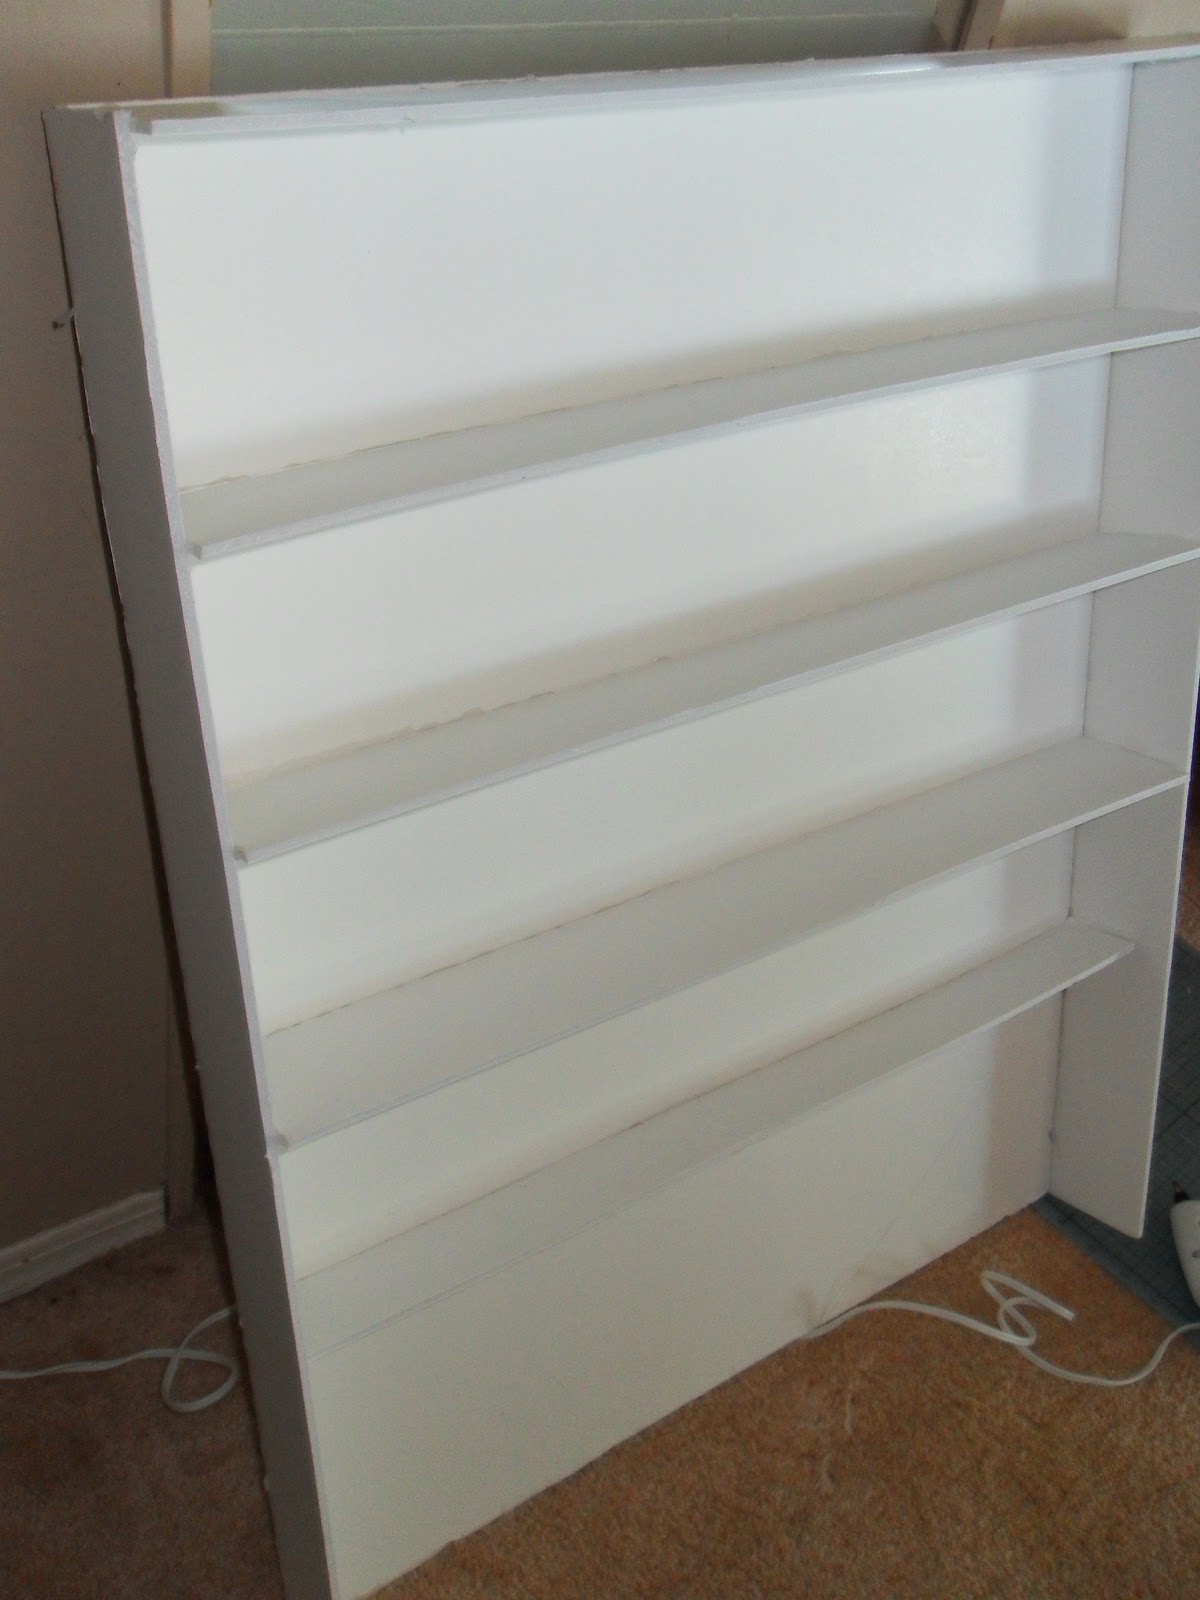
measure your piece of poster board to determine the length and width of your shelves and sides.
Cut 4"w shelves to fit into 5"h spaces as this is the of most of biggest stamps. 
Glue the sides and top first to provide stability to the shelves when gluing.
Add the shelves, careful with the glue gun, when you reload and press into the gun it releases a blob of glue.


I am waiting for my husband to come home this weekend to screw in the back to the wall and give it that lift it needs!.. whalla..

30.7.11

Poster Board Project

Today I am making a stamp display to hold my stamps that are currently in storage as they have no place to be and never get used! I purchased two poster boards but I think I may need three! Anyway, check back soon and I shall have pictures, maybe even a tutorial as to how I did it.

23.7.11

22.7.11

Friends

I finally figured out how to put friends back on my main page. I thought I lost you two forever!.. lol Now you can finally join my site. whewwww..

More Dominos


21.7.11

Stamped and Colored Dominos!


I had so much fun creating these colorful dominos with stazon inks for coloring and stamping and copics for coloring and some stickles and the bird has glossy accents on top.. Yes,  sealant is needed even though I used stazon to stamp and color the edges. I have to do more! it was fun. I saw the idea on YouTube where they made them into jewellery..

13.7.11

Cricut Giveaway!

A HUGE thank you to the My Craft Channel Blog for hosting this giveaway!  They are giving away 20 Cricuts in 20 days.  I am so excited and want to win !!! 

Head on over to their site and find out how you can enter!