30.12.15

Self Love Canvas Banner

Welcome! Peggy here and I hope you all had a wonderful Christmas holiday!
Today I would like to share with you a project close to my heart.  I am sharing some love to someone special just because...
Today's supplies used are : 
Canvas Banner
DecoArt Acrylic Paint
Faber Castell Gelato
Golden Molding Paste
Putty Knife
Golden White Gesso
Prima Embellishments
White Cardstock
Copic Markers
Fiskars Trimmer
Sookwang Double Sided Tape 

I prepared my canvas with white gesso before stamping and let completely dry.  I chose to stencil first. I used molding paste and colored it with acrylic paints then using a putty knife I stenciled the background using Susan's Doodle stencil. 
 Next I stamped images on to the background with blue gelato's and purple acrylic paints.
I stamped my words from the Journal Doodles with a Heart collection onto white cardstock and colored in using my copic pens.


I strung them all together using  a border stamp from the same collection vertically hung.
Using prima's natural bark shapes I colored and glued them in place.

I hope you have enjoyed my banner! Have a wonderful New Year!!


28.12.15

Christmas cards with my eBrush by Craftwell

Hello crafty peeps! Seasons Greetings!!
Today I would like to show you my Christmas card made awesome by my eBrush by Craftwell USA. 

Supplies used today are: 
Spectrum Noir/Copic Markers
Cardstock
Patterned/Textured Paper
double sided tape

I started by fussy cutting my paper to be eBrushed. I chose EB5 spectrum noir marker to eBrush my large background paper where only the edges will show. Then I eBrushed Red R37 copic marker on my already red textured paper. I only sprayed the edges.  Next it was the ornaments turn for color on the edges.  

The only thing left to do is put it all together with double sided tape. 
Here is my result: 


Thank you for taking a look!

Warmly, 


7.12.15

Tags of Peace and Joy


Hello, Peggy here and welcome to my tags of peace and joy. 
today's supplies used are: 
Susan K Weckesser Stamps World Of Christmas
Memento Black Ink
Cardstock 
Tombow/Copic Markers
Embellishments
Twine/String
seam binding
glue
Embossing tools and supplies

I stamped both tag World of Christmas stamps onto white cardstock with memento black ink. Next I colored each tag with markers. I stamped JOY and Peace also from the same set and embossed JOY in gold and adhered down to some seam binding.
I added texture with embellishments using art ingredients bronze micro beads and beaded trim. I also used beads as a trim on her collar. 

Here is the next stamp in this collection (World of Christmas). I colored the tag with my tombow and copic markers and added the Merry Christmas sentiment from the same set and cut it out. I happen to have a small flower piece of left over G45 paper I added to the top of the tag. 

A fabulous set of Christmas tags and sentiments!

We are having a contest to celebrate Canadian Scrapbooker magazine's 10th Anniversary coming up!

We want you to share how you are crafting up love and I would love to see your pictures and cards, projects , edible crafts etc.  Upload your photos using the sidebar link  on the blog and use hashtag #craftuplove #christmaslovecampaign to your social media.

Check out Susan K Weckesser Blog for more details


Ornament in a box

Hello good day to you! I would love to show you my ornament today from a recycled soap (dove) box using my eBrush from Craftwell USA.


supplies used today are: 
Sharpie Pen
recycled box
designer paper
double sided tape
pearl string to hang 
embellishments as desired


I opened a box from the soap I currently do not need. It smells great.. lol 
Then I cut out the front panel to give me a small shadow box. 
I covered my box with designer paper and adhered the paper with double sided tape. 
I made a small hole at the top of the box for a small light bulb to fit into. (bulb from the christmas tree I will hang it on)

I had a tag from a graphic45 collection that I fussy cut and then eBrushed the sides to give a deep green edge. 
I glued lace edging to the tag front. I also glued the tag now cut into a frame onto the front of my box
I fussy cut all my paper and decided a partridge was going to hang in the center of the box. I attached it with a pearl string. Next I added gold embellishments on the front corners and placed a ribbon on the top.  I placed this on the tree and pushed a bulb through the hole in the top and I have a lit ornament.  I hope you enjoyed today's craft tutorial made possible from eBrush by Craftwell. 

Warmly, 

Peggy   


30.11.15

Christmas Banner


 Hello Crafty folks! Peggy here to show you my Christmas banner made with my eBrush by Craftwell.

supplies used today are :
eBrush by Craftwell USA
Sharpie pens
Patterned Paper
Eyelets
Sharp Scissors
Double Sided tape
3d Foam dots

I determined my size of banner by the width of the papers I had on hand. I used black cardstock to back my papers onto, so first I cut my black paper into  the shape of a banner. Then I cut my patterned paper to match. I used my eBrush to shade in all the edges with coordinating sharpie pens. 
 I fussy cut all pieces from this beautiful collection from Graphic 45 papers. 
I eBrushed the edges of my pieces to make them stand out and coordinate with the dark green edges. 
I did the  same with the red.  I put them all together with double sided tape and pop up foam circles. 
Here are the close ups of my results. 


I hope you enjoyed today's craft with Craftwell USA. 

Warmly, 
Peggy

10.11.15

Silent Night Bendi Christmas Card

Hello! Peggy here to show you my latest Christmas card using Dreaming Tree SVG files and my eBrush by Craftwell USA. 

Supplies used today are: 
Electronic Cutting Machine
Spectrum Noir Markers
white cardstock
patterned paper
Brads
Glitter
Glue

 I cut all my pieces out with my electronic cutting machine.  All of the pieces I wanted to spray I cut out of white paper.  I started with my spectrum noir markers, spraying in blue first and then black to make more of a silhouette image.  I sprayed my trees in the background around the edges to give more depth. 
 This time instead of cutting my sentiment I used a marker in place of the cutting blade and had it write instead of cut. I used a Teresa Collins "design grids" embossing folder with my Cut N Boss Machine.  Now This machine makes things easy with a press of a button instead of cranking like other embossing machines. Fabulousness! 
 I used two brads to hold my sentiment in a "Bendi" hold. The two sides of the card are glued together to make the card bendi they have slits that each side fits into. 
 And that is it! So easy! I used glitter as snow and it's ready to mail out. 
 Thanks for joining me! Come check out our fabulous machines at Craftwellusa.com

9.11.15

Bendi Card using my eBrush by Craftwell

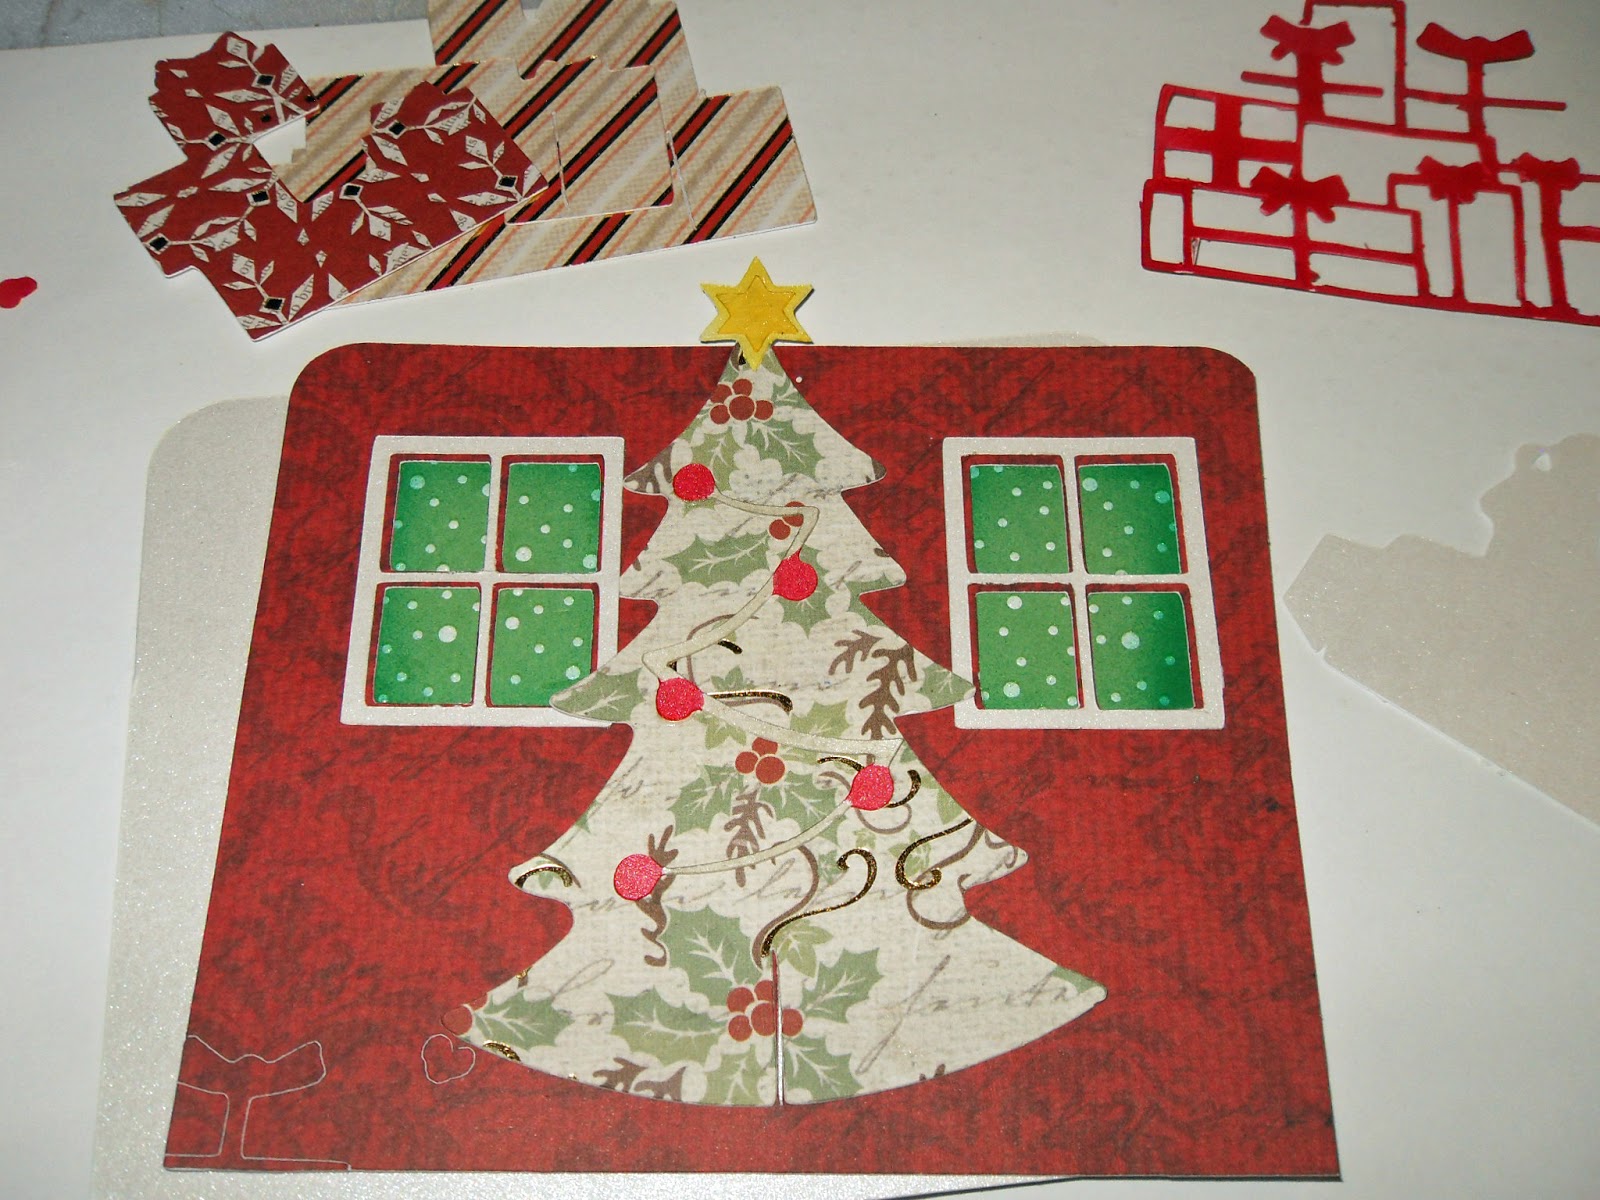
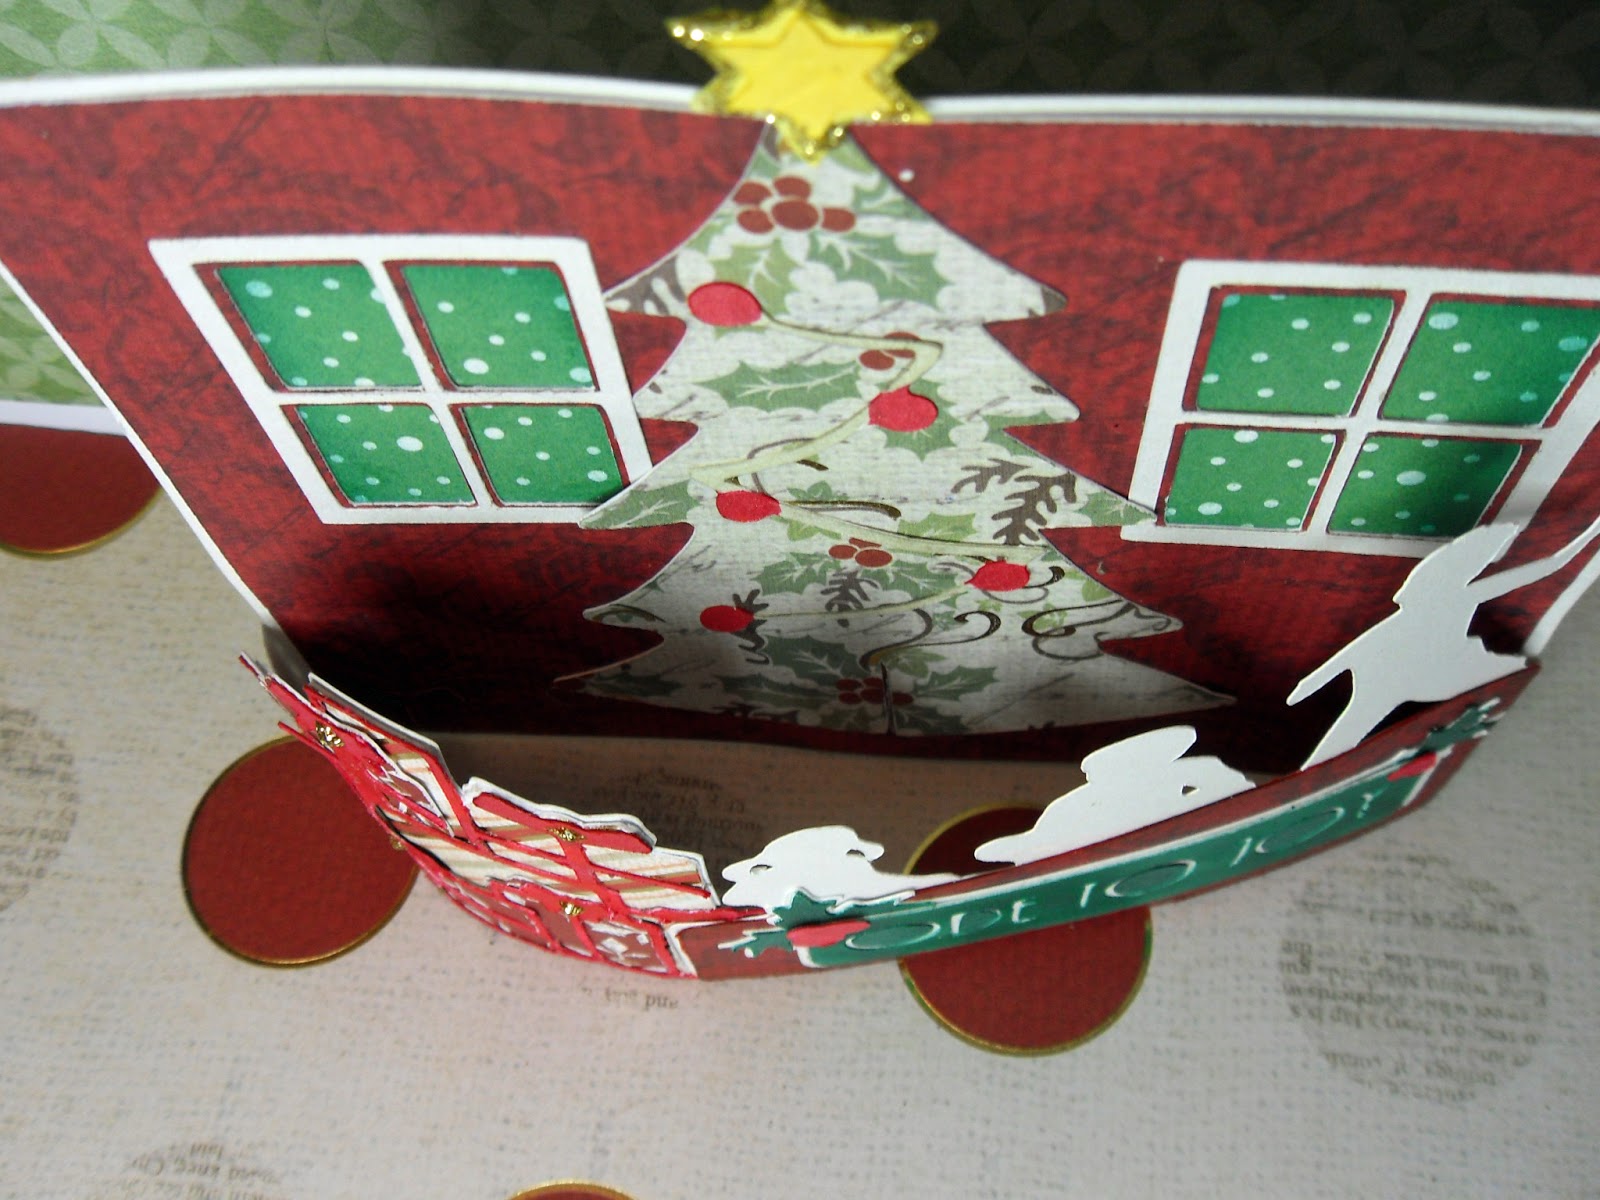
Hello! Peggy here to show you my Bendi card it's called Ode To Joy. This card is so dimensional and versatile  as you can make it so many different ways. 
Today's supplies:  
Electronic Cutting Machine
Patterned Paper
White Paper
Spectrum Noir Markers
Glue
Stickles

I cut all of my pieces on my cutting machine and I was ready to color.  I shaded all of my patterned papers around the edges with my eBrush and Spectrum Noir Markers.  I cut out some white papers that I also eBrushed. The ivy berries, Ode To Joy Sentiment, ribbon on the presents and the star on top of the Christmas tree. 
 I use a spray box to color all my pieces. My eBrush makes it so easy and fast!
 I glued all my pieces down. It was coming together nicely.
 There you have it! all glued and colored. I used some gold stickles to enhance my ribbons and star.
 Dreaming Tree SVG's are so special. So much dimension and they fold flat to mail.

 Here you can see a better angle. The two side pieces have slits and tabs to make it easy to set up.
 Thank you for joining me today! I think I may make a few of these fabulous SVG files.