
Hello! Peggy here to show you how I made my shadow box out of a serving tray. This month we partnered with Walnut Hollow Prooducts to showcase Siin City Stamps.
Products used today are
Acrylic paint brown/black/gold/silver
sandpaper
Metal tape
Chipboard lettering
Chipboard gears
Tim Holtz Chipboard clock
Gold Embossing powder
Cardstock
Patterned paper
Foil embellishments
chain
Versa Mark ink
heat gun
Distress ink
I started by painting my box brown with a large brush in the same direction of the grain.

Second coat was watered down black acrylic paint appied with a cloth

This is my result. Next distress paints in gold and silver lightly appied to the edges and outside. Now for some sandpaper to further distress the edges.

I hand cut a butterfly by folding a piece of cardstock in half and cutting half of a wing leaving the center in tact. When opened I had a matching wing butterfly.

Next I cut small pieces of metal tape and applied it solely vertically and horizontally. Then I glued chipboard gears and lettering and covered with metal tape. I used the bottom of a paint brush to bernish all indentations. I also ran some black acrylic paint over the lettering and rubbed off creating shadows in the crevasses.
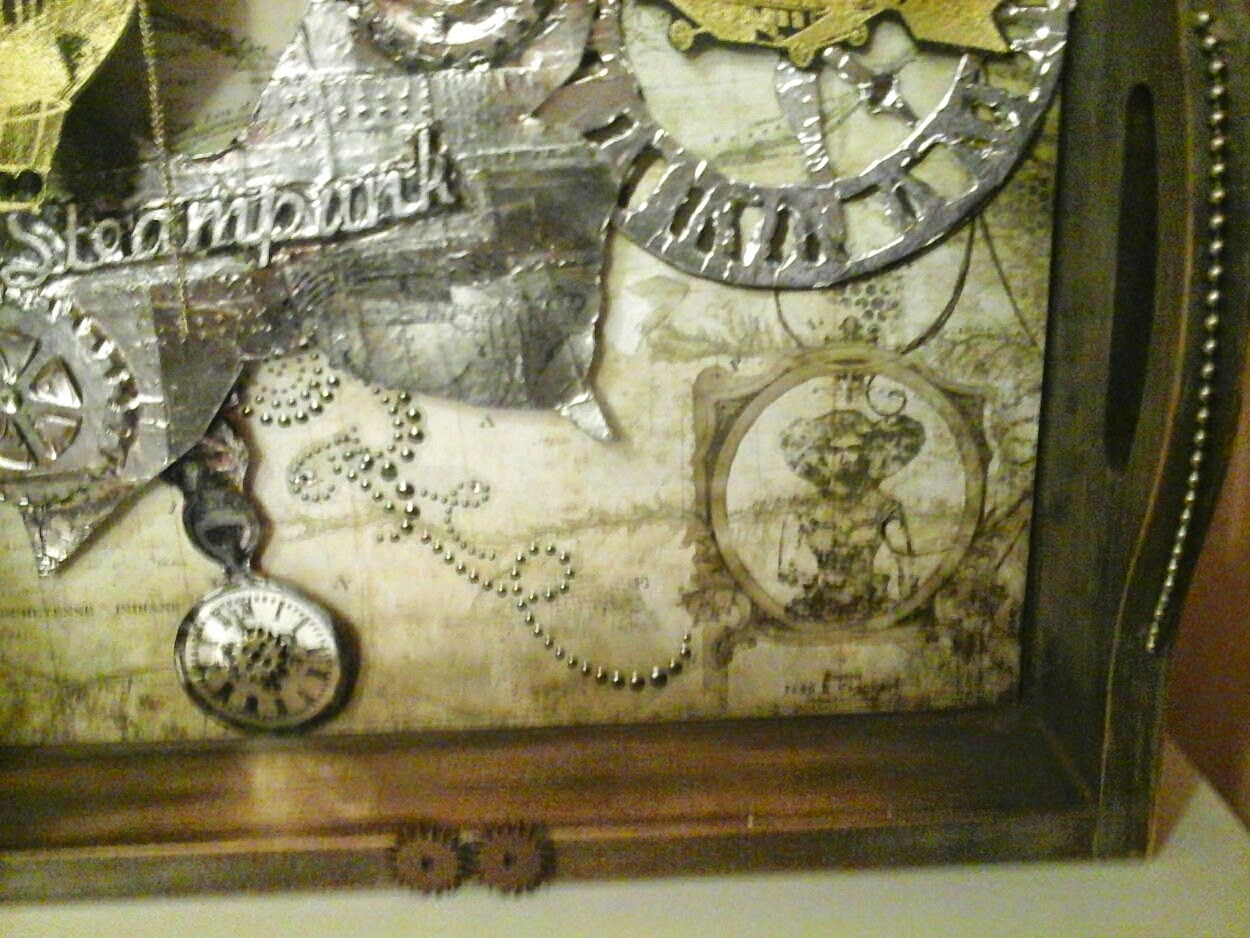
Below I stamped background journaling stamps from the Terri Sproul collection as well as some steampunk images. I also distressed the edges with distress stain.


One more stamp embellishment a steampunk pocket watch stamped with stazon ink on metal.
Put it all together with chains hanging from the ballon and on the handles. A few more metal gears on the outside and thats it!


No comments:
Post a Comment