Showing posts with label Sin City Stamps. Show all posts

15.5.17

Guest Designer on Sin City Stamps Peggy Oliver

Sin City Stamps!

Supplies used today are: 
Sin City Stamps 
ribbon spool (optional)
Ink
embellishments 
acetate 
cardstock 
Die (TH in this case)
embossing machine
patterned paper
double sided tape
wet glue
double sided foam tape

Hello! Welcome, I want to share with you my passion for mixed media stamps and Sin City Stamps delivers.  Today I am guest appearing for Sin City Stamps by far one of my favorites.   

 I used double sided tape to adhere my unmounted red rubber background stamp from Sin City Stamps to an old ribbon spool. 
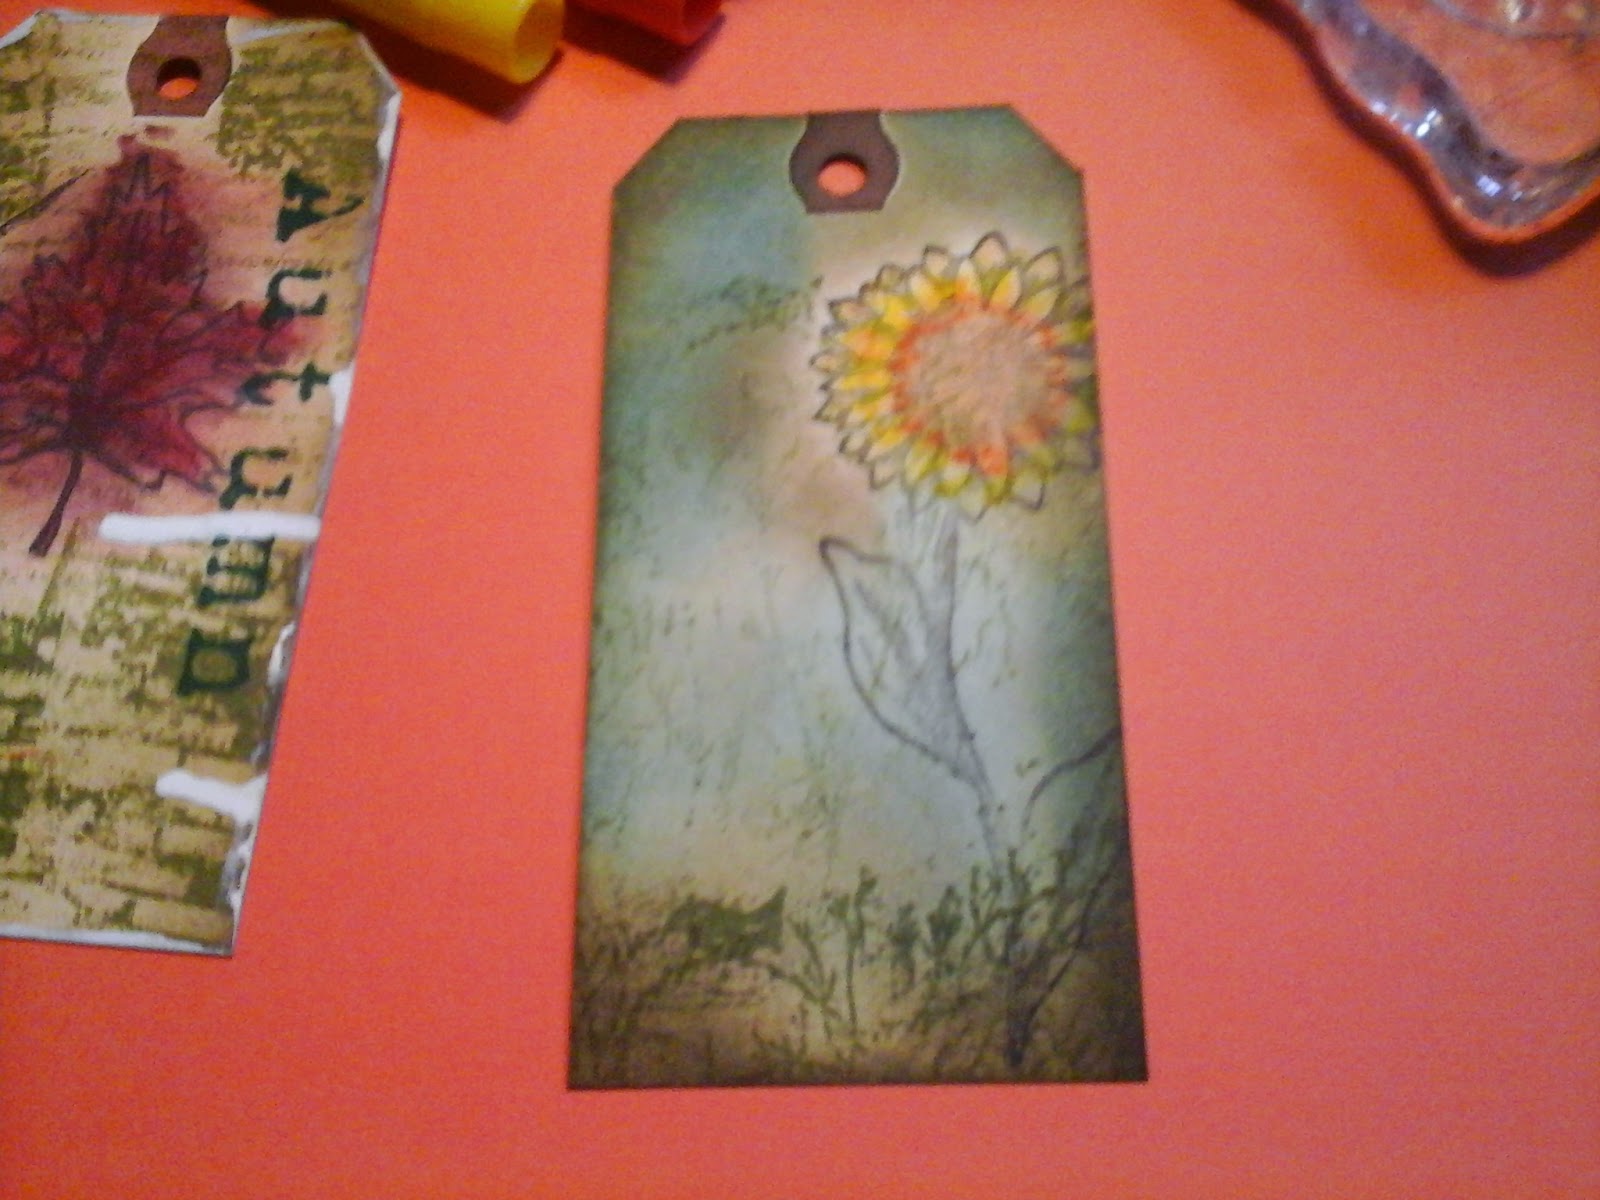
 I used versafine black ink on my patterned paper. I rolled my stamp onto my paper and also used second and third generation stamping in any empty spots.   Then crinkled it all up and glued it to my plain cardstock.  I let it dry and ran my die and paper through an embossing and cutting machine. 
 I used Memento black ink for the wings on acetate and cut them out. 

  I glued my embellishments with foam tape and wet glue  and also attached a chain at the top.

This might just end up on around a nice bottle of wine as a gift.
Thanks for joining me!
Check out Sin City Stamps Here: http://sincitystamps.com/
And more projects like this here: http://sincity-stamps.blogspot.ca/

12.12.14

Steampunk Shadow Box

Hello! Peggy here to show you how I made my shadow box out of a serving tray. This month we partnered with Walnut Hollow Prooducts to showcase Siin City Stamps.

Products used today are
Acrylic paint brown/black/gold/silver
sandpaper
Metal tape
Chipboard lettering
Chipboard gears
Tim Holtz Chipboard clock
Gold Embossing powder
Cardstock
Patterned paper
Foil embellishments 
chain
Versa Mark ink
heat gun
Distress ink

I started by painting my box brown with a large brush in the same direction of the grain.
Second coat was watered down black acrylic paint appied with a cloth


This is my result. Next distress paints in gold and silver lightly appied to the edges and outside. Now for some sandpaper to further distress the edges.
I hand cut a butterfly by folding a piece of cardstock in half and cutting half of a wing leaving the center in tact. When opened I had a matching wing butterfly.

Next I cut small pieces of metal tape and applied it solely vertically and horizontally. Then I glued chipboard gears and lettering and covered with metal tape. I used the bottom of a paint brush to bernish all indentations. I also ran some black acrylic paint over the lettering and rubbed off creating shadows in the crevasses.

Below I stamped background journaling stamps from the Terri Sproul collection as well as some steampunk images. I also distressed the edges with distress stain.

I found the perfect spot to stamp the thee headed lady by Sin City Stamps. I also needed a steampunk airshiship and balloon which I stamped on black cardstock with Versa Mark ink and gold embossed using my heat gun.
One more stamp embellishment a steampunk pocket watch stamped with stazon ink on metal.

Put it all together with chains hanging from the ballon and on the handles. A few more metal gears on the outside and thats it!


I hope you enjoyed todays tutorial! Please stop by Walnut Hollow and Sin City Stamps for your crafting needs.

28.11.14

Sin City Stamps and Cottonwood Arts


Hello! Peggy here to show you a two page journal with a jingle kinda theme...I'm just in that kind of mood lately ya know with the tree an all already up. Haha So, this month we are partnering with Cottonwood Arts. 

B2 Coldpress Notebook (6.75x12)

Molding paste
Stazon blue ink
White gesso
Gelatos 
Water colors
Cardstock
Dictionary paper
Copics
glue or matte medium

The first thing I did was sketch out a santa face so I knew approx. where he would be on both pages. Then I got out my stamps and white gesso. I stamped randomly with my unmounted stamps using gesso as a resist. Next I watercolored a blue background.
I used red gelatos to bring out that resist. More background stamping this time with blue stazon ink.
Time for texture! But before this stage I used dictionary paper for a mustash. Next the molding paste. Like icing a cake! 

 I used copic markers to color his face
 More stamping with white gesso, rolling my stamp over the page with a brick background. And now embellishments with some fussy cutting and glue.


I hope you have enjoyed my goofy side as much as I had fun making it! Thank you to Cottonwoodarts our november sponsor
I hope I have inspired you to create your own goofy side!.
Thank you for joining me! Stamps and Stencils and much more can be found at Sin City Stamps

14.11.14

Sin City Stamps Art Journaling with Terri Sproul

Hello and welcome! Today I made a double page journal using Cottonwood Arts Coldpress Notebook and SinCity Stamps.
Todays supplies include:
Stencils
Dictionary Paper
Molding Paste
Matte Medium 
Watercolor Paints
Lindy's Sprays 
Grey Stazon Ink
Black Stazon Ink
Gesso
Magazine Picture
Cardstock Flower
small lid

This month we are teaming up with a fabulous sponsor Cottonwood Arts. They have produced a line of coldpress journals and notebooks that can handle a large amount of medium for mixed media projects.

Today I am showing a double layout journal page featuring 
I started  with some ripped dictionary pages.  I placed small pieces horizontally and glued them down with Matt medium.
Next I used stencils with some molding paste. I knew roughly where I was going to place my focal image and worked around it.

With Grey Stazon ink  I started stamping with the background images from the Terri Sproul Art Journaling 2 line.
I also wanted these images in white so I used white gesso with my stamps. Keep in mind Gesso is an Acrylic so cleaning your stamps immediately is a must.  I used my finger to apply the gesso directly to my stamp. I used a small lid with white gesso to create  circles.
Next I started laying down some color with watercolors. I got a really cool resist effect when coloring on top of my stamped images.
I glued my focal image of Marilyn down with matte medium being careful not to get any medium anywhere but under my image as it will resist any colors I place on top. I wanted to tone down my colors so I created a wash with water and gesso and covered both pages. Seeing my focal image is black and white I wanted some darker colors. So I brought out my sprays and went to town with green, gold and browns.
More Stamps! Layers, layers, layers! Brick background stamp in black stazon. Next more stamping with gesso. I stamped the background words, I also stamped "My Favorite Things" beside her coffee cup.
I placed a cardstock rose in her hair and I made some of my texture pop by outlining certain elements with a black fine point pen. 
I hope you have enjoyed todays tutorial. I have to say I added alot of water and medium to this coldpress notebook and there was no piling or warping. Very impressed with this fabulous journal/notebook from Cottonwood Arts.
Check out Sin City Stamps for Journaling and crafting needs! Stamps, stencils and more....
Warmly, Peggy Oliver 

25.10.14

Tags with Sin City Stamps

 Hello! Peggy here to show you my tags made with some fabulous stamps! As soon as they arrived I had to play!
Supplies used today:


I started with some shipping tags 4 3/4 x 2 3/8 and sprayed yellow, red and orange with Lindy's. Next I layered some texture on top with background stamps from Terri Sproul's Art journal 2 set. As I put the color box  ink down with my flourish stamp I quickly poured clear embossing powder on top and heat set with a heat tool.
Next I stamped my sentiment and edged my tag with white acrylic paint.
Below I made my second tag with Lindy's Sprays  the same as the first but I added green at the bottom. I layered another background stamp from Sin City Stamps Pam Bray's Fall Collection. When stamping this background I used my stamp unmounted. I stamped many times to give the illusion of distance.
 I used two sentiments  one from the Fall Collection and one from the Journal collection.
Below I made an Autumn tag mixing both collections of stamps. Terri Sprouls fabulous background stamp of bricks in disress ink peeled paint. Pam Bray's leaf and autumn were used also using distress ink. The leaf was colored with red and black Gelatos. Using my disttress inks I shaded the whole tag. I used white acrylic  paint on the edges.

Here are the stamp sets used:
Art Journaling with Terri Sproul 2

Pam Bray's Fall Collection 
Here is the progression of layering a background using one stamp. Rocking portions of the stamp unmounted. Some layers darker than others using one distress ink. Next I colored the flower and leaf with gelatos. 

I edged the tag again with white acrylic  paint.

I added some hand dyed ribbon to match.

I hope you get a chance to pick up these great stamp sets, I can't wait to play with them again!
Pick them up here Sin City Stamps