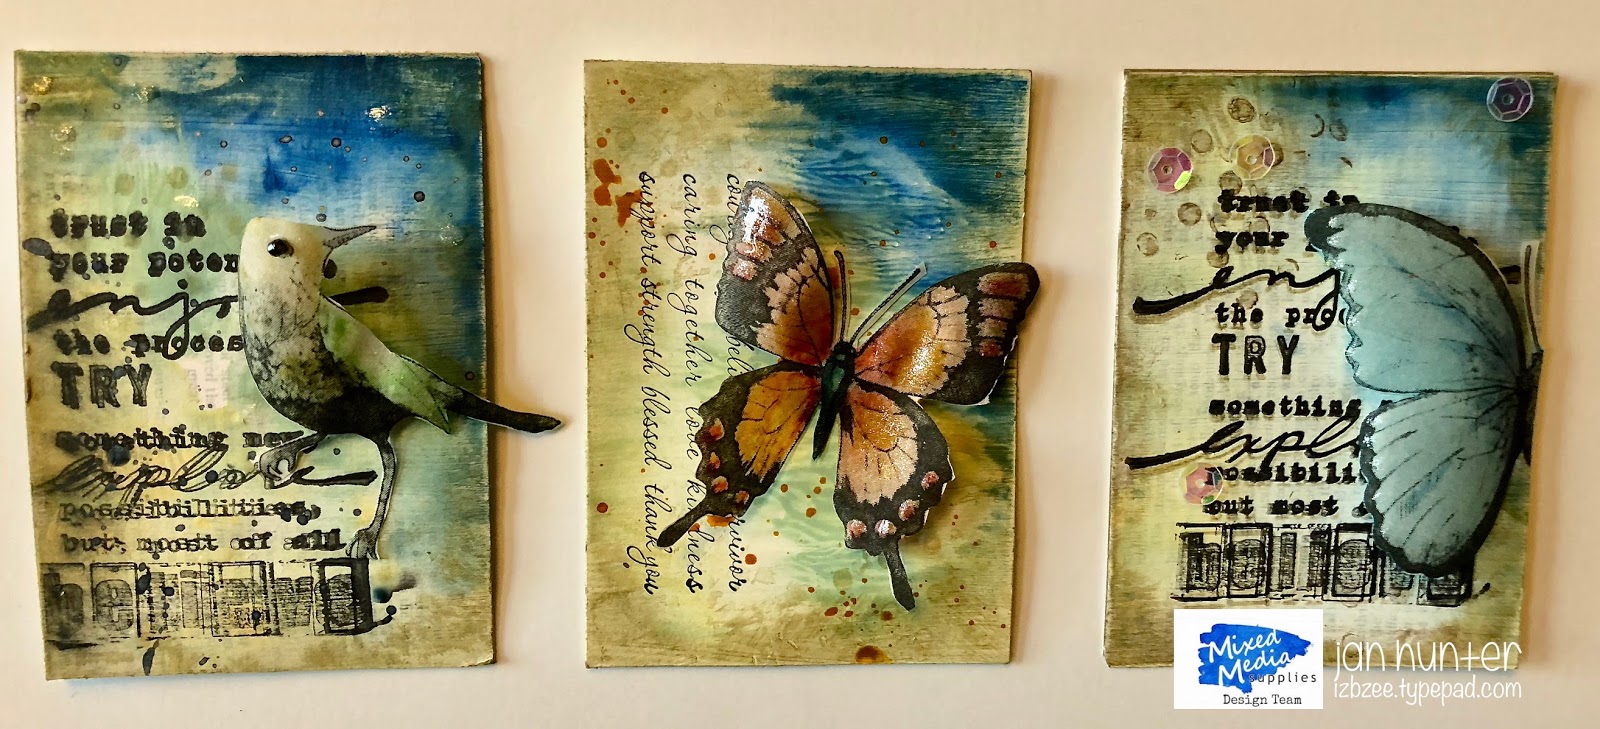
Learning to embrace the oops has always been an issue for me in the past, however, after taking a couple of recent online classes, I have been able to do much better about letting go of some things and let a few of the oops be visible and be a part of the finished project.
Matter of fact - these oops have sort of grown on me.
You'll need
Mixed Media Birds and Butterflies
copy paper
digitized dictionary page
cardstock (white)
vellum
laser printer
Gesso
foam brush
Gelli Plate
Acrylic paint
brush or brayer (optional)
Mister filled with water
Painters Tape
stencil (mini dot - my design)
stamps, (Texture stamps from Mixed Media Supplies, assorted sentiment stamps)
ink pad (black)
Markers (Tombow Dual Brush, SN Sparkle, clear or pearl mica mixed with alcohol or water)
Tape runner (Tombow)
Clear foam Tape (Kool Tak)
seed bead (optional)
Silver, gold mica in misters
Open your favorite photo editing program and size the digital bird and butterflies image as desired. Print using a laser printer. Open the dictionary page and print on copy paper.
Cut the printed dictionary page into ATC sized pieces. Trim as needed if your printer doesn't do a bleed print. The pieces should be a finished size of 2 1/2 x 3 1/2 inches. Using the foam brush, apply a light coat of gesso on the printed side. The print should show through. Set aside to dry.
Print the butterfly page on a sheet of translucent white vellum. Cut the butterflies and birds you will use for your project and set aside.
Section off an area of the Gelli Plate using the printer's tape. The area should be slightly larger than your ATC card.

Place small dabs of acrylic paint on the gelli plate, blend the colors with your fingers (brayer or brush) and lightly mist with some water. Place the gessoed paper face down on the gelli plate and pull a print. Pull a second print. Repeat as needed. Let these pieces dry thoroughly.

Color the reverse side of the butterfly as desired using the markers. The vellum may curl -- you can flatten it by placing it in a heavy book or pressing lightly with a craft iron between two pieces of copy paper. Embellish with some sparkles using the SN sparkle pen. Let dry.


Mist or fleck the mica on the ATC card as desired, add other embellishments -
Using the clear foam tape, add the fussy cut butterfly and bird images you've colored. Name and sign your finished image.
These are so fun to make and remember, it's ok to embrace the oops! Today's play was definitely a good one.


