26.12.14

Playing with Sin City Stamps

Hello Peggy here to show you a quick card using Sin City Stamps. This card utilizes Pam Brays fabulous Collection.

Supplies used today:
Sin City Stamps Pam Bray Collection
Sin Ciy Stamps Terri Sproul Collection
Stazon Ink
Cardstock
Sheet of Vellum
Copic Markers
Designer paper
Embellishments

I started with a blank piece of blue cardstock. I stamped a brick background stamp also from Sin City Stamps Terri Sproul Journal 2 collection, and created this fabulous background. I apparently had black ink still on my stamp and that left random black patches in my design. Love it!

Next I stamped my dragonfly in Stazon ink on one side of vellum paper and turned it over to color with copic markers. I flipped the paper back to reveal a muted colored fly. Next I stamped a flower from the same Pam Bray collection as well as the sentiment.

I cut my papers to fit a designer paper and layered that onto black cardstock.

I added embellishments and I have a finished card.

I hope you enjoyed my tutorial and I encourage you to play with your own Sin City Stamps!
You can find those fabulous stamps and more at Sin City Stamps by clicking here. Thank you for joining us!

22.12.14

Craftwell Ebrush Mixed Media Mini Album

Hello! Peggy here to show you how I used my eBrush to help me creare this mini album cover.
Todays supplies used:
Atlantic Paper Evolon 168gm 
Chipboard covers
 Spectrum Noir Markers
Gesso
Molding Paste
Homemade Stencil
DCWV cardstock
heat gun

I started with a blank two piece front and back chipboard cover.
I desided since the Atlantic Paper was tear proof I would use it to cover the entire Mini album including the spine. I would create the inside pages with cardstock last.
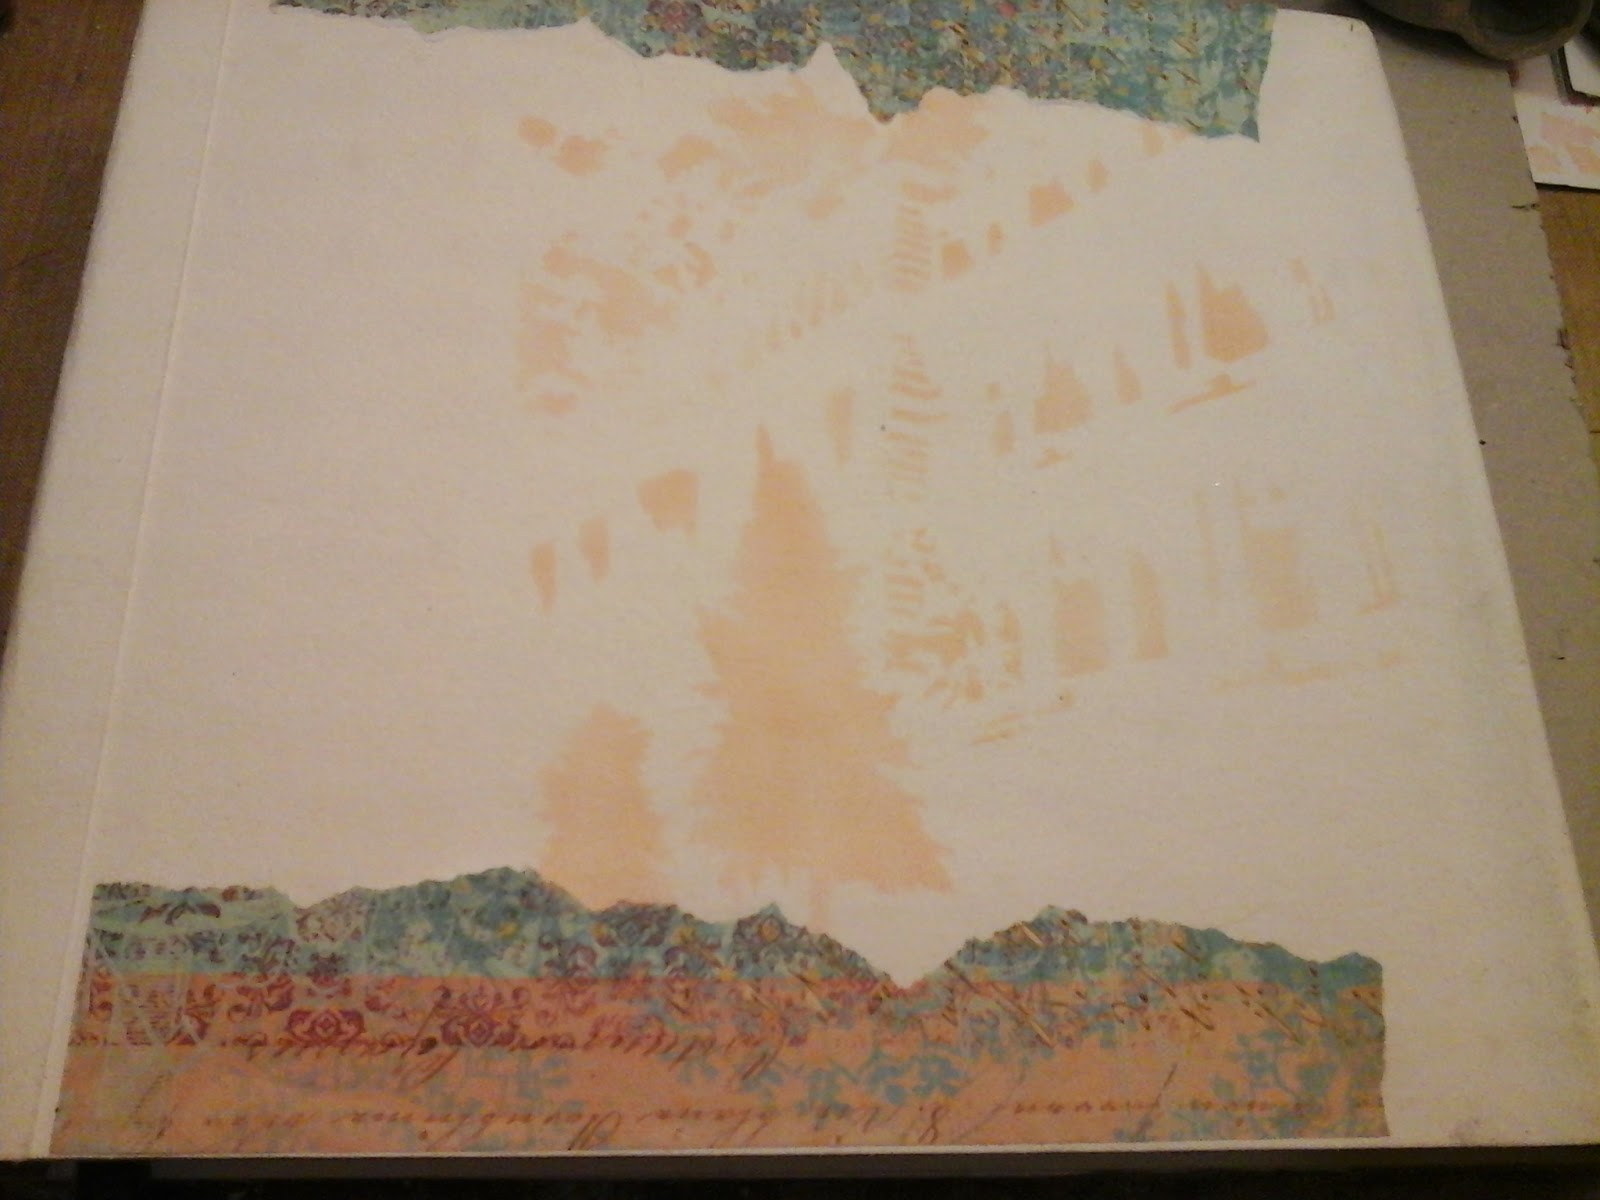
Next with the Eiffel Tower stencil. I gave the stencil a thin later of molding paste.  I dried this with my heat tool and placed my stencil in the same position on top of the molding paste to give it some color with my eBrush. Using my trigger gently I was able to get the effect I was looking for with little effort.
I cut up some patterened paper and randomly glued pieces on the front. I gave this a wash with watered down gesso to tone it down a bit. Next I brought out the stencils again this time City trees for the back cover. Using my eBrush and Spectrum Noir markers I sprayed my trees and building. And again with torn paper randomly placed.

I once again placed my stencil back on the original sprayed image to give a two toned effect.  I also pulled out a homemade stencil and molding paste leaving random dots.
Another stencil called The big apple helped to fill in space. I eBrushed again with Spectrum Noir markers also using a second layer of color for dimension.
I fussy cut images from designer paper and glued them in place.
Next I created pages from heavy cardstock creating my own envelope style page with pockets.
All done...
That's all for today! I hope you enjoyed my mixed media mini album covers.
I encourge you to try our must have crafting tool the Craftwell USA eBrush. I had a fabulous time with different mediums on this versitile Evolon paper! Great stuff!
Crafters Companion has some great stuff in their store so come and check them out!

15.12.14

eBrush Christmas Ornament

Hello Peggy here to show you my Christmas ornament using my eBrush.

Todays supplies used are:
Ornament
Acetate 
Stickers
Sharpie metalic gold, metalic copper
Gold Glitter
Burlap ribbon

First thing I did was eBrush my stickers with my Spectrum Noir purple and Sharpie gold. My eBrush allowed me to control the overspray easily. I didn't  even have to remove them from the original packaging.
I cut a piece of acetate to place inside the ornament to help give a floating illusion and to help separate the glitter from my sticker images. At this point I desided to change my lid color from a glaring silver to metalic copper with my eBrush.
I placed my glitter on the inside behind my images.
I put my pieces together and wrapped my burlap ribbon on top with a small bow.
My final result.
I hope you have enjoyed my short tutorial.
My Craftwell Ebrush has proven to be my go to item!
And Crafters Companion Spectrum Noir markers the perfect marriage. 


12.12.14

Steampunk Shadow Box

Hello! Peggy here to show you how I made my shadow box out of a serving tray. This month we partnered with Walnut Hollow Prooducts to showcase Siin City Stamps.

Products used today are
Acrylic paint brown/black/gold/silver
sandpaper
Metal tape
Chipboard lettering
Chipboard gears
Tim Holtz Chipboard clock
Gold Embossing powder
Cardstock
Patterned paper
Foil embellishments 
chain
Versa Mark ink
heat gun
Distress ink

I started by painting my box brown with a large brush in the same direction of the grain.
Second coat was watered down black acrylic paint appied with a cloth


This is my result. Next distress paints in gold and silver lightly appied to the edges and outside. Now for some sandpaper to further distress the edges.
I hand cut a butterfly by folding a piece of cardstock in half and cutting half of a wing leaving the center in tact. When opened I had a matching wing butterfly.

Next I cut small pieces of metal tape and applied it solely vertically and horizontally. Then I glued chipboard gears and lettering and covered with metal tape. I used the bottom of a paint brush to bernish all indentations. I also ran some black acrylic paint over the lettering and rubbed off creating shadows in the crevasses.

Below I stamped background journaling stamps from the Terri Sproul collection as well as some steampunk images. I also distressed the edges with distress stain.

I found the perfect spot to stamp the thee headed lady by Sin City Stamps. I also needed a steampunk airshiship and balloon which I stamped on black cardstock with Versa Mark ink and gold embossed using my heat gun.
One more stamp embellishment a steampunk pocket watch stamped with stazon ink on metal.

Put it all together with chains hanging from the ballon and on the handles. A few more metal gears on the outside and thats it!


I hope you enjoyed todays tutorial! Please stop by Walnut Hollow and Sin City Stamps for your crafting needs.

3.12.14