Showing posts with label Spectrum Noir. Show all posts

18.5.15

Things Found From Home Canvas


Hello! Peggy here to show you my 10 x 10 Canvas made with the help of my eBrush by Craftwell!


Supplies used today are:
10 x 10 Canvas
Things from home theme nuts , bolts , you name it ..
frame
E 6000
Gesso
Spectrum Noir Markers
Sharpie Pens

I glued all pieces down with E6000 in vertical and horizontal only. 

After completely drying I applied white gesso to everything. 

I sprayed with finepoint Sharpie Markers aqua green and light blue with my eBrush.
 I painted over with some white gesso for another added layer.
 Then I sprayed over that with more Alcohol Markers. Spectrum Noir Markers used were TB8,BT9,BT4,BT5 Here is my result! and some close ups. 


 My frame is ready for a picture.. I'm thinking ocean! What do you think?

Have yourself a wonderful Monday!
Peggy 


20.4.15

Hot Air Balllon with my eBrush by Craftwell USA


Hello! Peggy here to show you my Hot Air Balloon with the help of my eBrush!
Supplies used today are: 
  • eBrush by Craftwell USA
  • Spectrum Noir Markers GB2, FS9, PL5, HB3, PL2,TN1
  • Double Sided Designer Papers Graphic45
  • Distress Tool
  • Cardboard
  • Double sided tape
  • Crystal Laquer
  • Glue Gun
  • Ribbon
  • Lace
  • Trim
  • Flowers/Wire
  • Gesso
  • Needle and Thread
  • Scissors
  • Ruler
  • Punch
I started with a template that I drew so each piece including the foundation would be the same. 
I made a 3D foundation. One solid piece (whole balloon) and two halves for sides to make it 3D. I folded my template in half to make sure each half was identical as well as being able to fold it when tracing. I used the uncut straight edge of my cardboard to trace one side at a time  to ensure a flat edge to glue down to my one piece of base. (as opposed to cutting one in half) 

I traced my template onto the cardboard foundation and cut. 
I then used my template to cut out each piece of patterned paper and adhered the paper with double sided tape. I used a distress tool on all pieces of paper including the base.  


I cut out 15 balloon shapes out all together. Two for the base and the rest I distressed and folded in half. Since my base gave me four sides, I placed three sets of folded designer card stock in each placing them side by side.
I used white gesso to cover up any of the brown corrugated cardboard I could still see. 
After distressing all papers it was time to take out the eBrush! I used FS9 to give all of the edges a glow.
I used my ruler to measure one inch marks that gave me five holes and I sewed the signature like pages together three at a time. I sprayed just the edges. 
I used Crystal Lacquer and hot glue to adhere the balloons into place. Then it was time to dress it up! 
 I used Crystal Lacquer to adhere the trimmings to the cardboard base. I used vintage lace around the center which helped to keep the pages evenly spaced. Sewing really helped the pages stay evenly in place.
I had some small silk flowers to which I added some paper covered wire and I eBrushed them with Spectrum Noir markers HB3 and PL2. I cut out a couple of butterflies from the paper collection and eBrushed them with GB2.
I created a small box out of 4x4" paper scored at ever inch on all sides.  I attached that to the bottom of the air balloon to which I added some ribbon eBrushed with TN1.  I used a fiskars trim punch with the matching papers for the small box. I brought it all together and I think it turned out smashing! I think this will be given as a gift this weekend.
I hope you enjoyed my tutorial and I encourage you to try out this fantastic tool call the eBrush. It is so versatile with each changing project.
Have a Great Day!
Peggy


23.3.15

Easter Fun!


 Happy Monday!!  Peggy here to show you how I made this cute little bunny/chocolate tin for Easter with Polymer Clay and my eBrush.

Supplies used today are:

  • Ebrush by Craftwell USA
  • Spectrum Noir Markers
  • White Polymer Clay
  • Background Stamp
  • Swarovski Crystals
  • Chocolate Goodies
  • Tin Can
  • Designer Paper

I started with my clay and manipulated my clay to a flat surface to make an imprint from my background stamp. I wanted the dress to have texture. I added flowers, straps and buttons from clay.

I began to eBrush my pieces before they went into the oven. I found I got a more even coverage when spraying onto unbaked clay.  After hardening in the oven the colors faded to a nice salmon/pink shade.

I sprayed the dress in the same color Spectrum Noir marker FS8 but held my Ebrush farther away for a lighter coating.  I carefully put the bunny back together and then time for the oven and baked as directed on the package. (15mins)
Next I made three eggs from the clay and stamped with a Ukrainian design all around and eBrushed with same Spectrum Noir marker. I have about three different tones or shades of the same color with just one marker.
I wrapped designer paper around my tin and filled it with yummy chocolate.  I made my own stuffing out of cardstock by cutting it into little strips.  I used Swarovski Crystals for her eyes. 

 I tied a bow around the tin and wrote a note on the tag from the easter bunny of course.

I hope you have enjoyed todays tutorial as much as I had fun playing! My Easter Bunny surprise will surely be loved..

Be sure to check out Craftwell USA and get your eBrush and you could be spraying your way into fun crafts and artsy adventures.


"Turn your markers into spray art with the new eBrush by Craftwell. The eBrush is universally compatible with many brands of markers! "

16.3.15

Mixed Media Cards Layering with Ebrush

Hello Crafty Folk! Welcome to my mixed media cards.  With just a few simple tools I was able to create these vibrantly colored cards in minutes. 

Supplies used today are:
Spectrum Noir Markers
Glossy Cardstock 
Black Cardstock 
Stencils
Stamps 
Memento Ink

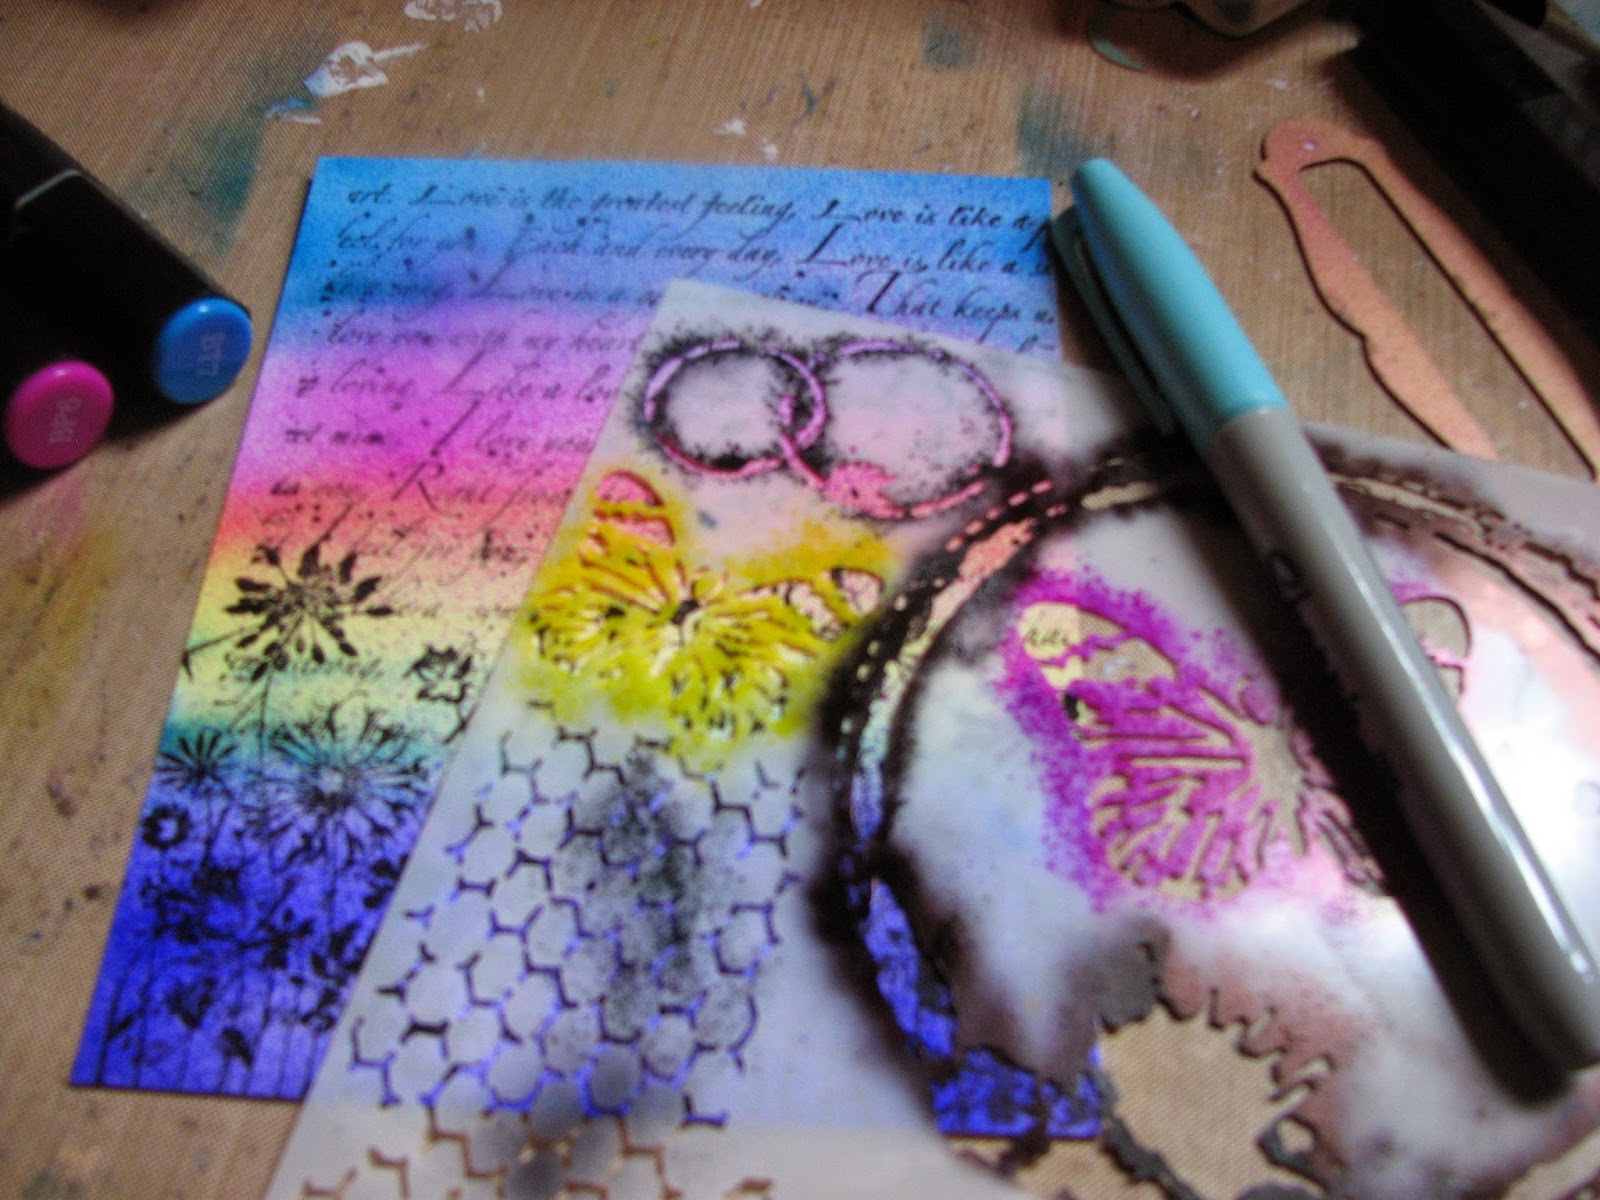
I started with a background stamping onto glossy cardstock cut to fit card bases made from cardstock.  Then I Ebrushed layers of color lightly for transparency. 
Next I was ready for some stenciling with Spectrum Noir Markers.
 This process was so effortless and I am fully enjoying my results. I had to make more!
Using the same process and stencils with my Ebrush!
 I made sure when stamping I used a Dye Ink so the colors from the alcohol based spectrum noir markers did not mix. My stamps stayed without smudging. 
 The glossy cardstock used makes the airbrushed colors look so vibrant. 

I hope you have enjoyed my short tutorial. 

Quick Tip:
If you like splattering ink as much as I do try holding your Ebrush in one hand and your Spectrum Noir markers in the other and blow the air nozzle directly over your marker tip and not too close you should be able to create some not so predictable yummy marks!
Thanks for looking !!

2.3.15

My eBrushed Twinchie

Hi Everyone! today I am posting a small twinchie 2x2 altered chipboard. Papers used were MS cardstock and vellum paper for the flowers and butterflies. I eBrushed my butterflies, flowers and metal embellishment with Spectrum Noir Markers. Check out our other eBrushers and see what they did with our challenge on the Facebook page:  https://www.facebook.com/groups/1494321010779881/


26.1.15

Mixed Media on Wet Wipes?

Hi! Peggy here to show you how I used a wet wipe for my substrate in this fun project.

Supplies used today are:

  • Ebrush by Craftwell
  • Spectrum Noir Markers
  • White Gesso
  • Inks (honestly were just wiped off my craft sheet)
  • Wet Wipe or similar (Dryer Sheet/Paper Towel)
  • Acrylic Paint
  • Stencils
  • Printer
  • Painters Tape
  • Copy Paper
  • Image to print
  • Printer


  I started with a dried dirty, inky, wet wipe to which I applied white gesso and let dry before adding any color.

I brought out a few stencils and using a sponge I applied acrylic paint to the numbers on my stencil and onto my wipe.  Next I played with my Ebrush and the stencils. I have a great sunburst stencil that I used in conjunction with my Spectrum Noir Markers in OR1

The last step I did was tape my art down with painters tape to a 8 1/2 x 11 sheet of paper and feed it through my laser printer. I chose a flower/butterfly theme for my image as my colors screamed garden. I also used a black and white image for contrast. 


whalla my mini project! I love it! I am planning to adhere this to a canvas in the near future so I can admire my work. I hope you have enjoyed my tutorial and I encourage you to try out the Ebrush from Craftwell on your next mixed media project!


Warmly, 


22.12.14

Craftwell Ebrush Mixed Media Mini Album

Hello! Peggy here to show you how I used my eBrush to help me creare this mini album cover.
Todays supplies used:
Atlantic Paper Evolon 168gm 
Chipboard covers
 Spectrum Noir Markers
Gesso
Molding Paste
Homemade Stencil
DCWV cardstock
heat gun

I started with a blank two piece front and back chipboard cover.
I desided since the Atlantic Paper was tear proof I would use it to cover the entire Mini album including the spine. I would create the inside pages with cardstock last.
Next with the Eiffel Tower stencil. I gave the stencil a thin later of molding paste.  I dried this with my heat tool and placed my stencil in the same position on top of the molding paste to give it some color with my eBrush. Using my trigger gently I was able to get the effect I was looking for with little effort.
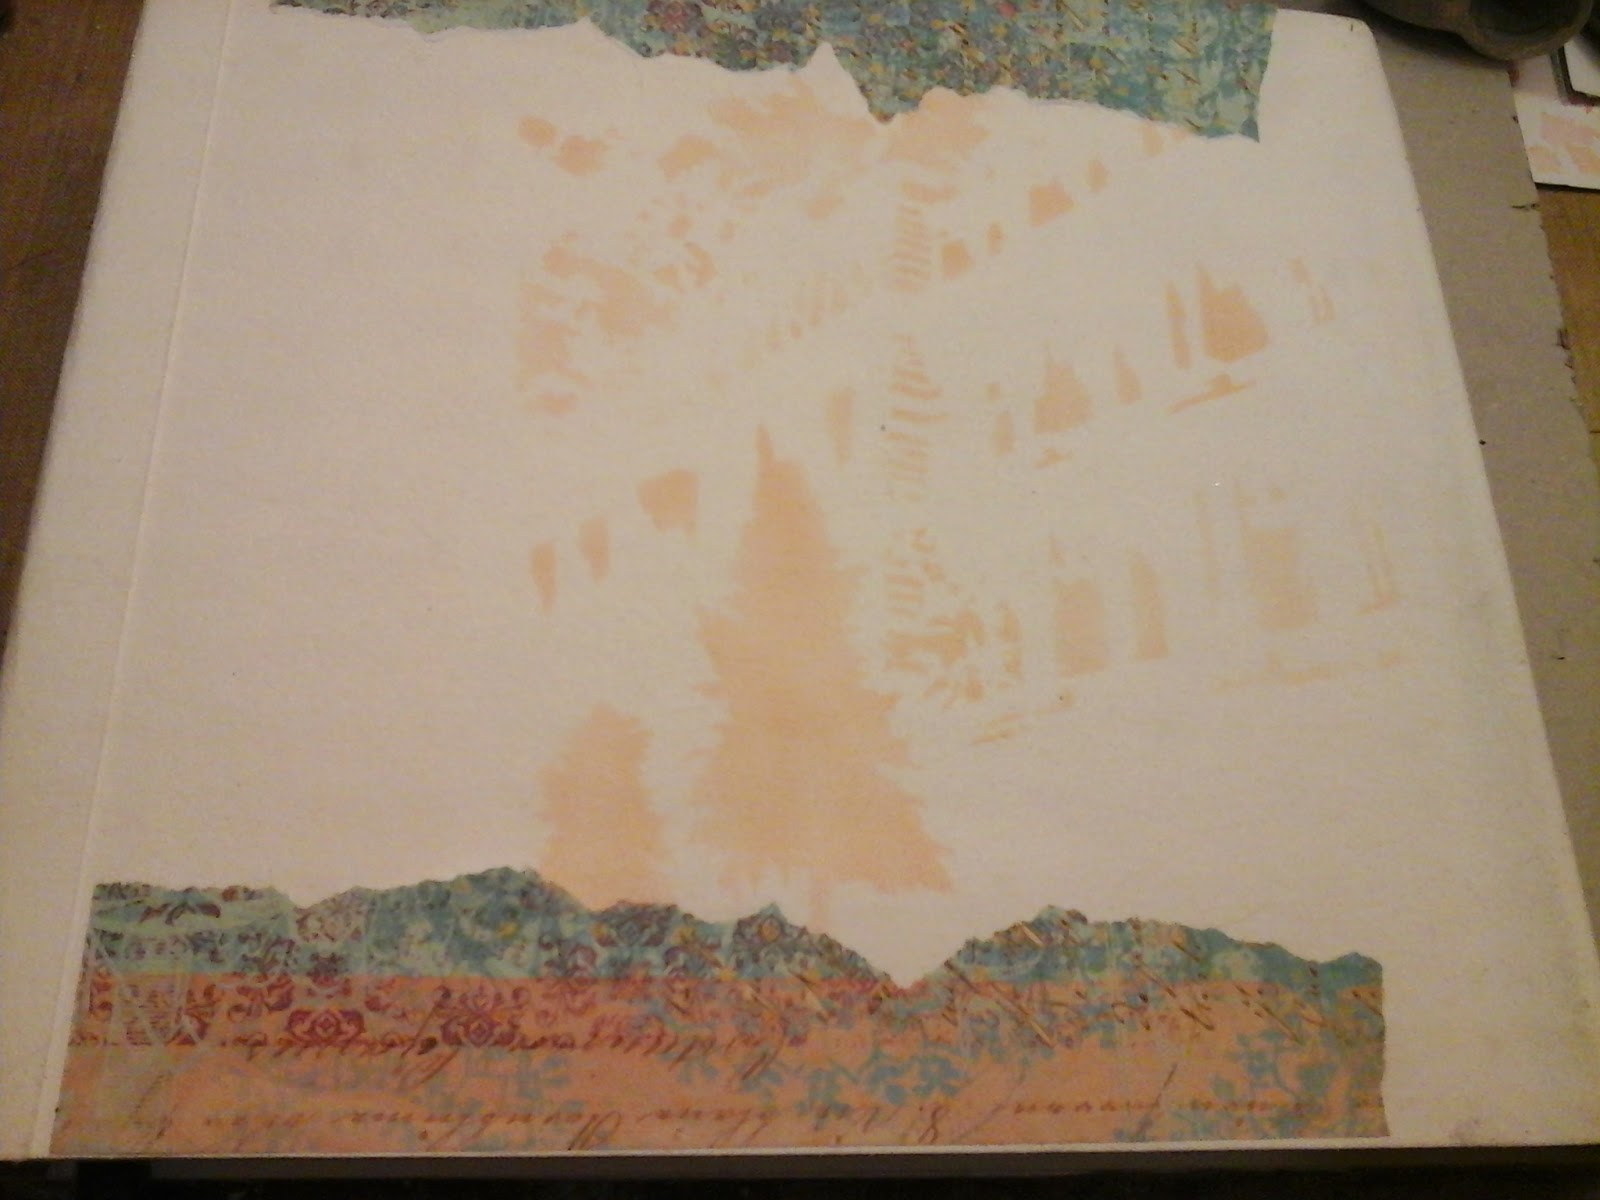
I cut up some patterened paper and randomly glued pieces on the front. I gave this a wash with watered down gesso to tone it down a bit. Next I brought out the stencils again this time City trees for the back cover. Using my eBrush and Spectrum Noir markers I sprayed my trees and building. And again with torn paper randomly placed.

I once again placed my stencil back on the original sprayed image to give a two toned effect.  I also pulled out a homemade stencil and molding paste leaving random dots.
Another stencil called The big apple helped to fill in space. I eBrushed again with Spectrum Noir markers also using a second layer of color for dimension.
I fussy cut images from designer paper and glued them in place.
Next I created pages from heavy cardstock creating my own envelope style page with pockets.
All done...
That's all for today! I hope you enjoyed my mixed media mini album covers.
I encourge you to try our must have crafting tool the Craftwell USA eBrush. I had a fabulous time with different mediums on this versitile Evolon paper! Great stuff!
Crafters Companion has some great stuff in their store so come and check them out!