23.3.15

Easter Fun!


 Happy Monday!!  Peggy here to show you how I made this cute little bunny/chocolate tin for Easter with Polymer Clay and my eBrush.

Supplies used today are:

  • Ebrush by Craftwell USA
  • Spectrum Noir Markers
  • White Polymer Clay
  • Background Stamp
  • Swarovski Crystals
  • Chocolate Goodies
  • Tin Can
  • Designer Paper

I started with my clay and manipulated my clay to a flat surface to make an imprint from my background stamp. I wanted the dress to have texture. I added flowers, straps and buttons from clay.

I began to eBrush my pieces before they went into the oven. I found I got a more even coverage when spraying onto unbaked clay.  After hardening in the oven the colors faded to a nice salmon/pink shade.

I sprayed the dress in the same color Spectrum Noir marker FS8 but held my Ebrush farther away for a lighter coating.  I carefully put the bunny back together and then time for the oven and baked as directed on the package. (15mins)
Next I made three eggs from the clay and stamped with a Ukrainian design all around and eBrushed with same Spectrum Noir marker. I have about three different tones or shades of the same color with just one marker.
I wrapped designer paper around my tin and filled it with yummy chocolate.  I made my own stuffing out of cardstock by cutting it into little strips.  I used Swarovski Crystals for her eyes. 

 I tied a bow around the tin and wrote a note on the tag from the easter bunny of course.

I hope you have enjoyed todays tutorial as much as I had fun playing! My Easter Bunny surprise will surely be loved..

Be sure to check out Craftwell USA and get your eBrush and you could be spraying your way into fun crafts and artsy adventures.


"Turn your markers into spray art with the new eBrush by Craftwell. The eBrush is universally compatible with many brands of markers! "

16.3.15

Mixed Media Cards Layering with Ebrush

Hello Crafty Folk! Welcome to my mixed media cards.  With just a few simple tools I was able to create these vibrantly colored cards in minutes. 

Supplies used today are:
Spectrum Noir Markers
Glossy Cardstock 
Black Cardstock 
Stencils
Stamps 
Memento Ink

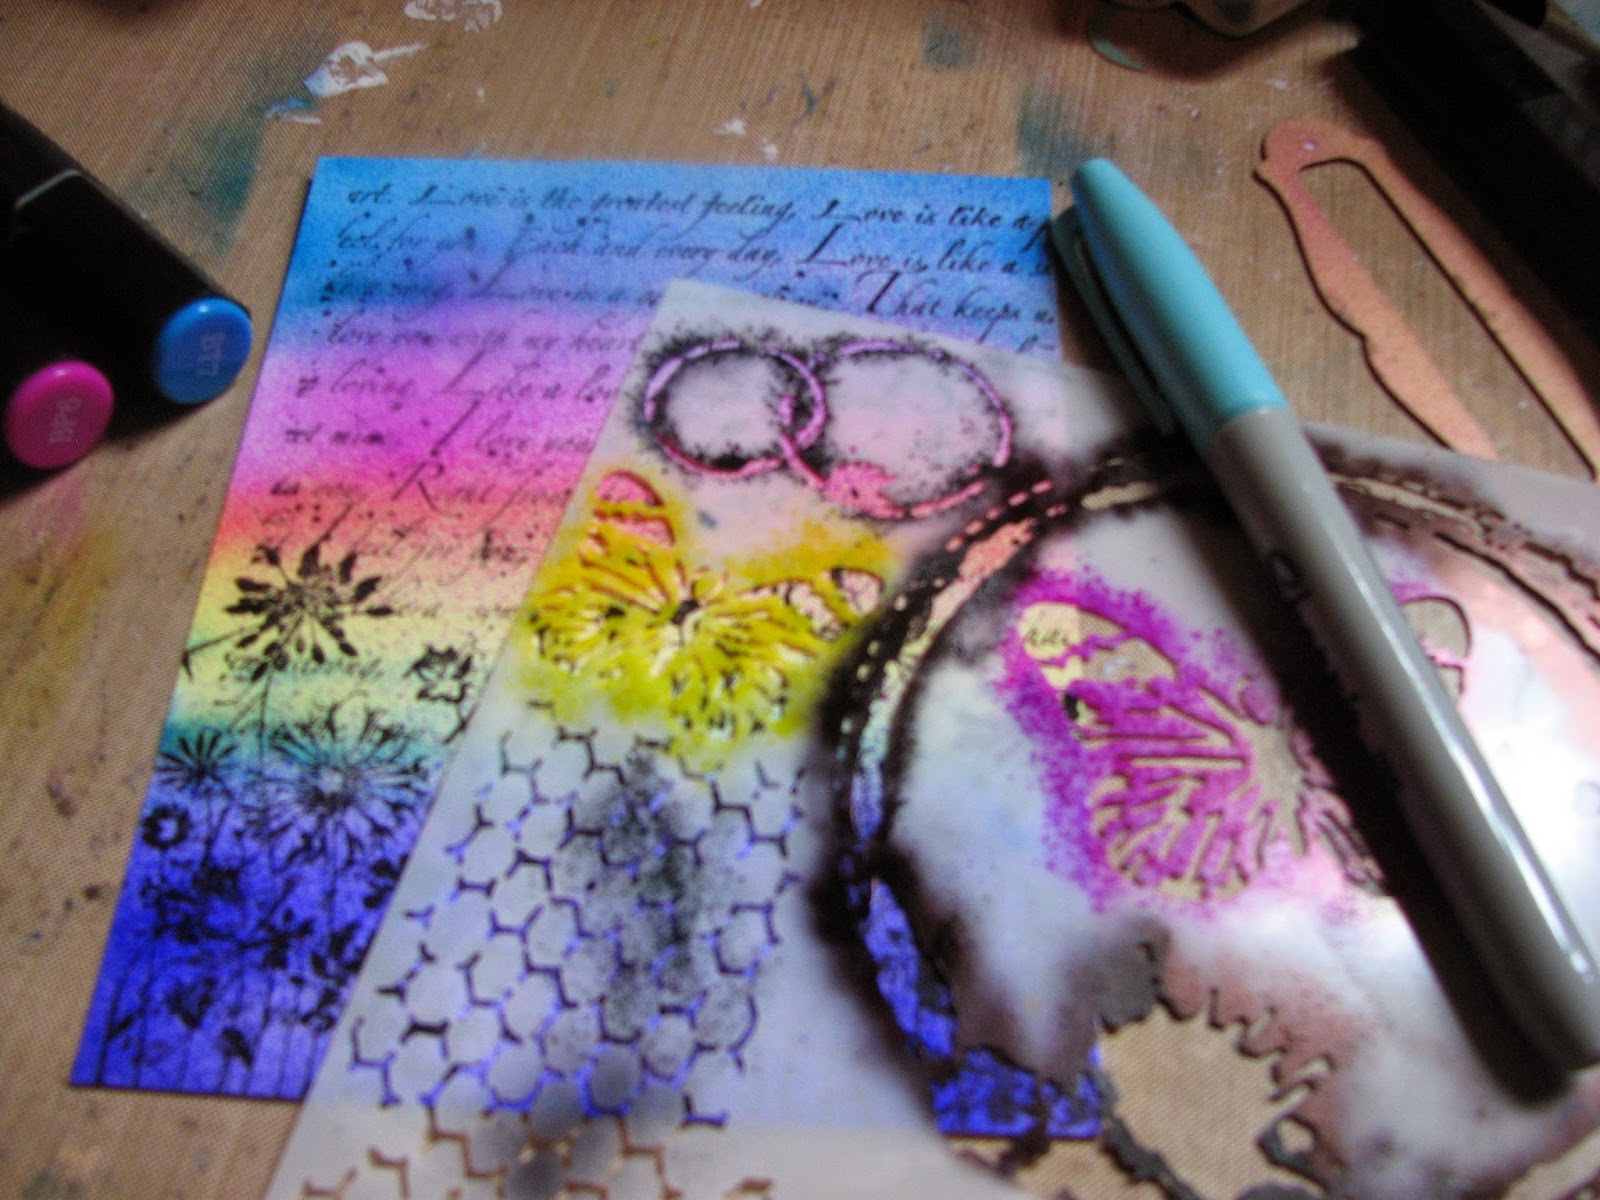
I started with a background stamping onto glossy cardstock cut to fit card bases made from cardstock.  Then I Ebrushed layers of color lightly for transparency. 
Next I was ready for some stenciling with Spectrum Noir Markers.
 This process was so effortless and I am fully enjoying my results. I had to make more!
Using the same process and stencils with my Ebrush!
 I made sure when stamping I used a Dye Ink so the colors from the alcohol based spectrum noir markers did not mix. My stamps stayed without smudging. 
 The glossy cardstock used makes the airbrushed colors look so vibrant. 

I hope you have enjoyed my short tutorial. 

Quick Tip:
If you like splattering ink as much as I do try holding your Ebrush in one hand and your Spectrum Noir markers in the other and blow the air nozzle directly over your marker tip and not too close you should be able to create some not so predictable yummy marks!
Thanks for looking !!

2.3.15

My eBrushed Twinchie

Hi Everyone! today I am posting a small twinchie 2x2 altered chipboard. Papers used were MS cardstock and vellum paper for the flowers and butterflies. I eBrushed my butterflies, flowers and metal embellishment with Spectrum Noir Markers. Check out our other eBrushers and see what they did with our challenge on the Facebook page:  https://www.facebook.com/groups/1494321010779881/