Showing posts with label Craftwell USA. Show all posts

24.11.16

BLACK FRIDAY SALE

Amazing Black Friday sale at Craftwell coming up! Take a peek!  http://shop.craftwellusa.com/ Don't forget to use the promo code "BLKFRIDAY2016" at the checkout!

6.7.15

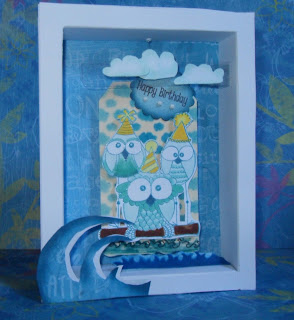
Happy Birthday Shadow Box


Hello Peggy here and welcome to my studio where I am creating
birthday wishes with a tag and shadow box made of paper.
Today's supplies include: 
Clear Embossing Powder
Blue Distress Ink

Spectrum Noir Markers
Alcohol Ink 
White Cardstock
Patterned Paper
Scissors 
Double Sided Tape
Recycled Acetate 
Memento Black Ink
Embossing Machine / DieSmall piece of fishing line


I began with my focal image by stamping with blue distress ink and embossing the image. I find it easier to color inside the lines with alcohol markers. I colored my image with CT1, CT4 , BT1, BT4, BT9 Spectrum Noir Markers. For the piece of wood they are balancing on in the ocean I colored with TN7, TN8 and GB10.

Next I started my background with my Ebrush and the BRAND NEW Siphon Adapter!.
Listed here are some things you can spray and their dilution ratio's.
I made some alcohol sprays by using a Copic Colorless Blender which is 70% alcohol mixed with alcohol inks to make it go farther.  I sprayed my cloud stencil from Latina Crafter with my custom alcohol inks in my siphon cup to make my cloud background on a standard 4 3/4 x 2 3/8 shipping tag. 
 Above you can see the bones of the shadow box. I started with a 5" x 6 1/2" card base that I cut in half. I used one half for the frame and the other for the back of the shadow box.  With another piece of white card stock I made 4- 2" strips scored at a 1/2" on the sides and folded with 1" left in the middle.  With double sided tape I put the sides on the shadow box base and taped the frame on top. Next my embellishments were created by hand and by stamping a grass stamp by Latina Crafter and I used them as waves.
I shaded my hand cut clouds (white card stock) and hand cut waves (patterned paper) with my eBrush and Siphon Adapter. I used a recycled piece of packaging made of acetate to hold the clouds in seemingly in mid air by taping it to the side of the shadow box.
 I stamped a sentiment with Memento Black Ink on white card stock and ran the sentiment through my embossing machine to cut it out with a small die. I then used my eBrush with an alcohol solution and eBrush Siphon Adapter to spray making it compliment my background. I placed three brads under the sentiment just to make it stand out more and to tie in the white of the Owls and background.
 My tag with the cutest Owls from Latina Crafter is hung from the top of the shadow box with fishing line so the tag swings from side to side as if the ocean is a little rough. I hand cut the waves and used a second cut wave to place behind the first to make the wave more defined.
 Here it is from the sides. I could see making this a little smaller in the middle and closing up the sides and top for a hidden place for candy.. hmmm...
I hope you have enjoyed today's tutorial and I hope you check out some of my links above. The possibilities are endless for this adapter. I can't wait to get into the kitchen!.

9.4.15

eBrush Giveaway!

We are giving away TWO eBrush systems 2 Ways to Enter for your chance to win your very own eBrush "Turn your markers into spray art with the new eBrush by Craftwell. The eBrush is universally compatible with many brands of markers! "
a Rafflecopter giveaway

16.3.15

Mixed Media Cards Layering with Ebrush

Hello Crafty Folk! Welcome to my mixed media cards.  With just a few simple tools I was able to create these vibrantly colored cards in minutes. 

Supplies used today are:
Spectrum Noir Markers
Glossy Cardstock 
Black Cardstock 
Stencils
Stamps 
Memento Ink

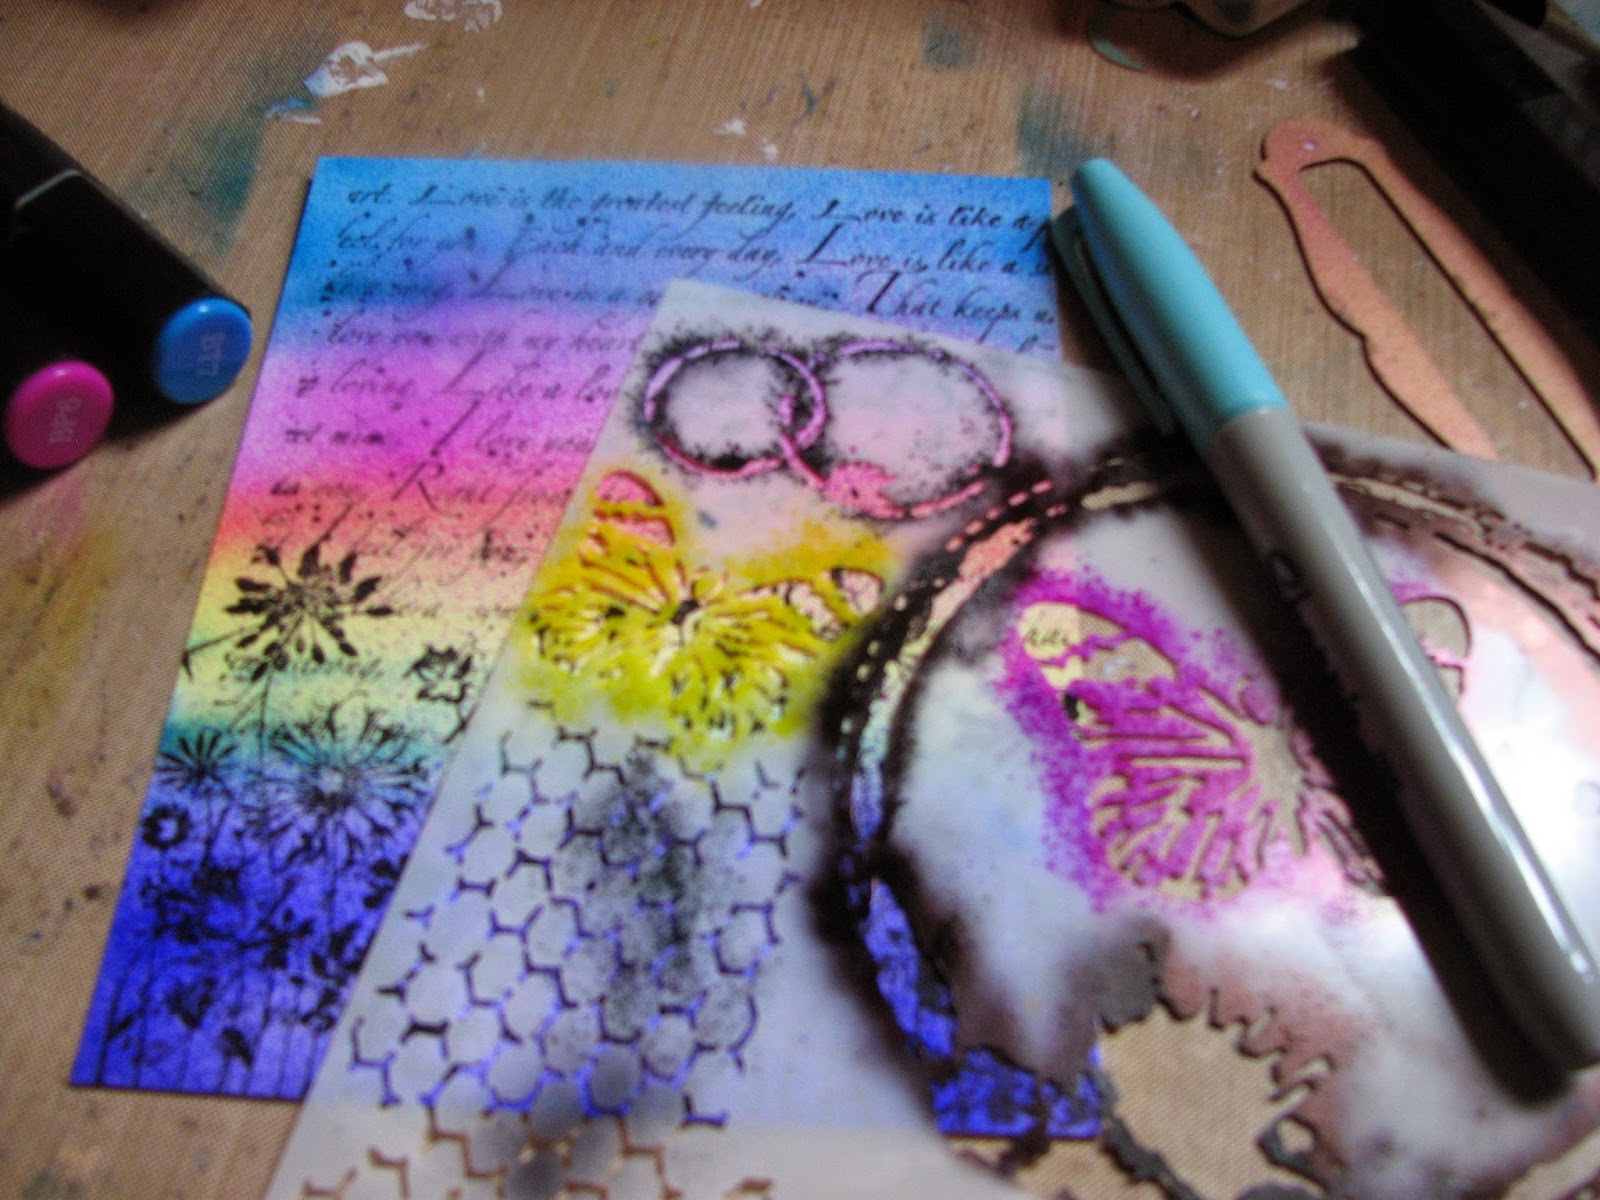
I started with a background stamping onto glossy cardstock cut to fit card bases made from cardstock.  Then I Ebrushed layers of color lightly for transparency. 
Next I was ready for some stenciling with Spectrum Noir Markers.
 This process was so effortless and I am fully enjoying my results. I had to make more!
Using the same process and stencils with my Ebrush!
 I made sure when stamping I used a Dye Ink so the colors from the alcohol based spectrum noir markers did not mix. My stamps stayed without smudging. 
 The glossy cardstock used makes the airbrushed colors look so vibrant. 

I hope you have enjoyed my short tutorial. 

Quick Tip:
If you like splattering ink as much as I do try holding your Ebrush in one hand and your Spectrum Noir markers in the other and blow the air nozzle directly over your marker tip and not too close you should be able to create some not so predictable yummy marks!
Thanks for looking !!

27.11.14

Easy Christmas Home Decor

Hello! Peggy here to show you how to make these easy Christmas decor table decorations. 
The supplies used today are:
Sharpie Pen metalic gold
cardstock
punch
dictionary pages
Burlap
Glue
shaped Scissors 

I started by opening and cutting a cereal box in half. This gave me two pieces of thin chipboard to work with. I shaped each piece into a cone and trimmed off the bottoms to create a flat bottom.

Below shows the inside ss well as completely tight at the top of the cone.


I cut strips of pattered cardstock, curled the ends and layered them to resemble branches. I glued each piece overlaping slightly so the cone was not visible.

Remember those shaped Scissors well pull them out and give the leaves some texture! I air brushed all leaf tips in metallic gold. It took less than a minute.

Next I punched snowflakes and airbrushed them with a metalic gold sharpie. 

I thought a topper made of dictionary paper would fit my vintage feel. I created two rosettes with an accordian fold. I placed a snowflake in the center and glued the ends and center to create a fanned look. I eBrushed my rosettes in gold metalic sharpies.
That's  it! Assemble and whalla!
I started my second cone by gluing dictionary paper directly to it and trimming the bottom when dry.

I placed a bunch of punched snowflakes sprayed with gold metallic sharpies all over my covered cone.Next I wrapped some burlap around the cone and glued in place.

That's  it!
here is my result.


I hope you have enjoyed todays tutorial. Thank you for joining me today! You can find Craftwell eBrush here.