Showing posts with label Terri Sproul. Show all posts

23.1.15

Steampunk Airship Nightlight

Hello Peggy here to show you my last posting for Sin City Stamps! Its been a great run with some great folks and Awesome product! I present: My Steampunk Nightlight! It can be hung or attached to the wall.. I love it!
Todays supplies: 
Chipboard Airship
Silver Cardstock
Patterned Paper
Stazon Ink Black
Crystal Lacquer
Chains, keys, gears, switches, bolts anything metal
Creativity!

I created a two inch molding out of chipboard around two pieces of a chipboard airship to create a 3d effect. I covered the outside of the ship with silver reflective cardstock. Below shows the stamps and metal pulled out for easy access and to help with the creative flow. 
I stamped my Sin City Stamps with Black Stazon Ink to create a back ground using four stamps. 
Next I placed my metal pieces in the order I wanted them to appear and began to adhere them with Crystal Lacquer.
This is my result below! I added a battery operated light for a glow and whalla! 


The top and bottom were covered with Graphic 45 patterned paper. I added a hook and chain for hanging. I used patterned paper to also create a floor to hold the light on the inside.
Ball chain was added.

That's it! I am very proud to have been on the Sin City Stamps Design Team for two terms and I wish all the best to Donna and her fabulous Sin City Stamps Creations!
Congratulations to the new team I can't wait to see what you come up with!
Warmly, 


28.11.14

Sin City Stamps and Cottonwood Arts


Hello! Peggy here to show you a two page journal with a jingle kinda theme...I'm just in that kind of mood lately ya know with the tree an all already up. Haha So, this month we are partnering with Cottonwood Arts. 

B2 Coldpress Notebook (6.75x12)

Molding paste
Stazon blue ink
White gesso
Gelatos 
Water colors
Cardstock
Dictionary paper
Copics
glue or matte medium

The first thing I did was sketch out a santa face so I knew approx. where he would be on both pages. Then I got out my stamps and white gesso. I stamped randomly with my unmounted stamps using gesso as a resist. Next I watercolored a blue background.
I used red gelatos to bring out that resist. More background stamping this time with blue stazon ink.
Time for texture! But before this stage I used dictionary paper for a mustash. Next the molding paste. Like icing a cake! 

 I used copic markers to color his face
 More stamping with white gesso, rolling my stamp over the page with a brick background. And now embellishments with some fussy cutting and glue.


I hope you have enjoyed my goofy side as much as I had fun making it! Thank you to Cottonwoodarts our november sponsor
I hope I have inspired you to create your own goofy side!.
Thank you for joining me! Stamps and Stencils and much more can be found at Sin City Stamps

25.10.14

Tags with Sin City Stamps

 Hello! Peggy here to show you my tags made with some fabulous stamps! As soon as they arrived I had to play!
Supplies used today:


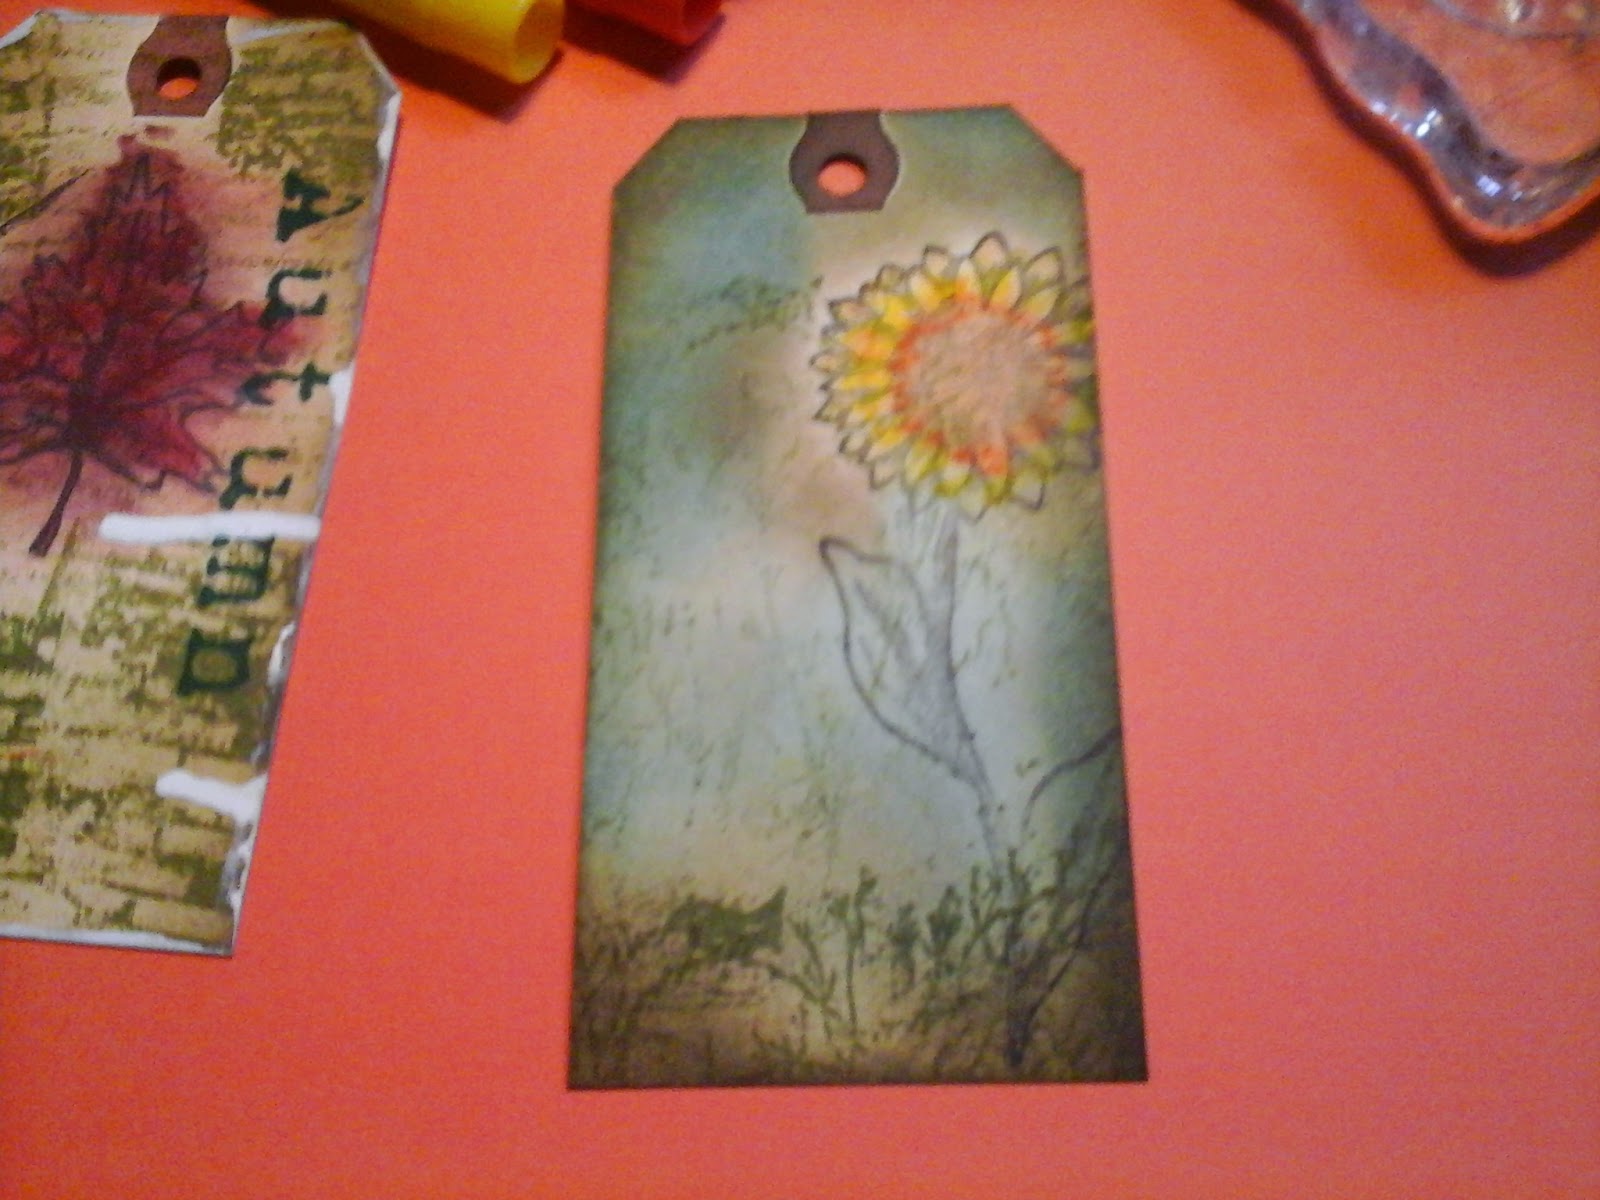
I started with some shipping tags 4 3/4 x 2 3/8 and sprayed yellow, red and orange with Lindy's. Next I layered some texture on top with background stamps from Terri Sproul's Art journal 2 set. As I put the color box  ink down with my flourish stamp I quickly poured clear embossing powder on top and heat set with a heat tool.
Next I stamped my sentiment and edged my tag with white acrylic paint.
Below I made my second tag with Lindy's Sprays  the same as the first but I added green at the bottom. I layered another background stamp from Sin City Stamps Pam Bray's Fall Collection. When stamping this background I used my stamp unmounted. I stamped many times to give the illusion of distance.
 I used two sentiments  one from the Fall Collection and one from the Journal collection.
Below I made an Autumn tag mixing both collections of stamps. Terri Sprouls fabulous background stamp of bricks in disress ink peeled paint. Pam Bray's leaf and autumn were used also using distress ink. The leaf was colored with red and black Gelatos. Using my disttress inks I shaded the whole tag. I used white acrylic  paint on the edges.

Here are the stamp sets used:
Art Journaling with Terri Sproul 2

Pam Bray's Fall Collection 
Here is the progression of layering a background using one stamp. Rocking portions of the stamp unmounted. Some layers darker than others using one distress ink. Next I colored the flower and leaf with gelatos. 

I edged the tag again with white acrylic  paint.

I added some hand dyed ribbon to match.

I hope you get a chance to pick up these great stamp sets, I can't wait to play with them again!
Pick them up here Sin City Stamps

4.1.14

Layering to Create Texture with Sin City Stamps


Hi !  Today I would like to share with you a mixed media journal page. Here is a list of things I used today.


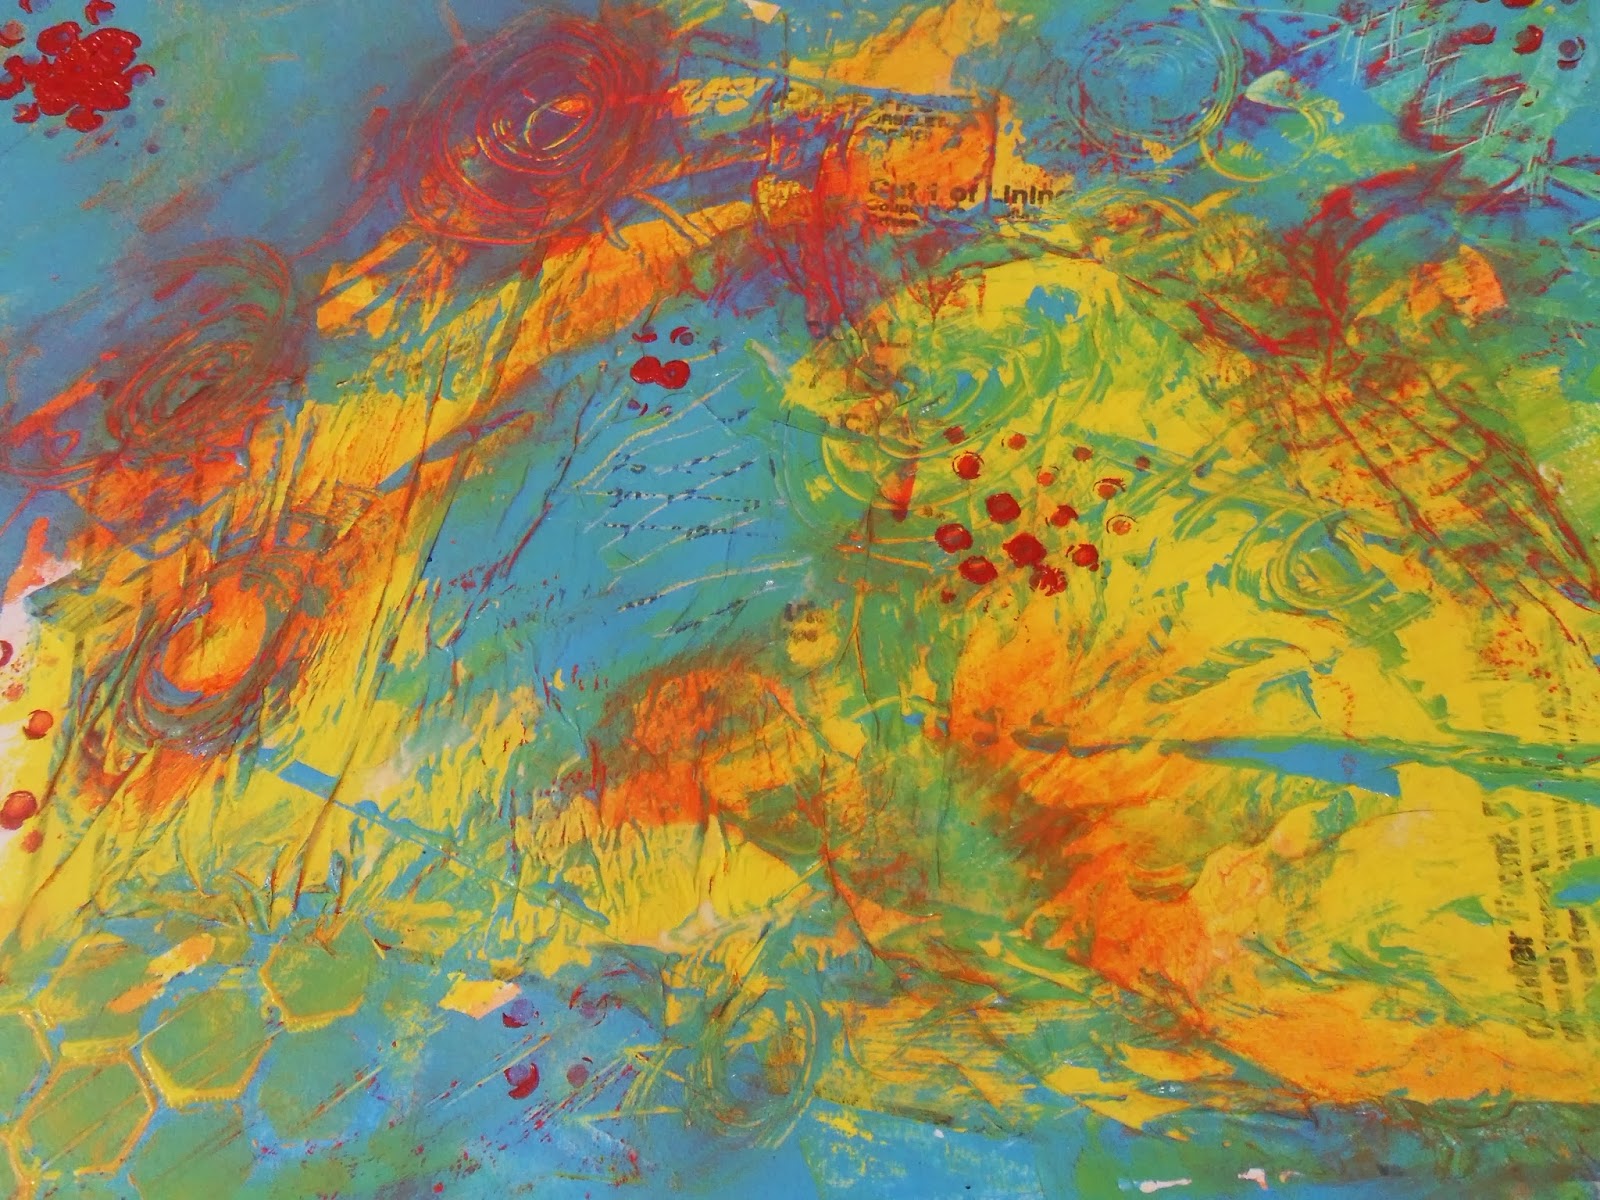
I started off with some tissue and painted it on with acrylic paints.
Here is the result.
The tissue paper really made great texture
I then made circle marks and lines with the opposite end of my paint brush.
Two more colors added.
Here I made use of some stencils with red acrylic paint.
Here I am stamping with acrylic paint. I ran my finger with
paint over the stamp and stamped unmounted.

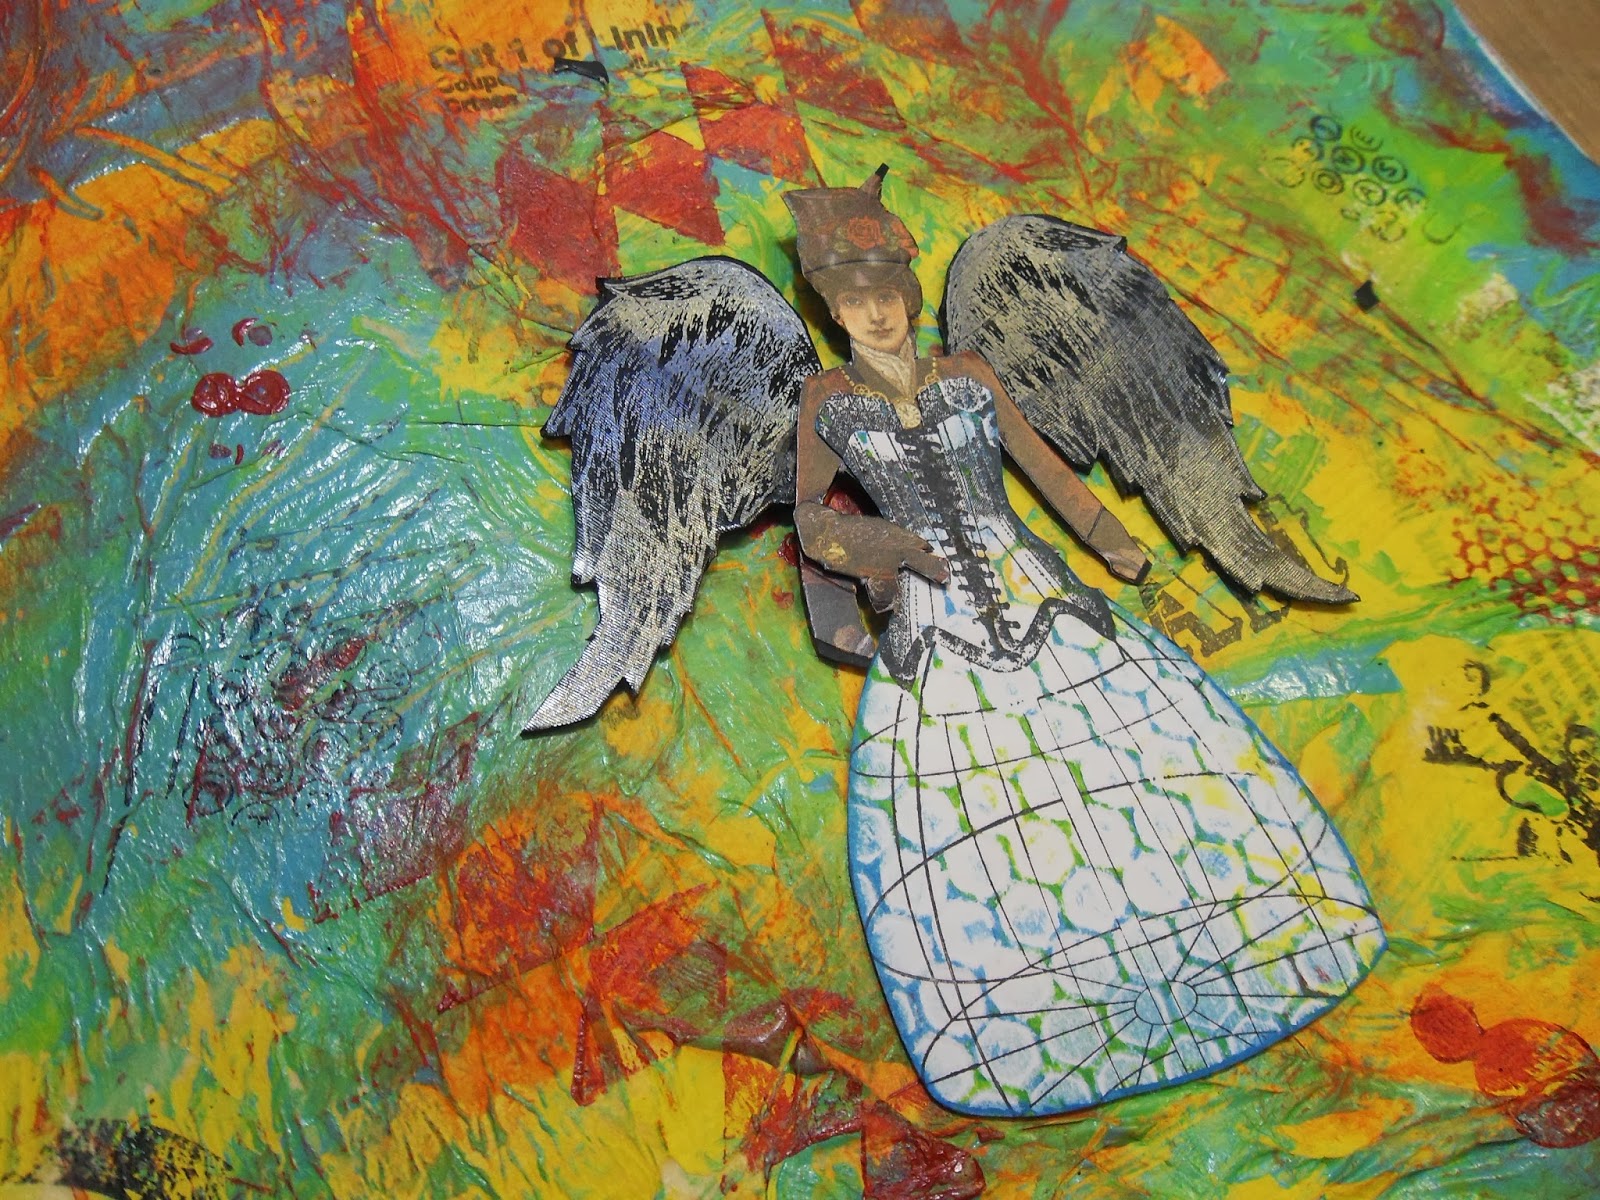
Here I used the dress forms stamp with Stazon Ink 
and then ran that through a hexagonal embossing folder
 that I colored with FC Gelato's before running through
 my embossing machine. I also added some SinCity
 Stamp Wings to my lady using vinyl (tutorial here)
and colored with perfect pearls while the ink was 
still wet. I used a head of a lady from G45 and her arms.


These next photo's you can see the texture from the layers of paint and stamps. 
*Note* I let all individual layers dry before adding a new layer.


Here is the same DressForm Stamp from SinCity Stamps utilized in
a completely different way for this beautiful card.
Stamped , colored and lace.


Thank you for joining me today! I hope you enjoyed my tutorial. 
You can get Stamps, Stencils and Chipboard from SinCity Stamps by clicking below. 
http://sincity-stamps.blogspot.com

15.7.13

Exciting GDT News

Hi Everyone I have exciting news! I have been asked to be a guest designer for 2013 Sin City Stamps Design Team! They have chosen a great team this term and I can wait to see everyone's work! 
You can check them out Here.


18.5.13

Vintage Mermaid Plaque

Hi all! Welcome to the 2013 Sakura Fantasy Blog Hop!
Continue with our blog hop for your chance to win
2 Bottles of Sakura Crystal Lacquer!
All you have to do is
1.  Subscribe to each blog on the hop as a follower
2.   Leave a comment on each blog and that's it!
 For todays project the materials I used are:
Wooden Plaque
Sakura Crystal Lacquer
Terri Sproul Shimmer Mixers
White Gesso
Image of choice -
 I colored my image with Copic Markers
Stencils (MS and homemade ones)
Molding Paste
Teflon Craft Sheet
Painters Tape
Embellishments
Background Stamp
StazOn Ink/Ranger Distress Inks/tool
Spellbinders Die/Big Shot
                                                
First thing I did was color my image with my Copic Markers.
Then I prepped my wood plaque with white gesso and let dry.
 I stamped my background stamp with StazOn Ink
so it wouldn't smear or run.

Next I wanted to cut out my image with Spellbinders die
but as you can see my image is too big for the die..


So, I traced around my image with the die where
I wanted the die to cut.


Then I cut (with scissors)  the part of the image that was sticking
out of the traced lines.  I lifted my image over the die
so as to only cut around my image without cutting off the bottom
when I ran it through my Big Shot

After it was cut with my spellbinder die I used
Ranger Distress Ink /w Distress Tool to color the edges of my image.
I prepared a mixture of Crystal Lacquer and Terri Sproul
Shimmer Mixers making my Lacquer translucent enough to
see my background image on my plaque.
Then I set it aside for a moment while I added some texture.


I decided to add some texture with Molding Paste and MS Stencils.
Here I even added some Shimmer Mixers to the Molding Paste.


Then I added texture with my
homemade stencil (made from packaging)


After it was completely dry I covered the entire
plaque with my colored Crystal Lacquer. (prepared earlier)
making sure I got into all the crevasses.  


With my left over Lacquer I added more
Terri Sproul mixers to make a deeper blue
and dripped the Lacquer onto my craft sheet
and let them dry.


While that was drying I coated my image with
Clear 3D Crystal Lacquer.
I taped down my image on the edges to help prevent curling.


After It was dry I put it all together,
using my drips as embellishments (to resemble air bubbles) 
I used Crystal Lacquer to glue my pieces down.

Here she is on my wall


Thank you for looking, I hope you have enjoyed your time with me!

For the entire Month of May you can save 20% off your
entire order on the Sakura Website with the coupon code Sakura05.

Now lets show some love to our Design Team Members. Good Luck and Have Fun!