Showing posts with label #stencils. Show all posts

20.2.18

Vibe Journal Page by Suzanne Franin

Hi Everyone Suzanne here

My turn on the blog today and I decided to do a Journal page 
My cousin had posted this picture on Instagram and I loved it (It actually looks like her and she loves all animals) 

So don't forget to check out the Mixed Media Supplies Facebook Page to see what's happening and see what the Design Team are up too and join in on what's happening

I've made a YouTube Video of the process - which is pixelated if anyone can help please leave me a comment so I can sort it out (I've tried everything to fix the issue) 
You can still watch the video it's only a little annoying


I started by adding book paper across the centre of the page tearing it up randomly but keeping the edges of the pages to the straight edges of the rectangle


I used a lined stencil across the middle of the page just on the book paper
I used the Copper Bronze and Sapphire Blue Mica Powder's on the back ground mixing it with water and dripping it down the lines 


I used the Diamond Fence Rubber Stamp randomly over the page


With the Sapphire Blue I made it darker to make it look like the little bird was flying to her


The paper flowers I painted with the Shimmer Pearl and Coral Reef Mica Powder just with a touch of water and when I started drying them the paper started to fluff up so it gave them some dimension


I loved this quote and it's why I added all the extra birds to the page 


Thanks for visiting and I hope you will come back soon xx
24.1.18

Owl by Suzanne


Hi Everyone Suzanne here


My turn on the blog and this project was lots of fun

Make sure you check out our Facebook page and see what's happening over there
 
I was lucky enough to get a few bits for Christmas and  one was an
owl stencil of course I had to find a way to use it
  
 
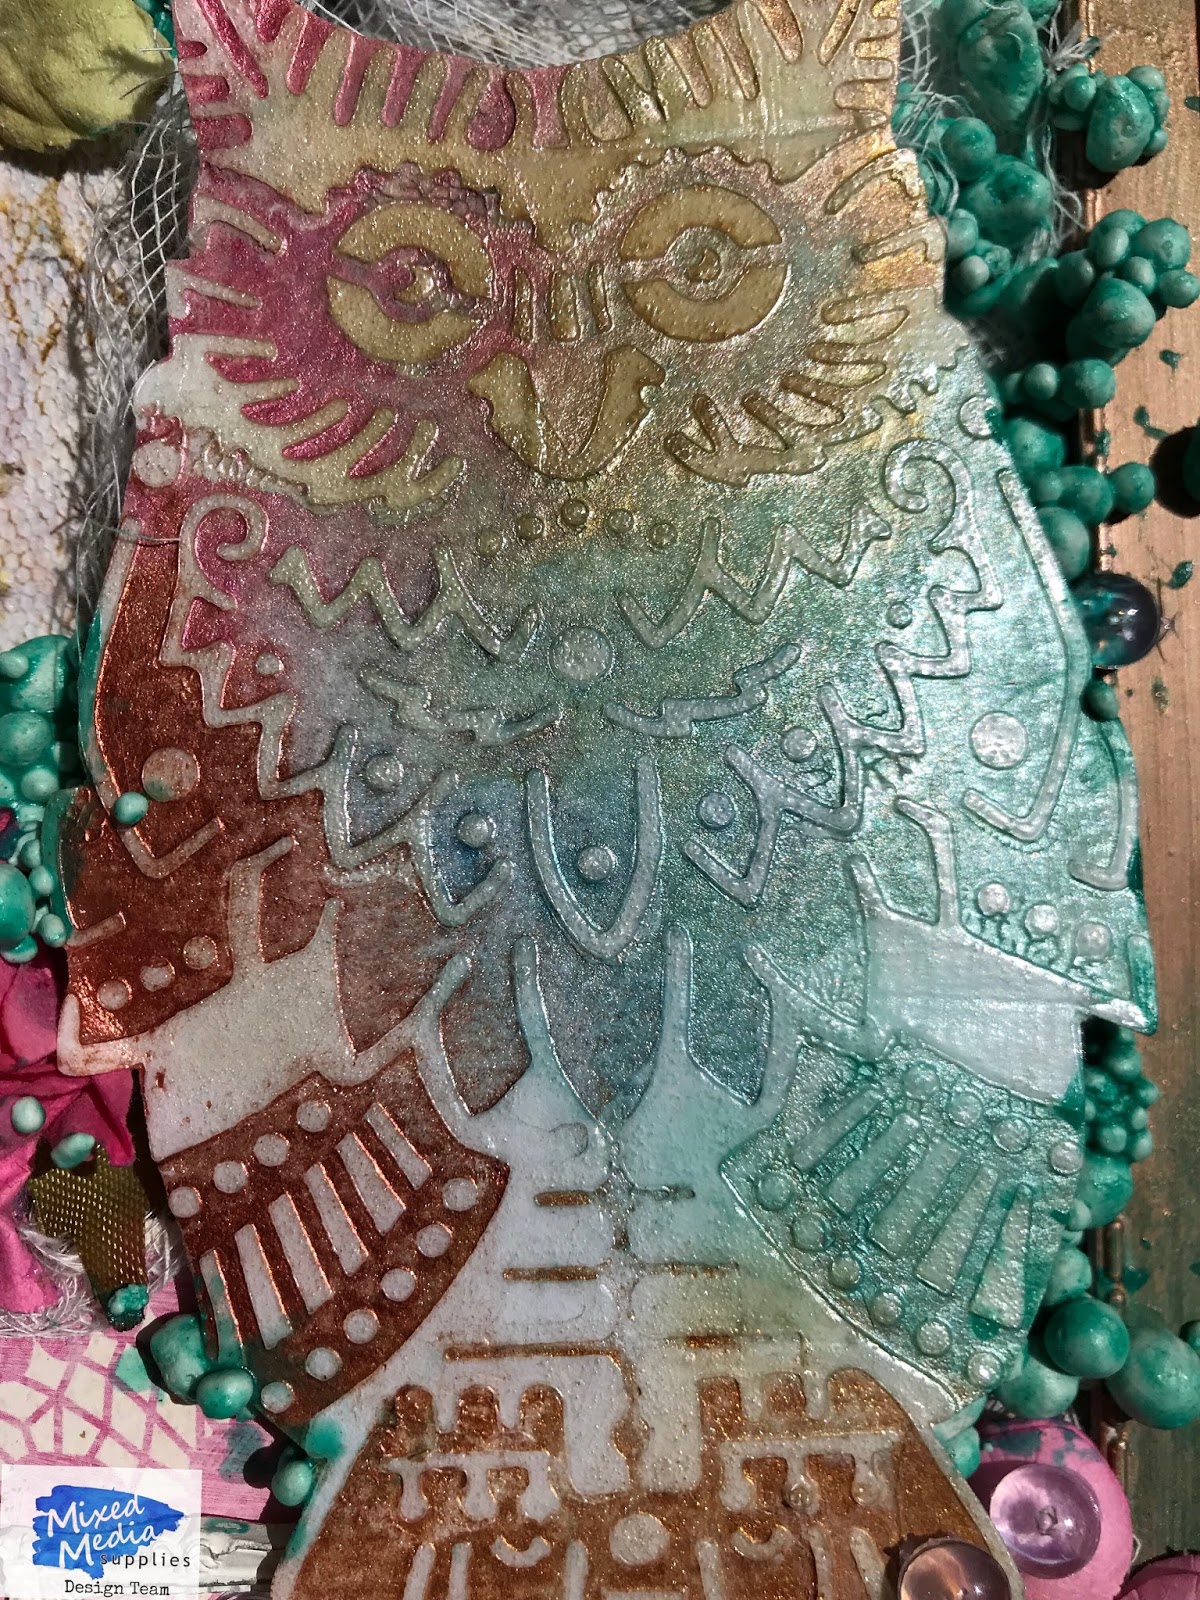
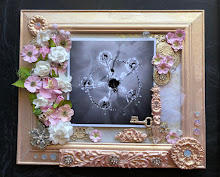
I used the Copper Bronze and Coral Reef Mica Powder randomly over a plastic frame that I had
painted with gesso earlier I then used some Frank Garcia Artisan powder rubbed
into the grooves of the frame to give it the patina look
 
 
I stencilled the owl then used water colour paints and cut him out so I could
raise him up out of the frame
 
 
The background paper I used from one of the Digital Printable Journal Pages we
have on the site I printed it off onto a card stock to add more texture
 
 
I added some lace in the background as well some time the photos don't show
all the details doesn't matter how many you take


And of course flowers are always needed with lots of other little details


Thanks for visiting I hope you will be back soon xx


17.1.18

Building a Stash - part 2

Hi, Jan here. 
This mixed media card is perfect for some upcoming birthdays in 2018 as well as some other occasions.  I'd love to share this quick card with you.

You'll need:
Gesso
Stencil
Mica Powder (Mixed Media Supplies)
2 Watercolor prints (8.5 x 11 inches)
Electronic die cutting machine and software (Sizzix eclips2 & eCal2 software were used in this project)
Basic Shapes (circle, heart)
Xyron X
Star confetti, rhinestones
glue
tape runner
cardstock
stamp (WPlus9 Designs) optional

No affiliate links are used in this post. 


Using your die cutting machine,
1) Print the sentiments using eCal and cut the card fronts (Happy Birthday on a 4 x 5.25 inch rectangle) with the eclips or cut the card fronts with a paper trimmer
2) Create the background papers using the Pattern Fill option in eCal2.   Print.  
3) Cut the decorative shapes using the eclips and the printed paper; 
4) If desired, stencil a thin coat of gesso on the card front.  Set aside to dry.

5) When dry, add a bit of Mica Powder to the gesso and spritz lightly with water to spread it around a little bit.
6) Stamp the desired sentiment if you did not print your card front previously. 
7) Run the circle with the heart cut out and one of the smaller circles through the Xyron.
8) Use foam squares on the small heart and two of the small circles. Apply as shown and add the star confetti and rhinestones.  Apply the card front to the card base and your card is ready to personalize and send on it's way.

This is also a Pinterest inspired card... I like the added texture of the stenciled Gesso and  shimmer of the mica.  These are simple, sweet and easy to complete.

Thanks for stopping by.  Hoping your week is filled with crafting goodness!  Check the Mixed Media Supplies blog frequently for more mixed media projects this month and more.  I'd also like to invite you to check out my blog for additional ideas throughout the month. 


*I'm really not trying to go for the blur look, but it appears that the camera is having a bit of a problem with the focus.  My apologies.

8.1.18

Positive Quote by Suzanne

Hey everyone Suzanne here
 
My turn on the blog today
Don't forget to check out our Facebook page and see what's happening over there
I've had this little quote saved for awhile and thought the new year was a good time to use it
We need to start the year off on a positive note
 
"Don't let someone dim your light, simply because it's shinning in their eyes"
 
 
I started with a stencil that had different sized boxes in it and some modelling paste, while the background was still wet I stamped the Chain Link Fence Rubber Stamp from our Store into it so it gave it more texture
 
 
As you can see the paint went into the grooves of the Stamp


I also used the Crackle Rubber Stamp also from the Store


Thanks for visiting I hope you will be back soon xx
 

29.12.17

Houses in a Row by Suzanne

 
Hi Everyone Suzanne here for my first post for the new year
 I hope you all had a safe and happy start to it
 
Make sure you check out our social media pages to keep up to date - Facebook and Instagram
to see what everyone is up too
 
I got these little houses and decided to decorate them with the Digital Journal Printable Pages 
that I printed out on textured cardstock
 
 
I used 4 different stencils that I thought looked simular to bricks then I used the 4 different Mica Powders Shimmer Pearl , Coral Reef, Sapphire Blue and Copper Bronze


The base I covered with green paint mixed with white sand and green paint
it took a while to dry but once it did it looked great with the texture


I added little flowers around to make it look like little flowers growing out the
front of the gardens of the houses


Even though Christmas is over I the trees still needed something so I
added little pearls for a little shimmer

 
With the backs of the houses I thought I couldn't leave them just timber so
I used some of the texture paste and patted it down so it gave it some texture
and then dripped the mica powders down the back as well


Thanks for visiting and I hope you will be back soon xx
 

8.12.17

Brag Book by Suzanne Franin

Hi Everyone Suzanne here

I made this little Brag Book which will have photos added when the owner gets it

Make sure you check out our  the rest of the BLOG and see what the other Design Team members have been creating


All the papers are from the Digital Journal pages which I printed on some textured paper


I stamped using the some of the textured rubber stamps that we also have in the Store


When I stenciled the pattern on I used crackle paste, once it dried I added a mix of watered down mod podge and the Coral Mica Powder so it would stay on the project


I used some of the Coral Mica Powder and added the ends of the ribbon to it for some added colour


I added a few embellishments, I didn't add too much as it would make it to bulky


Thanks for visiting and I hope you will visit again soon xx

15.11.17

Sing Layout by Suzanne Franin


Hi everyone Suzanne here

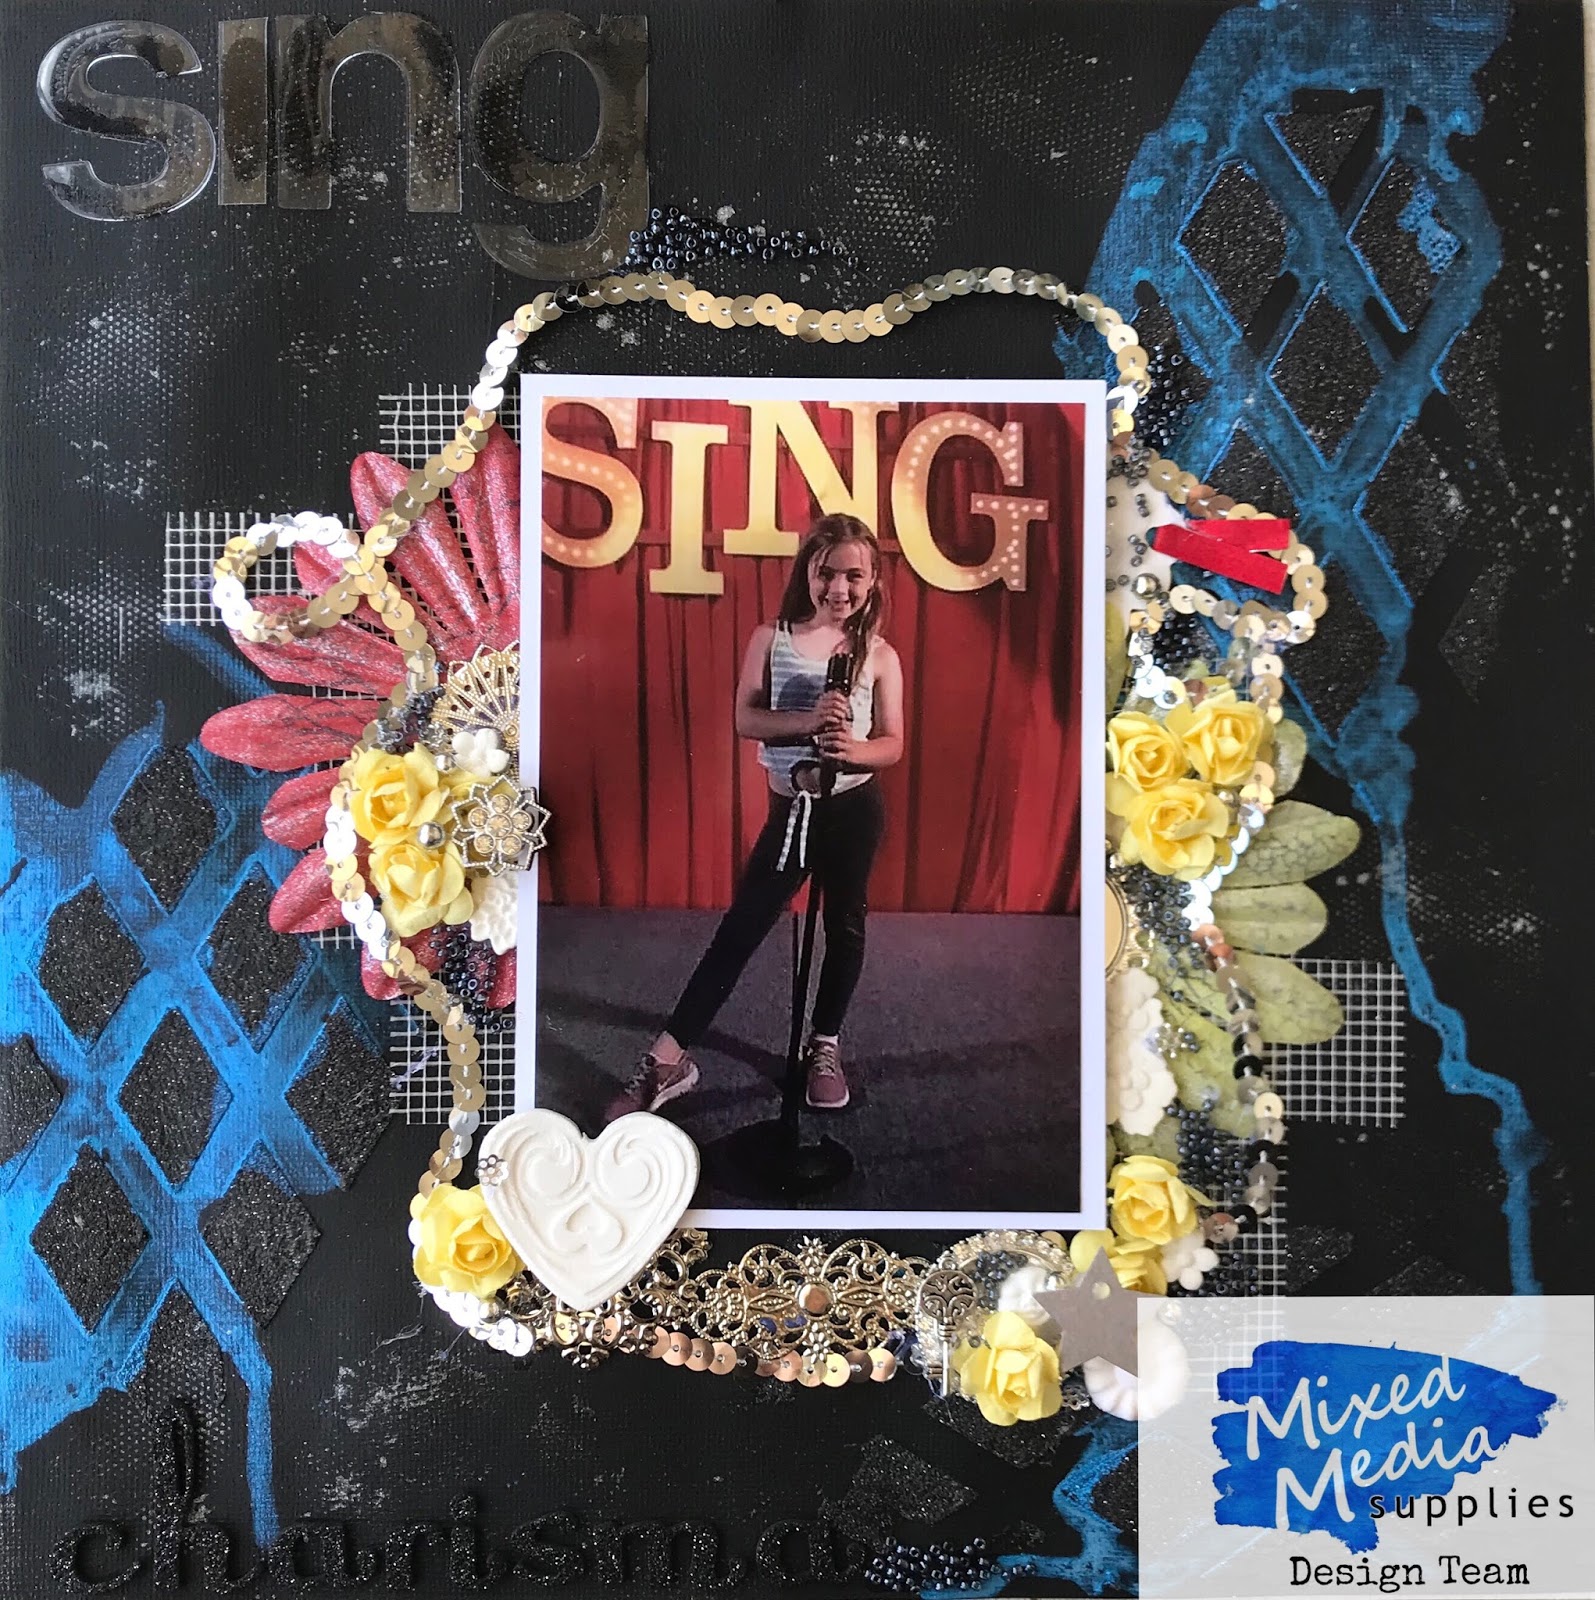
I created a layout using a few of our products - Mica Powders and Rubber Stamps which you will find on our WEBSITE

Make sure you check out our Facebook Page and our Blog and see what the rest of the Design Team are up too

I started off using some gesso on the background cardstock then I used the Saphire Mica powder mixed with watered down mod podge and dripped it down the page to make sure it went through the stenciled pattern


Then I mixed some Pearl Mica Powder with the same mix of water and mod podge and spread it on my mat so I could stamp into it 


With my flowers I stamped using the Diamond Fence and the Crackle background stamp to give an extra dimension to them
I also painted them with some of the Pearl Mica Powder mix I made


Here's my layout 


I used some graphite paste through a diamond stencil for a bit more shimmer


Then used a few embellishments - from metal, flowers, sequins and beads to add dimension and texture


Thanks for visiting I hope you will be back soon xx

6.10.17

Life in Moments

Hi everyone.  I'm Jan and I'm excited to share this quick and easy project with you today.  This mixed media canvas project just evolved.  It started out as something for the upcoming Halloween holiday here in the US, however,  it took on a life of its own as I played with the colors and textures a little.
(No affiliate links are used in this post)

You'll need:
5 x 7 Watercolor Canvas
Gesso
foam brush
Gelli Plate
Clock stencil (Mixed Media Supplies)
Chain Link background stamp (Mixed Media Supplies)
Modeling paste and knife
ink (yellow, pumpkin, and brown were used in this project)
brayer
Wooden Laser Cuts (MelissaFrances-thin cuts)
If you need to prep your canvas, apply a thin coat of gesso.  Let dry.
Ink up your Gelli plate with desired colors, using the brayer, blend the colors as desired.  Press the canvas into ink and pull.  While you still have the ink on the gelli press, place the clock stencil on the gelli press and pull another print.  Move the stencil to another part of the press and pull another print, repeat as desired - you can re- ink if you need to.  Clean off the stencil -- make sure it is thoroughly dry before storing.

Place the stencil as desired on the canvas and using the modeling paste, apply a thin layer. as seen in the image above.  Pull the stencil and repeat.  I had a little extra paste left on my knife, so I just swashed it across the canvas in a couple of places. Using the background stamp, impress lightly into the wet texture paste in the upper left hand corner.  Be sure to clean your stencil and stamp before the paste dries.  Allow your canvas to dry. 

If needed, lightly sand the now dry modeling paste areas.  Ink lightly around the edges of the canvas and add a swipe or two across the canvas.
Glue the laser cut words on the front of the canvas as desired.  Mount and frame or use as a cover for a mini album.
Thanks for joining us today as the Mixed Media Design Team continues to share some fun projects this month.  You won't want to miss a single post.  Be sure to visit the Mixed Media blog throughout the month!   Enjoy your own personal crafting and nurturing time and feel free to drop by my blog for additional ideas and projects!