Time to get back to some clay.... it feels so good in my hands and is a good "stress" reliever for me. I had a "brick" of black Sculpey III and some previous posts (here and here) reminded me of some things I wanted to try.
Using some heart shaped cutters, texture stamps, mica and a bit of wire, some beads, I'd like to share two of the pieces I created during a recent play session.
You'll need:
Sculpey III
Sculpey liquid clay (used as glue)
Sculpey Glaze
Heart Shaped clay cutters
Acrylic roller
Mica Powder(Mixed Media Supplies)
Texture stamps
Wire
Round needle nose pliers
Wire cutters
beads and other pieces for embellishment
Paint brush
Baking tile or pan with aluminum foil
Condition clay according to manufacturer's directions. Using the acrylic roller, roll the clay to approximately 1/4 inch thick. Press the texture stamp into the clay and roll with the roller to get a good impression. Cut with the cutters. Smooth the sides of the clay.
Add beads, gems, embellishments. Use "glue" if needed.
Brush on a little mica as desired.
Optional: Cut 2 pieces of wire about 3 inches long. Create a loop and twist the ends. Repeat with the second piece of wire. Flatten and insert into the clay.
Bake as directed. I generally add about 5 extra minutes to the baking process. When the clay has thoroughly cooled, Apply glaze and let dry for 24 hours. (If you chose not to add the loops, you can glue a flat backed bail to the back of the pendant or a pin back.)
Add additional beads and chain as desired for a necklace.
Thanks for dropping by and hope you'll be creating in your crafting space soon! Please drop by my blog for more creative fun!
Paint, Paper, Mixed Media, Stamps, Stencils, Clay, Mica Powders, Pigment Powders. Texture, Nature, and Color. A Mixed Media Playground.
Showing posts with label #Micapowders. Show all posts
13.9.18
27.7.18
Metal Gears Journal Cover
Hello!
Today I would like to tell you how I made this Journal Cover.
Supplies used today are :
THoltz Die Gears
Cardstock
Journal Cover
Inks (distress, versafine black)
Cinnamon
Perfect pearls patina collection
DecoArt Antiquing cream
Gel Medium (any glue will do)
Collage papers
Black marker
Collage papers
Black marker
I cut my gears out first and laid them down to paint.
I used perfect pearls patina silver, green and blue. I dabbed on the powders using a gel medium.
Next, I pulled out some real cinnamon, again using my medium to stick it to the gears. Lastly, I pulled out my mixed media supplies mica powder in copper to add the shiny bits.
I let that dry and started with my journal cover. I collaged some vintage papers/text to my journal cover. Then I got my stamps and stencils out and in black ink, I stamped the chain link fence stamp and used the numbers stencil. Then I took the distress inks and went to town. Firebrick red, Broken China oxide, and Peacock feathers distress inks. Then I used antiquing cream sparingly on the base.
I took a black Pitt pen and made brick like marks randomly.
Then I laid my dried gears and I used double-sided foam tape to prop up some of the gears of the background.
I hope you enjoyed today's tutorial for inspiration for your next steampunk gears journal cover.
Warmly,
Peggy Oliver
Labels:
#journalpages,
#Micapowders,
#MixedMediaSupplies
18.7.18
more clay play
Hi everyone. Jan here to share this mixed media piece. This piece is ATC size, loaded with mica and involves an impression of a real live leaf into the clay. The dragonfly is a Mixed Media Supplies digital stamp printed on vellum.
Let's get started.
You'll need:
Clay - black or brown
Mica (Mixed Media Supplies)
Leaf (from a tree or plant)
Gelli Print (stash)
Digital stamp (Mixed Media Supplies)
Tombow Markers
Glossy Resin
Xyron Creative Station (permanent adhesive)
1/4" double stick tape (ScorTape)
soft bristle paint brush.
Pasta Machine (for clay conditioning)
Acrylic roller
Craft Knife
Cardstock (white 3 x 4-inch piece)
Condition clay as directed by the manufacturer, beginning at 1 and finishing at 3 (using a pasta machine).
If you need to, clean and dry the leaf to remove any dirt or chemicals. Apply a generous coat of mica powder (I used 3 colors) to the back of the leaf (there is more texture there).
Place the leaf on the clay with the mica facing the clay. Using the acrylic roller, roll the leaf lightly into the clay. Leave in place and trim the excess clay using the craft knife. Remove the unneeded clay and remove the leaf.
At this point bake the clay according to manufacturer's directions. Let cool and remove from baking plate.
Print the dragonfly on vellum in the desired size. Color on the wrong side (non-printed) as desired using Tombow markers. The color is transparent on the vellum. Cut as close to the outside lines as you can. Apply a light coat of the glossy resin to the printed side of the dragonfly. Set aside to dry.
Assemble the background. Because my gelli print is done using copy paper, I add an extra backing of cardstock the same size as the ATC (2.5 x 3.5 in). Then I add another backing that frames the gelli print (3 x 4). Adhere using your favorite method. I run the gelli print through the Xyron for edge to edge coverage. Adhere the clay leaf to the gelli print, add the dragonfly and frame as desired.
Thanks for stopping by and taking a peek today. Please drop by my blog for more mixed media ideas. Hoping you have some creative time on your calendar this week! Nurture your heart!
Let's get started.
You'll need:
Clay - black or brown
Mica (Mixed Media Supplies)
Leaf (from a tree or plant)
Gelli Print (stash)
Digital stamp (Mixed Media Supplies)
Tombow Markers
Glossy Resin
Xyron Creative Station (permanent adhesive)
1/4" double stick tape (ScorTape)
soft bristle paint brush.
Pasta Machine (for clay conditioning)
Acrylic roller
Craft Knife
Cardstock (white 3 x 4-inch piece)
Condition clay as directed by the manufacturer, beginning at 1 and finishing at 3 (using a pasta machine).
If you need to, clean and dry the leaf to remove any dirt or chemicals. Apply a generous coat of mica powder (I used 3 colors) to the back of the leaf (there is more texture there).
Place the leaf on the clay with the mica facing the clay. Using the acrylic roller, roll the leaf lightly into the clay. Leave in place and trim the excess clay using the craft knife. Remove the unneeded clay and remove the leaf.
At this point bake the clay according to manufacturer's directions. Let cool and remove from baking plate.
Print the dragonfly on vellum in the desired size. Color on the wrong side (non-printed) as desired using Tombow markers. The color is transparent on the vellum. Cut as close to the outside lines as you can. Apply a light coat of the glossy resin to the printed side of the dragonfly. Set aside to dry.
Assemble the background. Because my gelli print is done using copy paper, I add an extra backing of cardstock the same size as the ATC (2.5 x 3.5 in). Then I add another backing that frames the gelli print (3 x 4). Adhere using your favorite method. I run the gelli print through the Xyron for edge to edge coverage. Adhere the clay leaf to the gelli print, add the dragonfly and frame as desired.
Thanks for stopping by and taking a peek today. Please drop by my blog for more mixed media ideas. Hoping you have some creative time on your calendar this week! Nurture your heart!
20.6.18
where gelli prints and stencils meet
Hi everyone! It's been a crazy few weeks here and crafting time has been limited, but I wanted to share this quick and fun ATC with you.
A couple of months ago I created a whole stack of gelli prints -- and began a journey creating some art in ATC size. I still have a stack of prints, albeit it's a tad bit smaller. So let's start there...
I picked one with a pink, orange and yellow base. The colors remind me some recent sunrises here and even an occasional sunset when the colors are high in the sky.
Select a stencil. My stencil is a new digi from Mixed Media Supplies. I'm so excited to get to share the Alpha stencil. There's also some numerals in the digi and it's created at ATC size for perfect use on these mini-sized canvases.
I got my eBrush out and a Tombow® marker ( which worked well with the colors in my background. Place the stencil as desired and spray. Reposition and spray again
Challenged to use some cardboard for another project, I cut a few hearts and removed a bit of the paper exposing the corrugated layer. I "painted" a light coat of Gesso on the cardboard with a finger and let it dry. Mix a little mica with some water and brush onto the dried Gesso for a bit more color and sheen.
Print and color one of the beautiful butterfly digi stamps from MMS. I used a couple of Tombow markers on the reverse side of the vellum. Add some Glaze to the front of the digi and let dry.
Once everything is dry, arrange as desired on your background and secure in place. If desired, add an appropriate word or phrase to your artwork. Sign, date and frame!
Thanks for stopping by the Mixed Media Supplies bog today.... hope you'll join us again soon and don't forget to nurtured your creative soul as frequently as possible. And if you have a little free time, feel free to stop by my blog for additional ideas and creative endeavors.
Labels:
#Micapowders,
#MixedMediaSupplies,
Mixed Media,
Stencils,
tombow
23.3.18
New Egg for Egg Tree
I used some Aleene"s tacky glue for attaching some digital images on my eggshell.
I placed the egg to dry on a skewer.
I then used the airbrush to color the exterior of the egg.
After applying color I then used the Mica Powder to add texture to the exterior of the shell.
I love the way it turned out.
what a wonderful addition to my tree!
Happy Easter to All!
9.3.18
Recycled Card! by Debi Tullier
How many times have you had some leftover printings from a past project? Well, I have boxes of them and wish I had a use for them. I have recolored fabric to sew into new pieces. So I decided with the help of some products from Mixed Media to create a card from this scrap!
First I did a light wash over the letterpress image.
Followed by a scraping of molding paste which I then topped with gold Mica Powder.
I then took a stamp that I had on hand and some distress ink and printed parts of the image on the card.
Next is a digital image from Mixed Media Supply to compliment my arrangement. I also used a gelato stick to add a blue line behind the texture. I used an airbrush to add the visual break to the top quarter of the card front.
Here my card front is attached to my card. I will use it a general card. I finished it off with a gold tempera stick and some wonderful distress ink pad. I hope that you enjoy my work.
20.2.18
Vibe Journal Page by Suzanne Franin
Hi Everyone Suzanne here
My turn on the blog today and I decided to do a Journal page
My cousin had posted this picture on Instagram and I loved it (It actually looks like her and she loves all animals)
So don't forget to check out the Mixed Media Supplies Facebook Page to see what's happening and see what the Design Team are up too and join in on what's happening
I've made a YouTube Video of the process - which is pixelated if anyone can help please leave me a comment so I can sort it out (I've tried everything to fix the issue)
You can still watch the video it's only a little annoying
I started by adding book paper across the centre of the page tearing it up randomly but keeping the edges of the pages to the straight edges of the rectangle
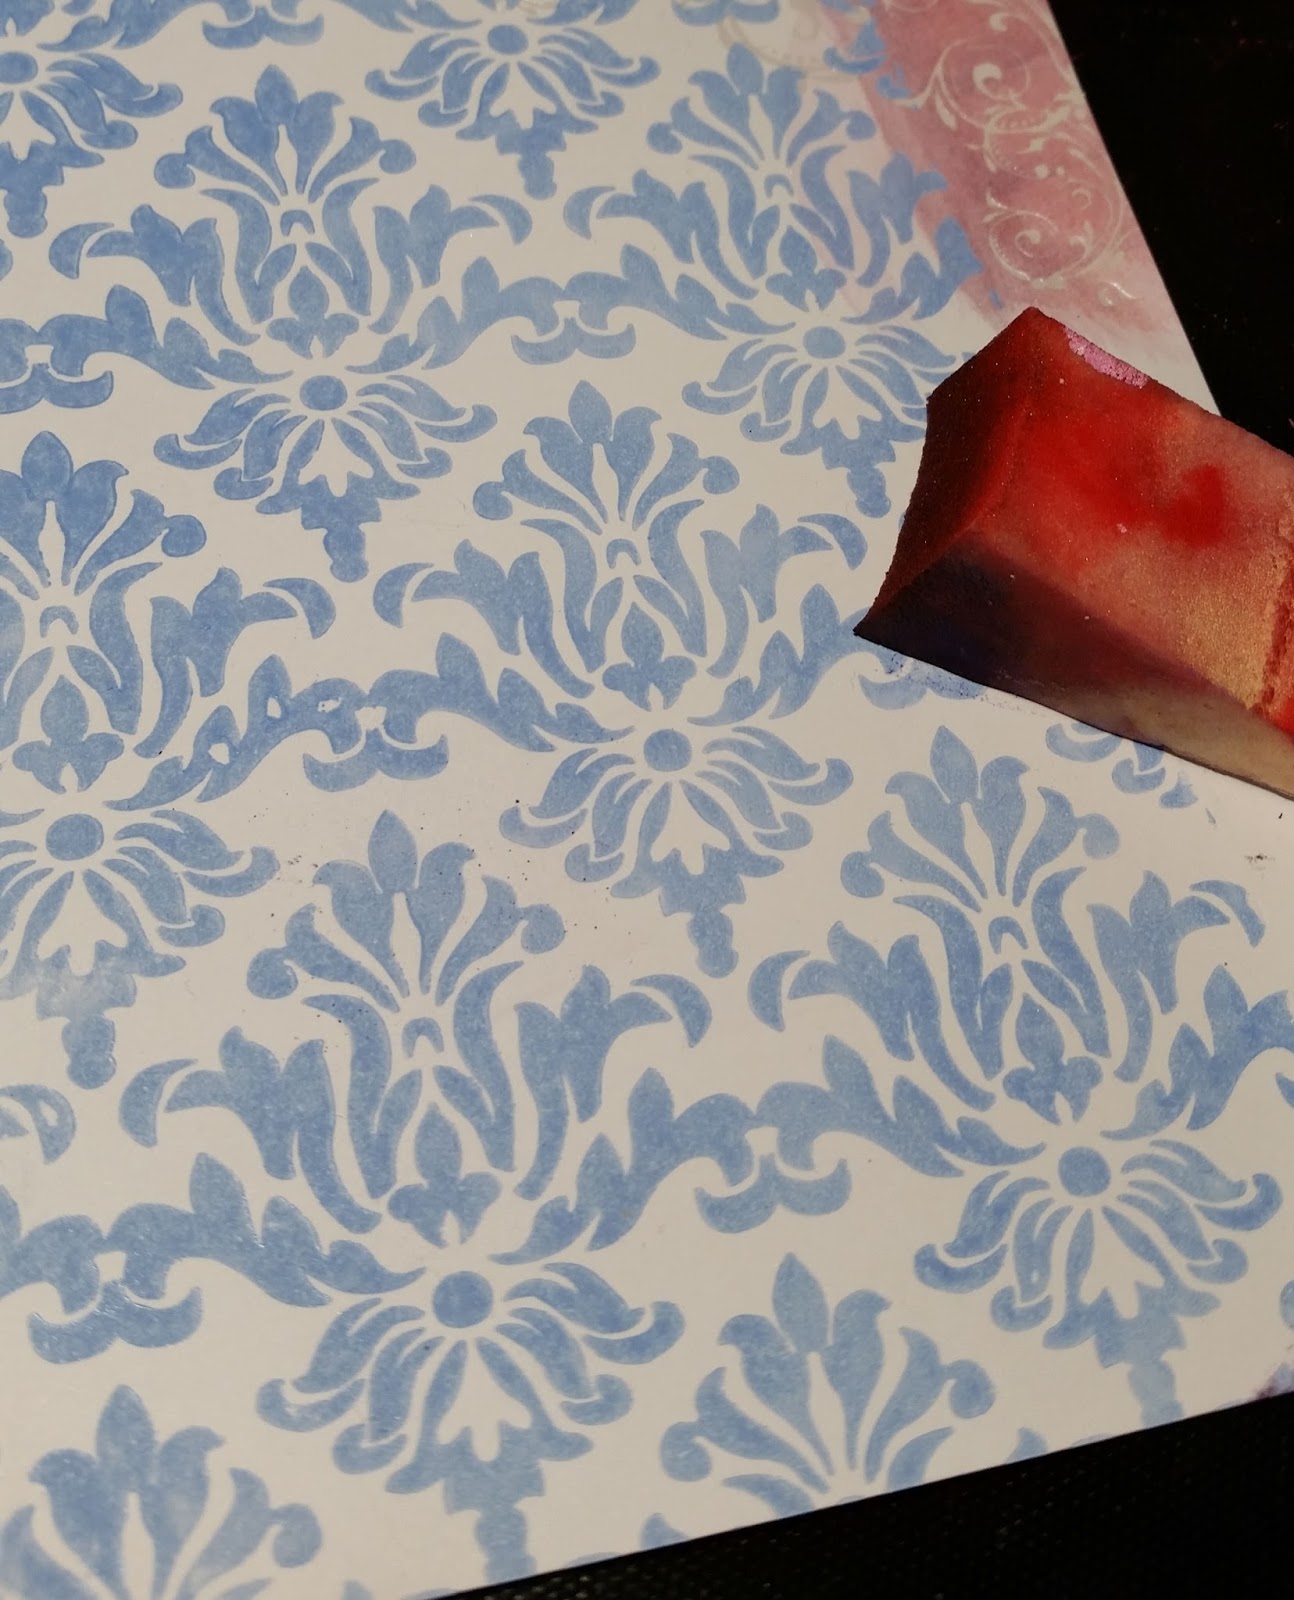
I used a lined stencil across the middle of the page just on the book paper
I used the Copper Bronze and Sapphire Blue Mica Powder's on the back ground mixing it with water and dripping it down the lines
I used the Diamond Fence Rubber Stamp randomly over the page
With the Sapphire Blue I made it darker to make it look like the little bird was flying to her
The paper flowers I painted with the Shimmer Pearl and Coral Reef Mica Powder just with a touch of water and when I started drying them the paper started to fluff up so it gave them some dimension
I loved this quote and it's why I added all the extra birds to the page
Thanks for visiting and I hope you will come back soon xx
Labels:
#birds,
#copper,
#coral,
#designteam #mixedmediasupplies,
#facebook,
#ink,
#journalpages,
#Micapowders,
#MixedMediaSupplies,
#pearl,
#rubberstamps,
#sapphire,
#shimmer,
#stamps,
#stencils,
#texturepaste,
#vibe
I have been doing some sort of craft all my life but have found a real love in scrapbooking and mixed media off the page creations...
1.2.18
Birds nest by Suzanne
Hi Everyone Suzanne here
Welcome to the first day of February
I have all these shadow boxes from the little timber embellishment pieces that I've collected
The boxes have piled up and so I had to find something to do with them
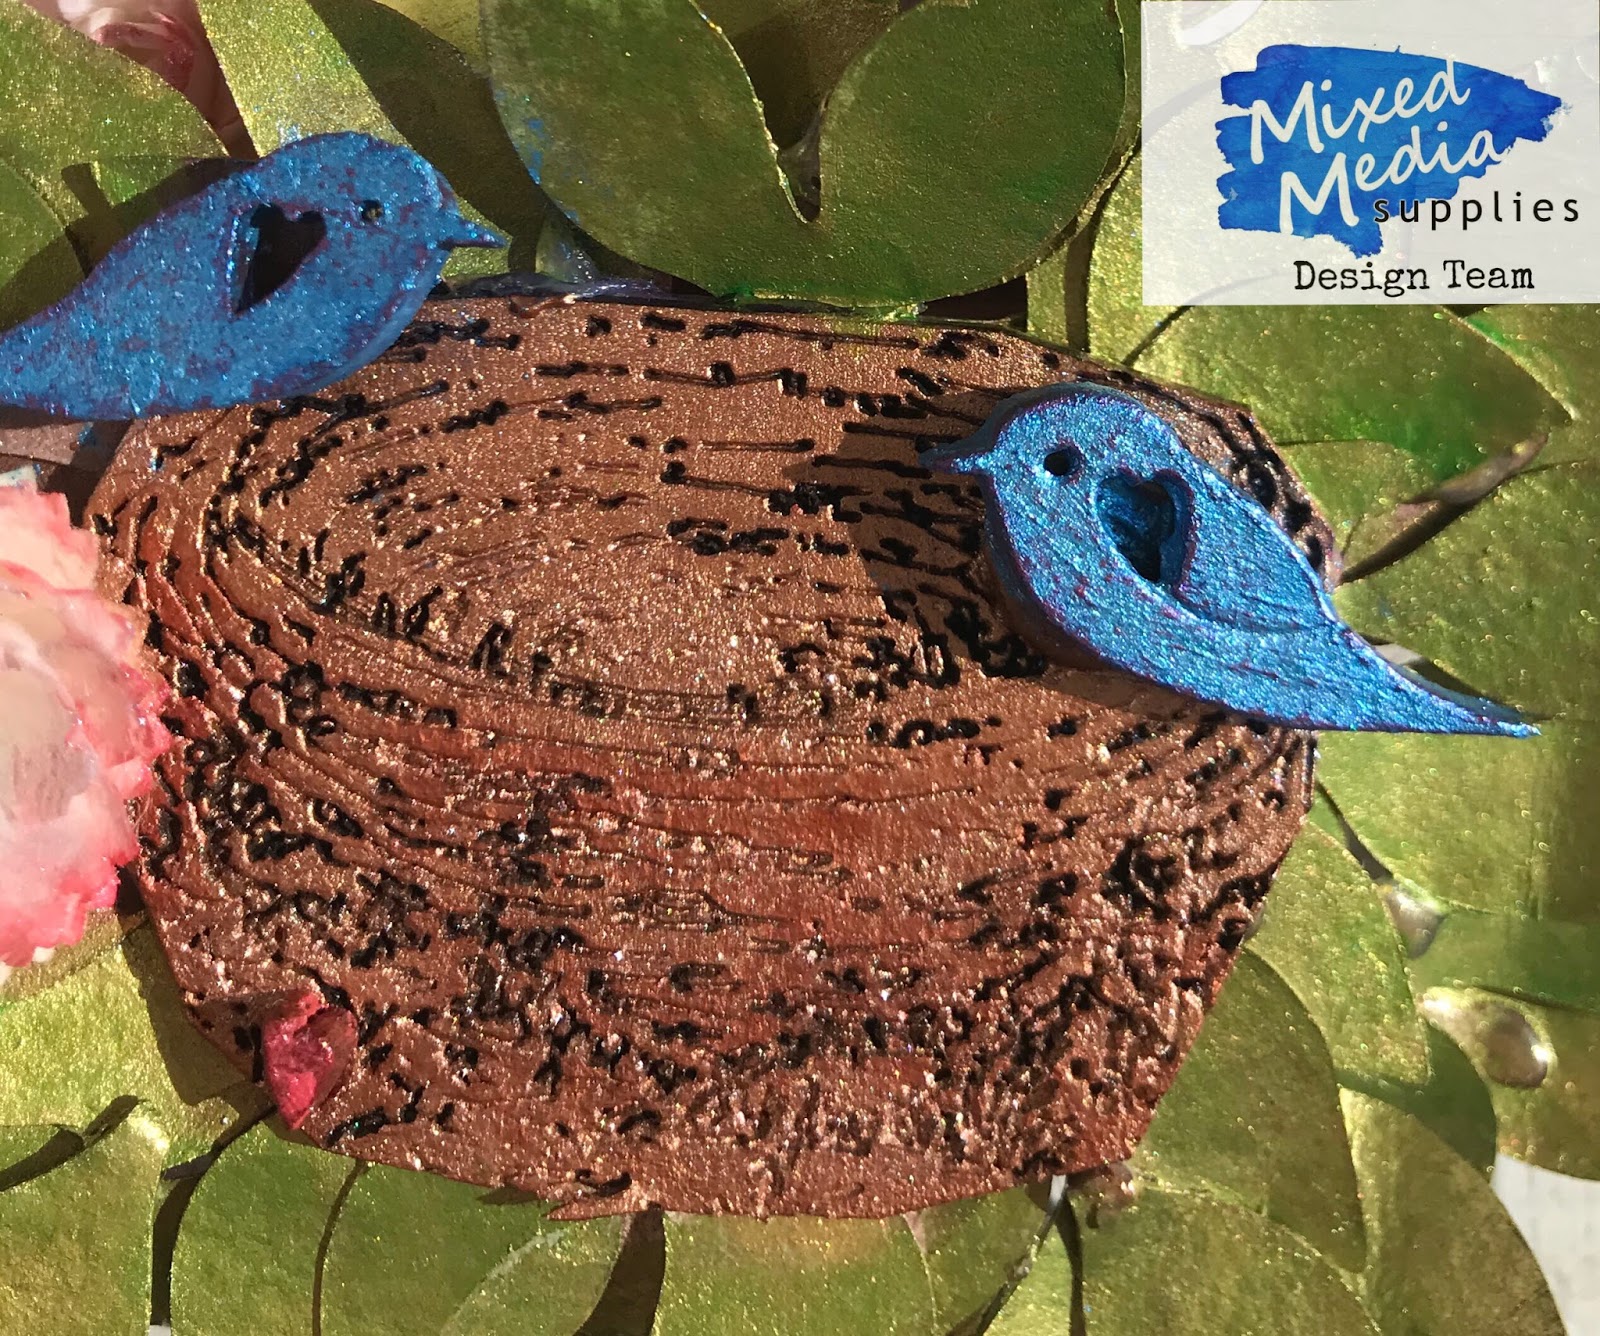
Here's one I created using a few little birds, a nest, some flowers, stems and leaves I cut out with my scan n cut
The birds I painted with the Sapphire Blue Mica Powder it's such a vibrant blue
The nest is in the Copper Bronze Mica Powder my favourite colour
The tiny little heart that is on the nest is the Coral Reef Mica Powder it's so pretty
You can find all these Mica Powders form the Store
I also put a little bit of the Coral Reef Mica Powder on the flowers after spraying them with water first so they weren't too bright I just wanted the colour on the edges of the flowers
On the stems I painted the Shimmer Pearl Mica Powder unfortunately the camera doesn't pick up the beautiful shimmer that powder gives off
Thanks for visiting and I hope you will come back soon xx
Labels:
#copper,
#coral,
#designteam #mixedmediasupplies,
#facebook,
#flowers,
#Micapowders,
#sapphire,
#shimmer,
#store
I have been doing some sort of craft all my life but have found a real love in scrapbooking and mixed media off the page creations...
24.1.18
Owl by Suzanne
Hi Everyone Suzanne here
My turn on the blog and this project was lots of fun
Make sure you check out our Facebook page and see what's happening over there
I was lucky enough to get a few bits for Christmas and one was an
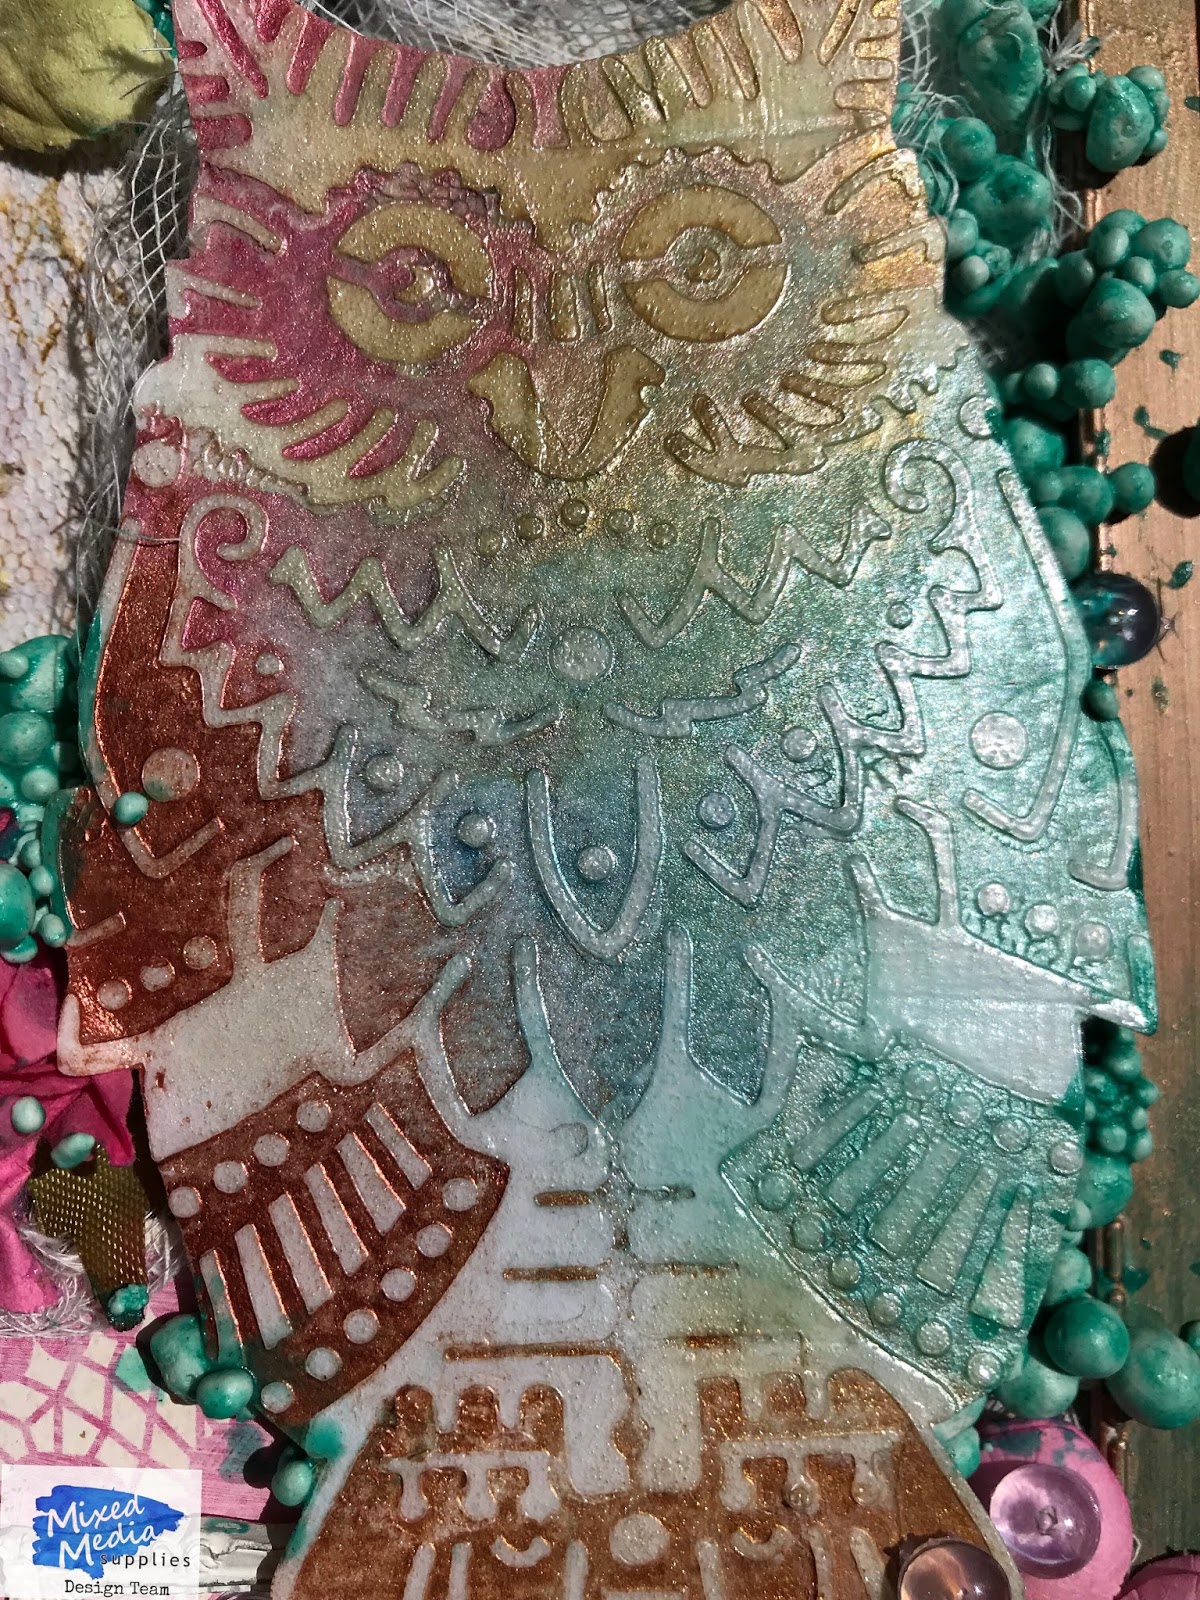
owl stencil of course I had to find a way to use it
I used the Copper Bronze and Coral Reef Mica Powder randomly over a plastic frame that I had
painted with gesso earlier I then used some Frank Garcia Artisan powder rubbed
into the grooves of the frame to give it the patina look
I stencilled the owl then used water colour paints and cut him out so I could
raise him up out of the frame
The background paper I used from one of the Digital Printable Journal Pages we
have on the site I printed it off onto a card stock to add more texture
I added some lace in the background as well some time the photos don't show
all the details doesn't matter how many you take
And of course flowers are always needed with lots of other little details
Thanks for visiting I hope you will be back soon xx
Labels:
#copper,
#coral,
#designteam #mixedmediasupplies,
#flowers,
#frame,
#impasto,
#journalpages,
#lace,
#Micapowders,
#owls,
#stamps,
#stencils,
Muslin,
Watercolor
I have been doing some sort of craft all my life but have found a real love in scrapbooking and mixed media off the page creations...
17.1.18
Building a Stash - part 2
Hi, Jan here.
This mixed media card is perfect for some upcoming birthdays in 2018 as well as some other occasions. I'd love to share this quick card with you.
You'll need:
Gesso
Stencil
Mica Powder (Mixed Media Supplies)
2 Watercolor prints (8.5 x 11 inches)
Electronic die cutting machine and software (Sizzix eclips2 & eCal2 software were used in this project)
Basic Shapes (circle, heart)
Xyron X
Star confetti, rhinestones
glue
tape runner
cardstock
stamp (WPlus9 Designs) optional
No affiliate links are used in this post.
Using your die cutting machine,
1) Print the sentiments using eCal and cut the card fronts (Happy Birthday on a 4 x 5.25 inch rectangle) with the eclips or cut the card fronts with a paper trimmer
2) Create the background papers using the Pattern Fill option in eCal2. Print.
3) Cut the decorative shapes using the eclips and the printed paper;
4) If desired, stencil a thin coat of gesso on the card front. Set aside to dry.
5) When dry, add a bit of Mica Powder to the gesso and spritz lightly with water to spread it around a little bit. 6) Stamp the desired sentiment if you did not print your card front previously.
7) Run the circle with the heart cut out and one of the smaller circles through the Xyron.
8) Use foam squares on the small heart and two of the small circles. Apply as shown and add the star confetti and rhinestones. Apply the card front to the card base and your card is ready to personalize and send on it's way.
This is also a Pinterest inspired card... I like the added texture of the stenciled Gesso and shimmer of the mica. These are simple, sweet and easy to complete.
Thanks for stopping by. Hoping your week is filled with crafting goodness! Check the Mixed Media Supplies blog frequently for more mixed media projects this month and more. I'd also like to invite you to check out my blog for additional ideas throughout the month.
*I'm really not trying to go for the blur look, but it appears that the camera is having a bit of a problem with the focus. My apologies.
This mixed media card is perfect for some upcoming birthdays in 2018 as well as some other occasions. I'd love to share this quick card with you.
You'll need:
Gesso
Stencil
Mica Powder (Mixed Media Supplies)
2 Watercolor prints (8.5 x 11 inches)
Electronic die cutting machine and software (Sizzix eclips2 & eCal2 software were used in this project)
Basic Shapes (circle, heart)
Xyron X
Star confetti, rhinestones
glue
tape runner
cardstock
stamp (WPlus9 Designs) optional
No affiliate links are used in this post.
Using your die cutting machine,
1) Print the sentiments using eCal and cut the card fronts (Happy Birthday on a 4 x 5.25 inch rectangle) with the eclips or cut the card fronts with a paper trimmer
2) Create the background papers using the Pattern Fill option in eCal2. Print.
3) Cut the decorative shapes using the eclips and the printed paper;
4) If desired, stencil a thin coat of gesso on the card front. Set aside to dry.
5) When dry, add a bit of Mica Powder to the gesso and spritz lightly with water to spread it around a little bit. 6) Stamp the desired sentiment if you did not print your card front previously.
7) Run the circle with the heart cut out and one of the smaller circles through the Xyron.
8) Use foam squares on the small heart and two of the small circles. Apply as shown and add the star confetti and rhinestones. Apply the card front to the card base and your card is ready to personalize and send on it's way.
This is also a Pinterest inspired card... I like the added texture of the stenciled Gesso and shimmer of the mica. These are simple, sweet and easy to complete.
Thanks for stopping by. Hoping your week is filled with crafting goodness! Check the Mixed Media Supplies blog frequently for more mixed media projects this month and more. I'd also like to invite you to check out my blog for additional ideas throughout the month.
*I'm really not trying to go for the blur look, but it appears that the camera is having a bit of a problem with the focus. My apologies.
Subscribe to:
Posts (Atom)